Install Wall Mo u nt Assembly
Install Wall Mount
Assembly
Note
Before mounting any pump assembly
to the wall always follow the
Pressure Relief Procedure, page 14.
1. Ensure the wall is strong enough to support the
weight of the pump assembly and accessories,
fluid, hoses, and stress caused during pump
operation.
2. Drill four 7/16 in. (11 mm) holes using
bracket as a template. Use any of the three
mounting hole g roupings in the bracket. See
Dimensions, page 34.
3. Bolt bracket securely to wall using bolts
and washers designed to hold in the wall’s
construction.
4. Atta ch pump as sembly to mounting bracket
(201).
5. Connect air and fluid hoses. Refer to
Setup, page 13.
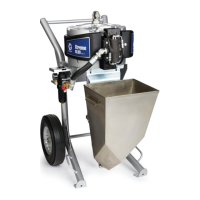
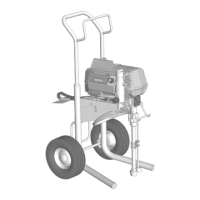
Install Hopper Assembly
Note
If provided.
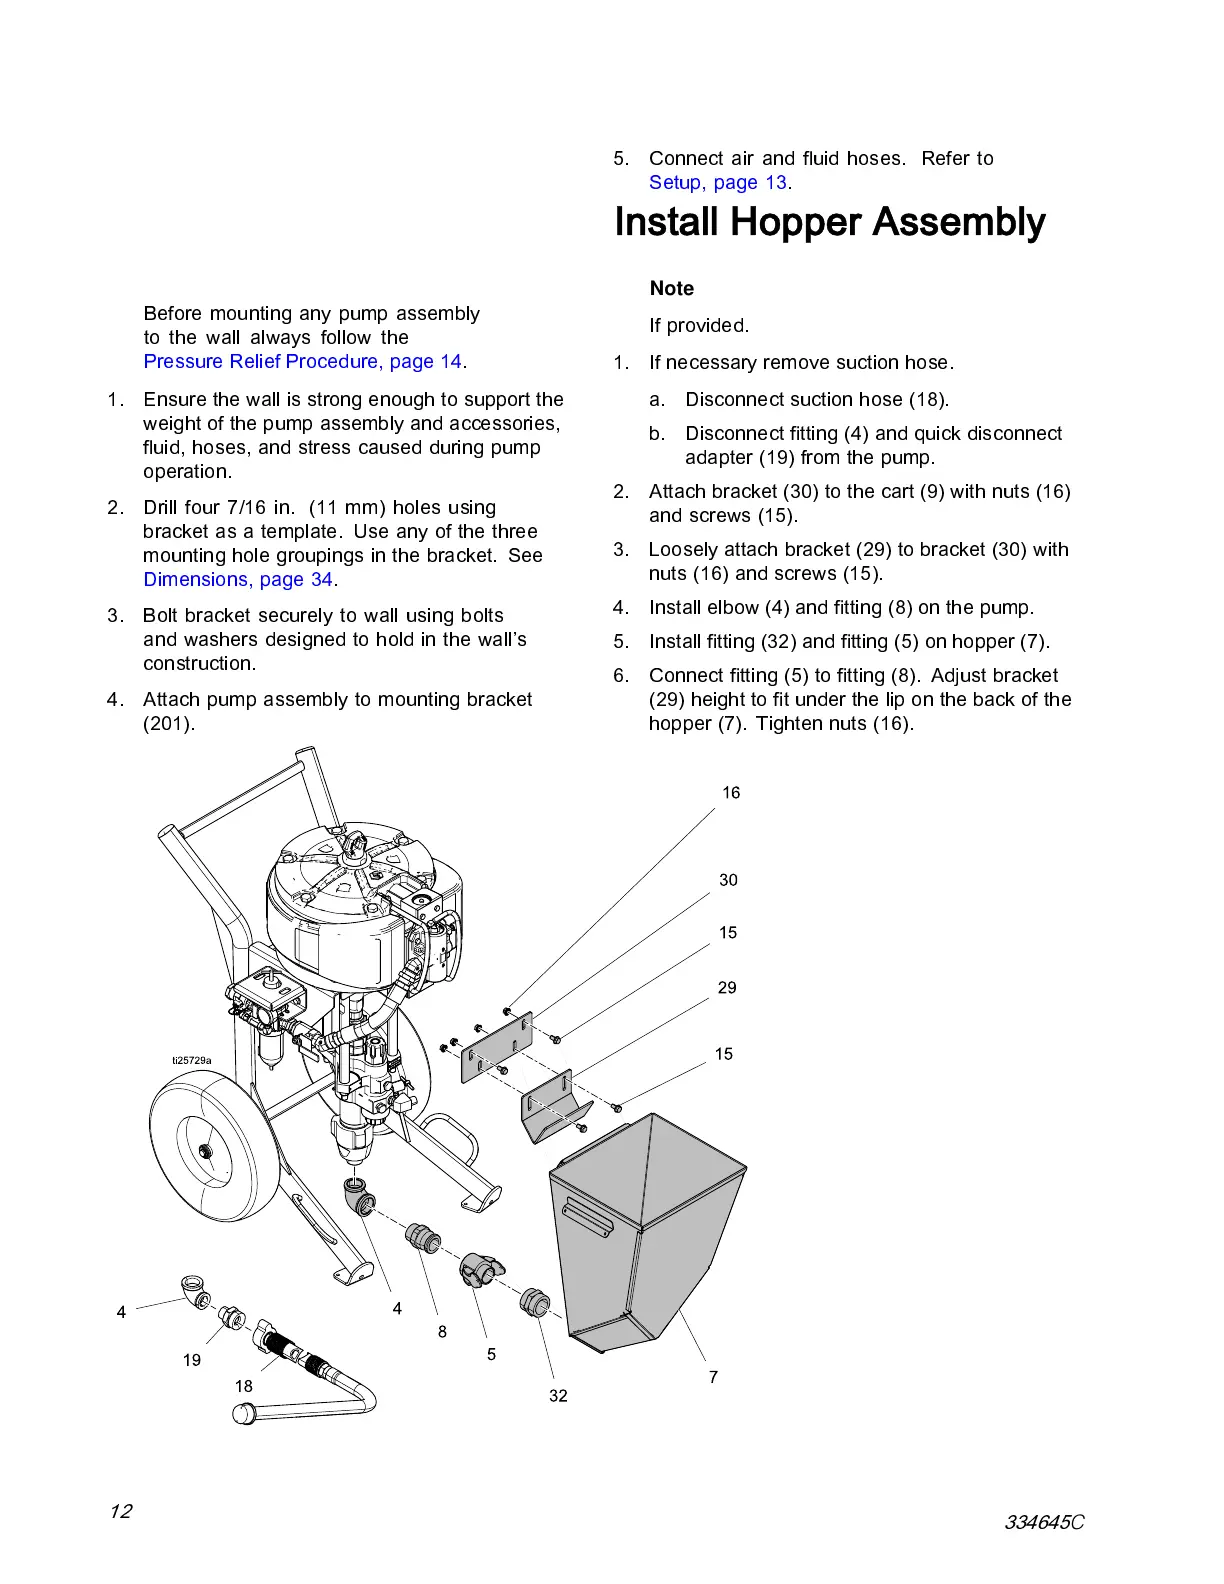
1. If necessary remove suction hose.
a. Disconnect suction hose (18).
b. Disconnect fitting (4) and quick disconnect
adapter (19) from the pump.
2. Attach bracket (30) to the cart (9) with nuts (16)
and screws (15).
3. Loosely attach bracket (29) to bracket (30) with
nuts (16) and screws (15).
4. Install elbow (4) and fitting (8) on the pump.
5. Install fitting (32) and fitting (5) on hopper (7).
6. Connect fi tting (5) to fitting (8). Adj ust bracke t
(29) height to fit under the lip on the back of the
hopper (7). Tighten nuts (16).
12
334645
C
 Loading...