10.1 GENERAL
To ensure effi cient operation of the boiler, it is recommended to
check and repair it at least every 12 months. The frequency of
maintenance will depend on the specifi c installation and usage
conditions, but in general, once a year this is adequate.
Maintenance and replacement of parts must only be carried out by
a duly qualifi ed technician.
10.2 PRESERVICE CHECKS
The following procedural checks must be performed before each
maintenance:
1. Check the smoke terminal and make sure it is not blocked or
damaged.
2. Operate the boiler and check the operation of its controls.
3. Make sure that all of the water and fuel system connections
and fi ttings are sound and tight. Redo all the seals and check the
tightness of the leaking connectors.
4. If the boiler is used on a sealed central heating circuit, check the
circuit pressure, check the operation of the safety valve and check
the air pressure of the expansion tank. See section 7.2.
5. Fill, bleed and refi ll the circuit as needed. See chapter 7.3.
6. Check that the automatic vent openings are in good condition.
See chapter 9.1.
7. Remove any sludge / water from the Oil tank by opening the
drain valve (if present) at the bottom end of the tank.
8. With the oil supply tap closed, clean / replace the fi lter in the
fi lter pot and clean the bowl in the fi lter pot.
9. The braided oil supply hoses (supplied with the boiler) must be
replaced annually. If long life hoses have been installed, these
should be inspected annually. Replace the hoses if in doubt. In any
case, these pipes must be replaced every fi ve years
Before carrying out maintenance, cut off the electrical supply to the
boiler and close the oil supply valve.
Let the boiler cool down. The data label on the top panel of the
boiler models will indicate the fuel used and the nozzle installed.
10.3 DISASSEMBLY BEFORE SERVICING
The procedure for dismantling the boiler is as follows:
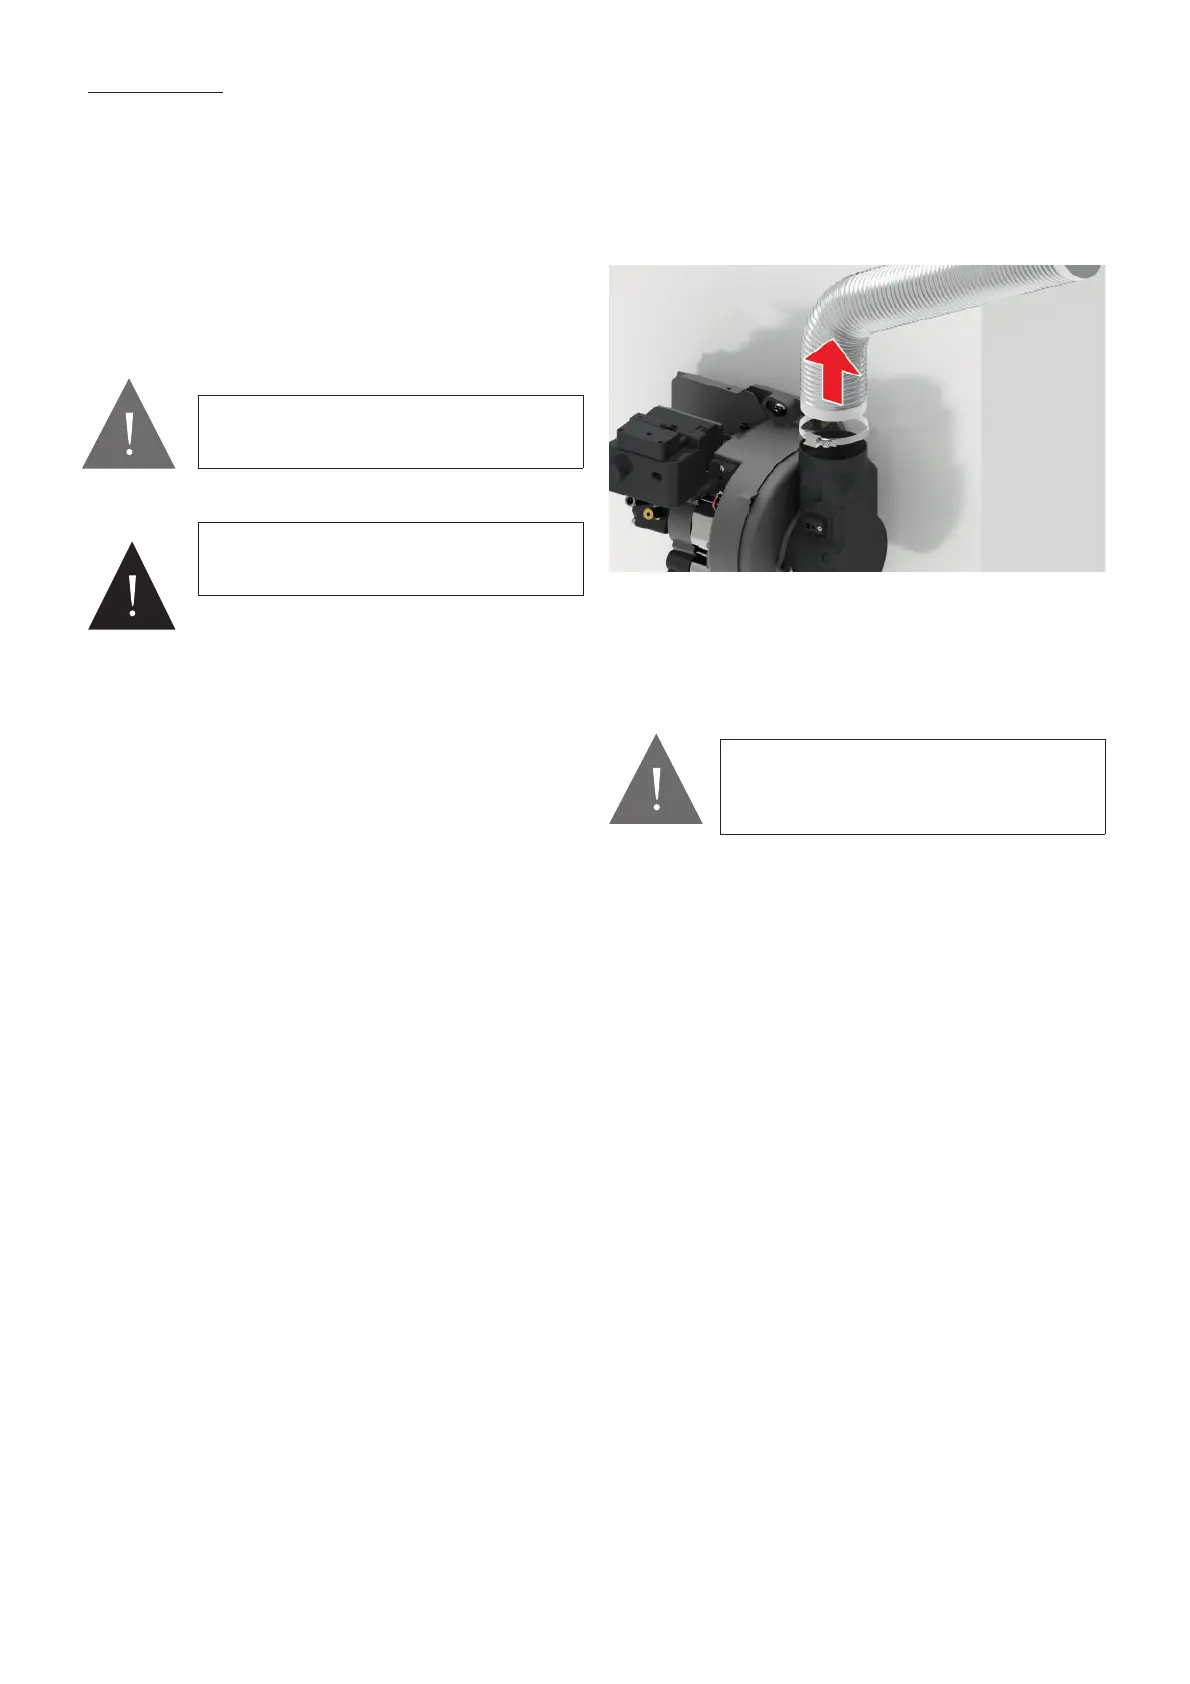
1. Disconnect the air supply hose from the burner.
2. Remove the burner mounting nut (at the top of the mounting
fl ange) and remove the burner. If necessary, disconnect the oil
hose (s), use an appropriate container to prevent any oil leakage.
(Protect your hands with suitable gloves)
10.4 CLEANING THE BOILER
The procedure for cleaning the boiler is as follows:
1. Remove the upper front panel. Unscrew and remove the two
screws located on each side of the panel, just below the overhang.
Refer to Figure 10-1.
2. Lift the upper front panel and remove it from the boiler. See Figure
10-2.
3. Unscrew and remove the nuts and washers holding the front
cleaning door and remove the door. Be careful - it’s heavy.
4. Remove the defl ectors (baffl es) as shown in fi gures 11-1, 11-2,
11-3,11- 4 or 11-5.
5. Remove all deposits from the defl ectors and all internal surfaces
of the boiler using a stiff brush and a scraper if necessary.
6. Check the condition of the fl ue, clean it if necessary.
7. Check the condition of the front cleaning door gasket, replace it if
necessary.
8. Replace the baffl es making sure they are in the correct position.
See Figures 11-1, 11-2, 11-3, 11-4 or 11-5.
9. Remove the spiral turbulators from the tubes of the heat
exchanger. Refer to Figure 11-4.
10. Clean the turbulators using a stiff brush
11. Test the condenser siphon of the heat exchanger by pouring
water into one of the lower tubes and observe if the water fl ows
through the 22 mm condensate outlet. Refi t the turbulators.
Before starting any work on the boiler or
the oil supply, read the health and safety
information given in chapter 15.
If 2 hoses are connected to the burner,
identify them (mark if necessary), i.e. indicate
the supply and return (if they must be
disconnected).
DANGER
The details of each maintenance must be
entered in the maintenance pages of the user
manual.
10 MAINTAINING YOUR BOILER
Figure 11-1: Flexible air intake
Maintenance Of Your Boiler
CAUTION
CAUTION
Page 30