Click the Output Settings button to
display the Output Settings window.
Click “Cutting Settings”, and then click
the [Cutline Settings] button to display
the [Cut Specifications] window. Make
sure that the Color checkbox for the
Cutline is checked. Click the [OK]
button, and then click the [OK] button in
the Output Settings window.
Click the Output to Craft ROBO button
, confirm that the driver name
reads Graphtec Craft ROBO, and then
click the [OK] button to start the Craft
ROBO Controller.
Select “Vinyl Sticker” in the Media Type
box.
Click the [Next] button to proceed to the
“Blade cap adjustment” step. Attach the
blue cap displayed on the screen to the
cutter plunger tip.
Output Settings button
Click
Cutter
Make sure that this checkbox is checked
17
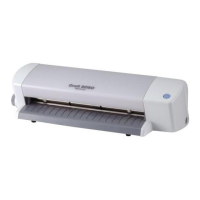
Press the standby switch on your Craft ROBO and confirm
that the LED lamp is lit. Align the vinyl sticker with the
guide line, and then turn the feed knob to feed it so that it
is aligned with the top edge of the black cutting mat.
(For details on how to load media, please refer to the
Quick Start Instruction Sheet).
Make sure that the blade adjustment cap is [blue], and
then mount the cutter in the Craft ROBO.
(For details on how to replace the cap, please refer to the
Quick Start Instruction Sheet).
Click the [Next] button to proceed to the “Design
Orientation” step. Click the [Next] button again to proceed
to the “Media loading” step.
Close the top cover.
Click the [Next] button to proceed to the “Alignment” step.
Click the [Next] button again to proceed to the “Start
cutting” step.
Output to Craft ROBO button
Click
Click
Click the [Start Cutting] button.
Select “Vinyl Sticker”
33
Make preparations for cutting
1
Specify the cut line
2
Specify the cutting conditions
3
Load the vinyl sticker in your Craft ROBO and mount the cutter
Standby switch, LED lamp
Media Trial Kit User Guide
2
 Loading...