33
Make preparations for cutting
1
Press the Card without Craft Paper
Backing onto the carrier sheet.
8
HINT
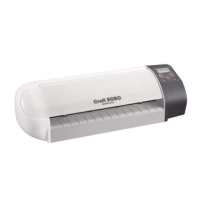
Standby switch
Press the standby switch on the
Craft ROBO, and confirm that the
LED lamp on the switch is lit (blue).
Align the left edge of the sheet
with the vertical guideline indented
on the front guide. While making
sure that the sheet is straight, turn
the feed knob until the top edge of
the sheet touches both pinch
rollers.
Peel off both the inside liner and the liner
strips on both sides from the carrier sheet
so that the entire adhesive surface is
visible.
Press the Card without Craft Paper
Backing onto the adhesive surface of the
carrier sheet, making sure that the edges
of the card are parallel to the edges of the
carrier sheet.
(When pressing the card onto the adhesive surface,
be careful not to cause air bubbles or wrinkles in the
card.)
Close the top cover.
Click the [Next] button to proceed
to the “Registration Marks” step.
Click the [Next] button again to
proceed to the “Start cutting” step.
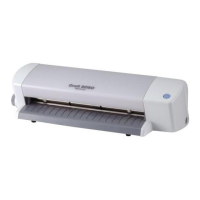
Load the printed sheet
following the printed
hint line "Feed this side
first".
HINT
Blade holder
Blade adjustment cap
Blade
Liner
Peel off the inside liner and the
liner strips on both sides
Carrier sheet
Adhesive surface
Card without
Craft Paper Backing
Carrier sheet
cap media
Protruding blade length
(approx.)
Blue For thin film 0.1mm
Yellow
For thick film, thin paper
0.2mm
Red
For thick paper
0.3mm
such as a postcard
Lock lever
OPEN
CLOSE
Blade holder
Upper surface of blade holder
Holder protrusion
Turn to this position
Pinch rollers
Guideline
Front
2
Load the printed sheet in your Craft ROBO and mount the blade, blade holder
Let’s try out the Craft ROBO
2
Turn the lock lever to the left
(OPEN direction) to loosen the
clamp bracket.
Check that the yellow blade
adjustment cap has been attached
to the blade holder, and then
mount the blade holder in the Craft
ROBO. Turn the protrusion on the
holder 90 degrees to the right so
that it fits against the protrusion on
the clamp bracket. Firmly insert the
blade holder in the clamp bracket
and then turn the lock lever to the
right (CLOSE direction) to tighten
the clamp bracket.
Click the “Next” button. The
“Design Orientation” screen is
displayed. Click the “Next” button
once again. The “Load Media”
screen is displayed.
 Loading...