97
Installation and Maintenance
Service Manual
Holder
Connector
Step Procedure
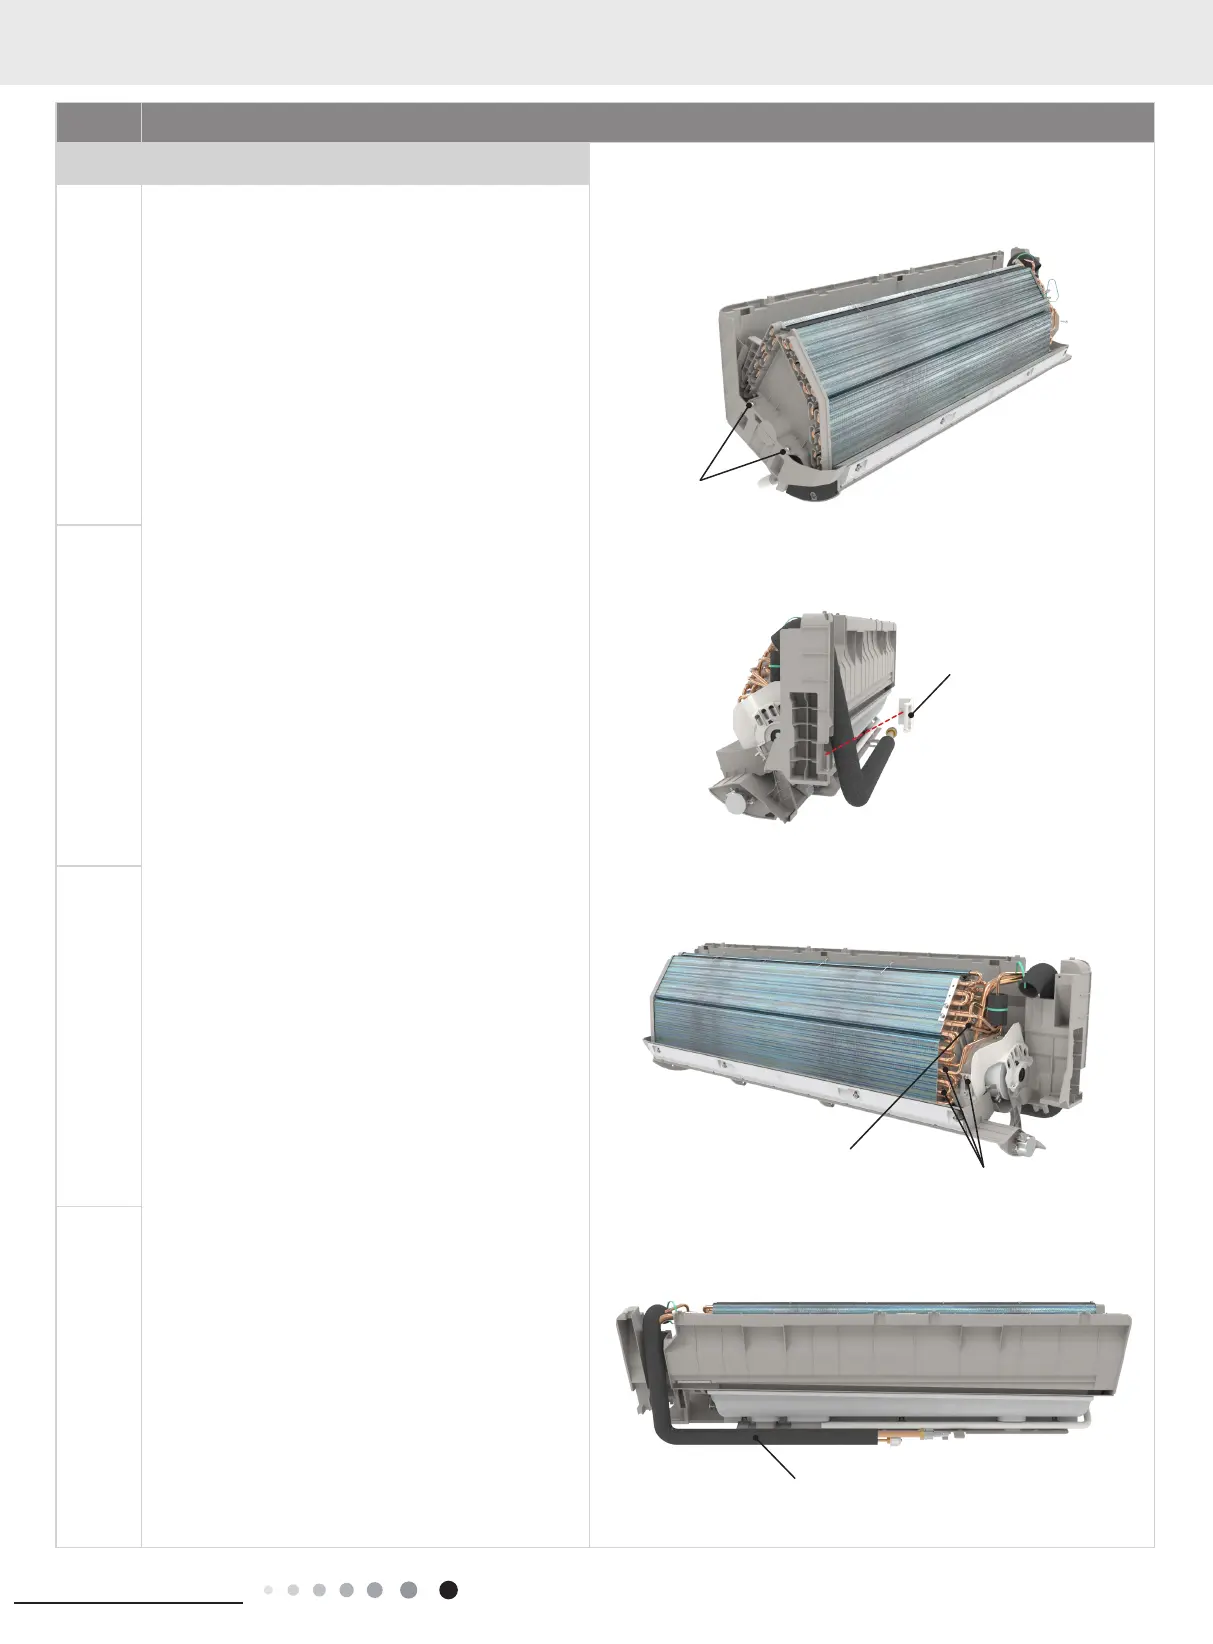
7. Remove evaporator assy
a
Remove 2 screws xing evaporator assy.
At the back of the unit, Loosen the clasp of the
connection pipe clamp and then remove the connection
pipe clamp.
First remove 3 screws xing evaporator assy and motor
press plate.And then remove the left side of evaporator
from the groove of bottom shell. At the last, remove the
right side from the clasp on the bottom shell.
Adjust the position of connection pipe on evaporator
slightly and then lift the evaporator upwards to remove
it.
b
c
d
Clasp
Connection pipe
Screws
Connection pipe clamp
Screws
 Loading...