15
ASSEMBLY
Installing the FILTER ASSEMBLY:
1. Hold the FILTER ASSEMBLY with the larger flat side (where the honeycomb layer of
the filter is visible) facing the interior of the unit.
2. Insert the bottom of the FILTER ASSEMBLY into the tabs on the rear of the unit and
then seat the FILTER ASSEMBLY on the rear of the unit. (NOTE: If the user fails to insert
the FILTER ASSEMBLY into the tabs appropriately, disassembling the unit in the future
could be extremely difficult.)
3. Screw the two BRASS THUMBSCREWS into their holes at the top corners of the FILTER
ASSEMBLY.
Installing the REAR COVER:
1. Place the tabs at the top of the REAR COVER into the holes above the top of the
FILTER ASSEMBLY then swing the REAR COVER flat against the rear of the unit and
press until the tabs on the inner sides of the REAR COVER click into place in the unit.
2. Carefully insert the REAR COVER SCREW into its hole on the REAR COVER (above the
POWER CORD Port) and tighten.
Installing the POWER CORD:
1. Insert the DC POWER ADAPTER PLUG into the rear of the unit.
2. Ensure the POWER CORD is properly connected to the DC POWER ADAPTER.
3. Insert the POWER CORD PLUG into a wall outlet.
Turning the unit ON:
1. Press the POWER BUTTON.
2. The unit will be set to NORMAL MODE (ARC) once again. Ensure that the unit’s settings
are adjusted to suit your preferences (see “CONTROLS” on page 11).
The unit should be powered OFF and the POWER CORD disconnected whenever
cleaning or servicing.
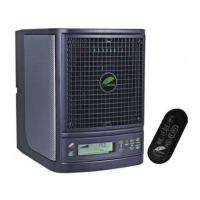
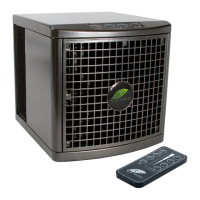
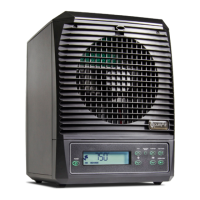
Refer to the Diagram Section (Pg. 5-6) for further illustrations of part names and locations.
 Loading...