G1013 Combination Sander -15-
Once you have turned off the switch and discon-
nected the sander from its power source:
1. Loosen the hex nut as shown in Figure 18.
2. Tilt the table to the desired position.
3. Tighten the hex nut.
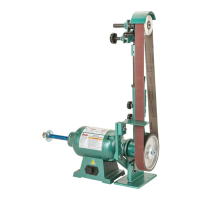
Belt Table Tilt
Figure 18. Belt table in tilted position.
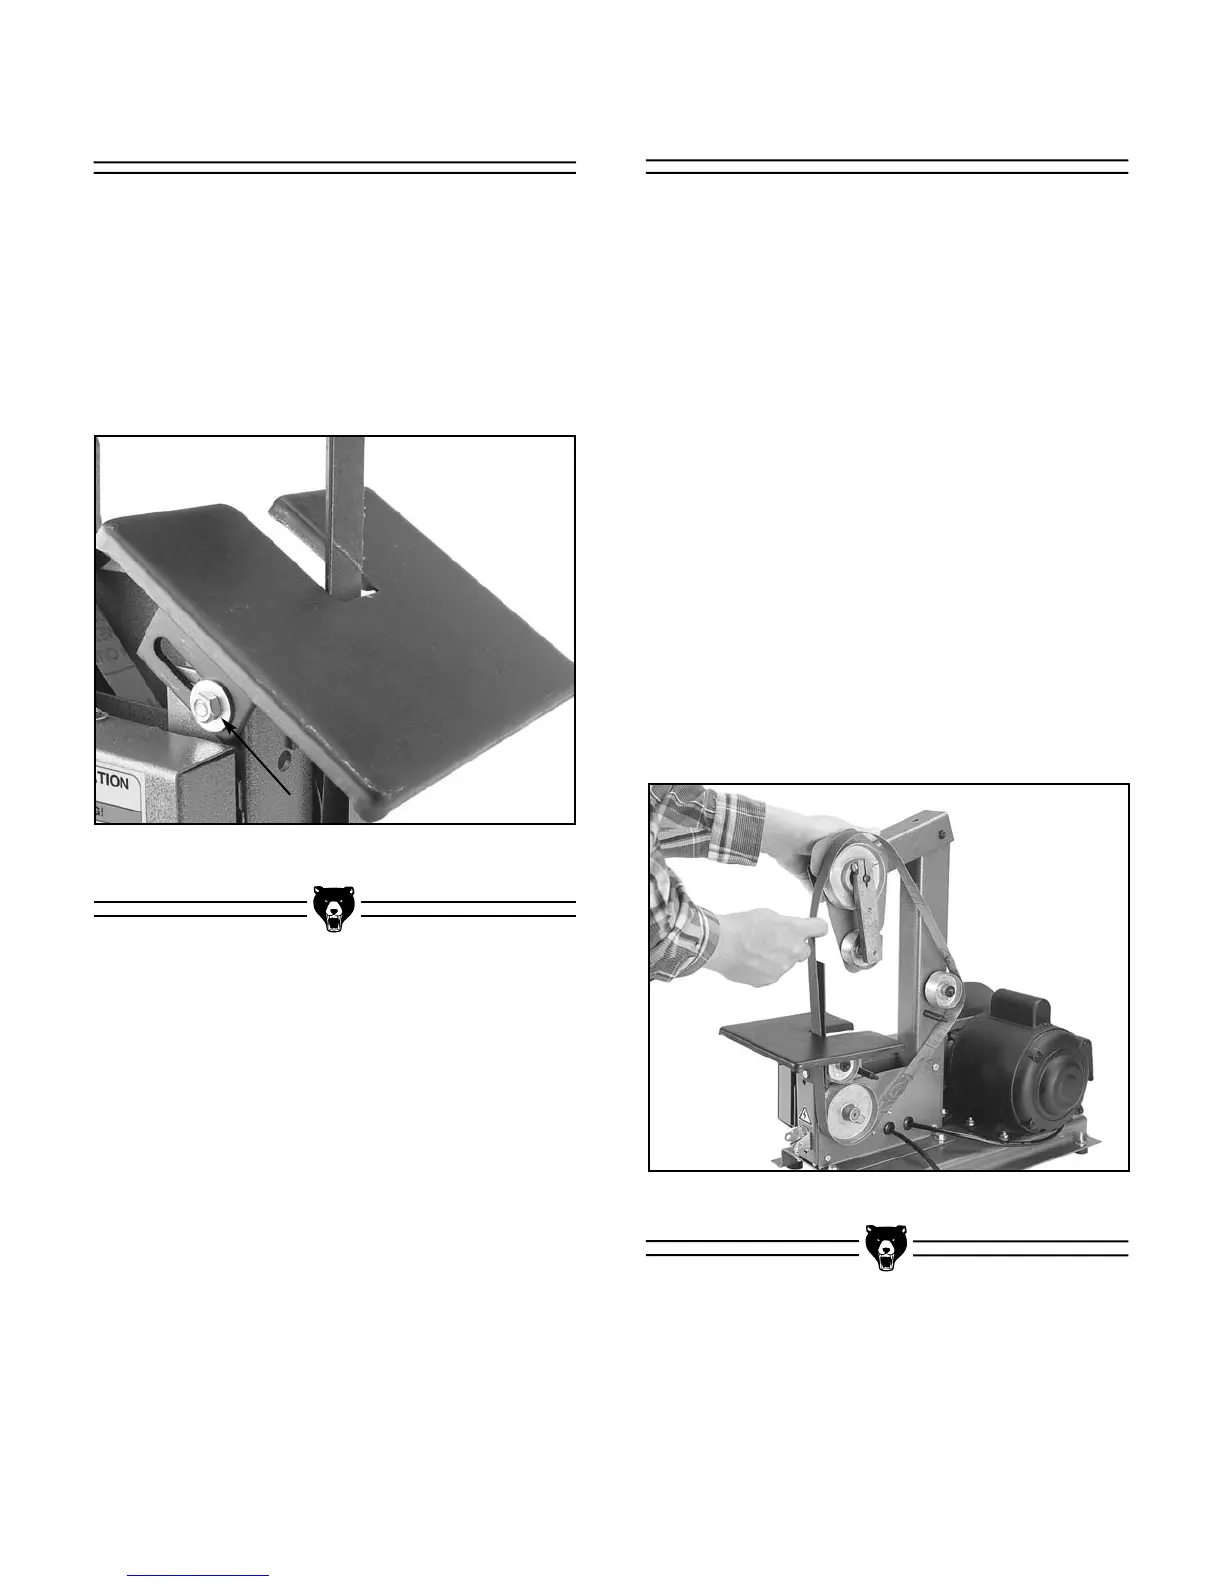
Once you have turned off the switch and discon-
nected the sander from its power source:
1. Remove the two Sanding Belt Guards.
2. Press down on the top arm to release the
belt tension and remove the old belt. See
Figure 17.
Note: you may find it easier to remove and
replace the belt with the belt table either
tipped down to 45˚ or completely removed.
3. Install new belt. Arrows on underside of the
belt should point in the direction of roller
travel. If your belt has no arrows, install it so
that the overlap on the seam travels down-
ward (when facing the machine). Otherwise
the paper will catch on your stock and rip.
Release the arm.
4. Replace the Sanding Belt Guards.
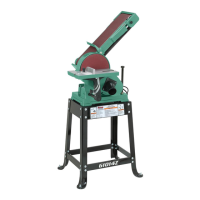
Belt Replacement
Figure 17. Sanding belt removal.
 Loading...