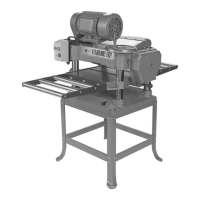
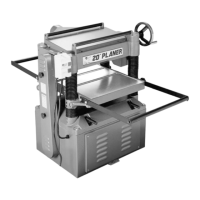
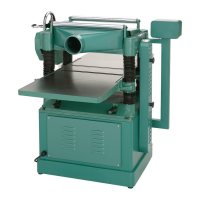
-12- G1021 15" Planer
SECTION 4: ASSEMBLY
Overview
Most of your G1021 Planer has been assembled
at the factory, but some parts must be assembled
or installed after delivery. We have organized the
assembly process into steps. Please follow along
in the order presented here.
TOOLS REQUIRED: Most of the tools required
for assembly are included with the planer.
However, you will also need a Phillips
®
and regu-
lar screwdriver as well as feeler gauge for adjust-
ments later on.
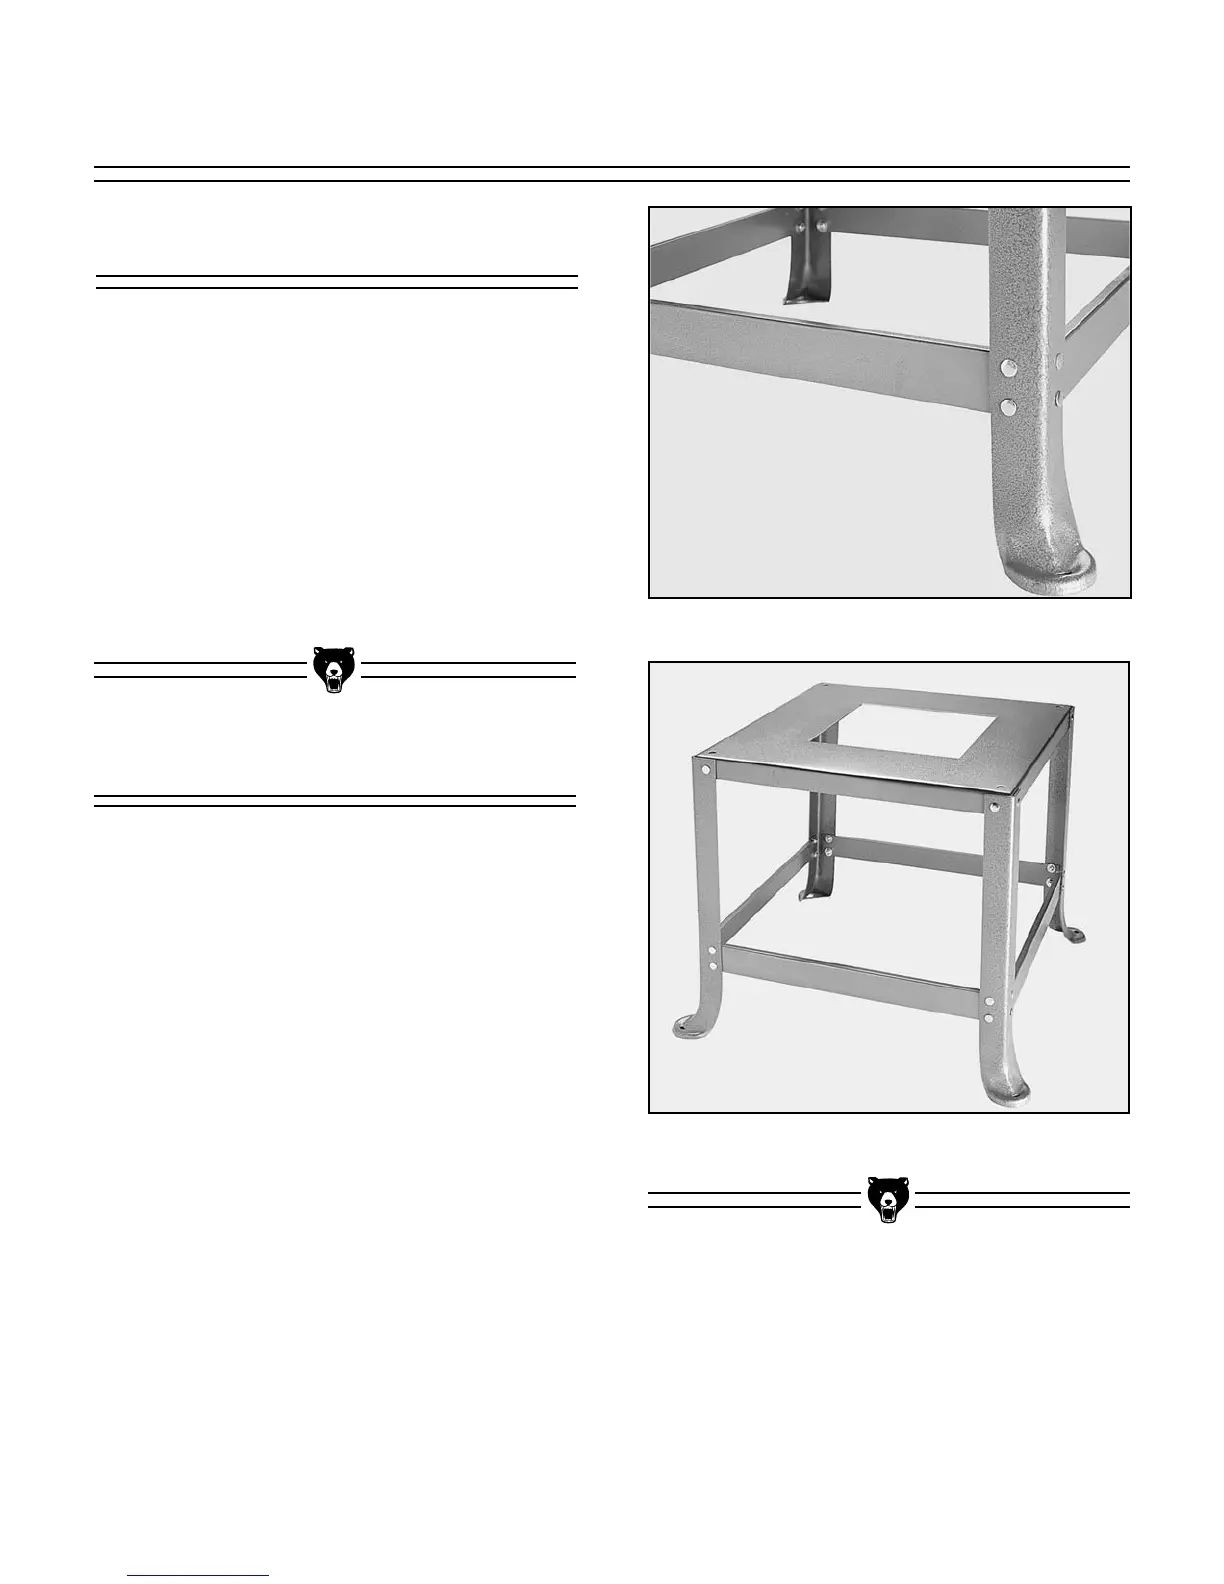
Optional Stand
To begin stand assembly, keep all the stand parts
within easy reach. To ease assembly, build the
stand upside down on a bench and then place it
upright on the floor.
1. Place the stand top upside down on your
bench.
2. Attach each of the four legs to the stand top
with carriage bolts, washers and nuts provid-
ed. Do not over tighten. The legs attach to the
outside of the stand top. See Figure 3.
3. Attach each of the four braces to the stand
legs with carriage bolts, washers and nuts
provided. Do not over tighten. The braces
attach to the inside of the legs. See Figure 2.
4. Flip the stand right side up and place on the
floor. Check to see if the stand is symmetrical
from two adjacent sides. Adjust if necessary
and securely tighten all nuts.
Figure 2. Stand crossbracing in place.
Figure 3. Fully assembled stand.