G1199/G1200 Drill Press -7-
Beginning Assembly
Most of the Drill Press has been pre-assembled
at the factory. The few remaining pieces should
go together quickly and easily. Assembly is
straight forward and with just a few tools you can
do the entire job quickly and easily. This manual
is written for the G1199/G1200 model. The only
difference between the two regarding assembly is
the length of the column.
CAUTION: All die-cut metal parts have a sharp
edge (called “flashing”) on them after they are
formed. This is removed at the factory.
Sometimes though, a bit of flashing might escape
inspection. Please examine the edges of all die-
cut metal parts before handling them.
Tools Required: Only a few common tools are
needed to assemble this machine. Specifically, a
14mm open end wrench, Phillips screwdriver and
3mm and 4mm Allen wrench.
SECTION 2: ASSEMBLY
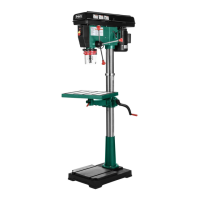
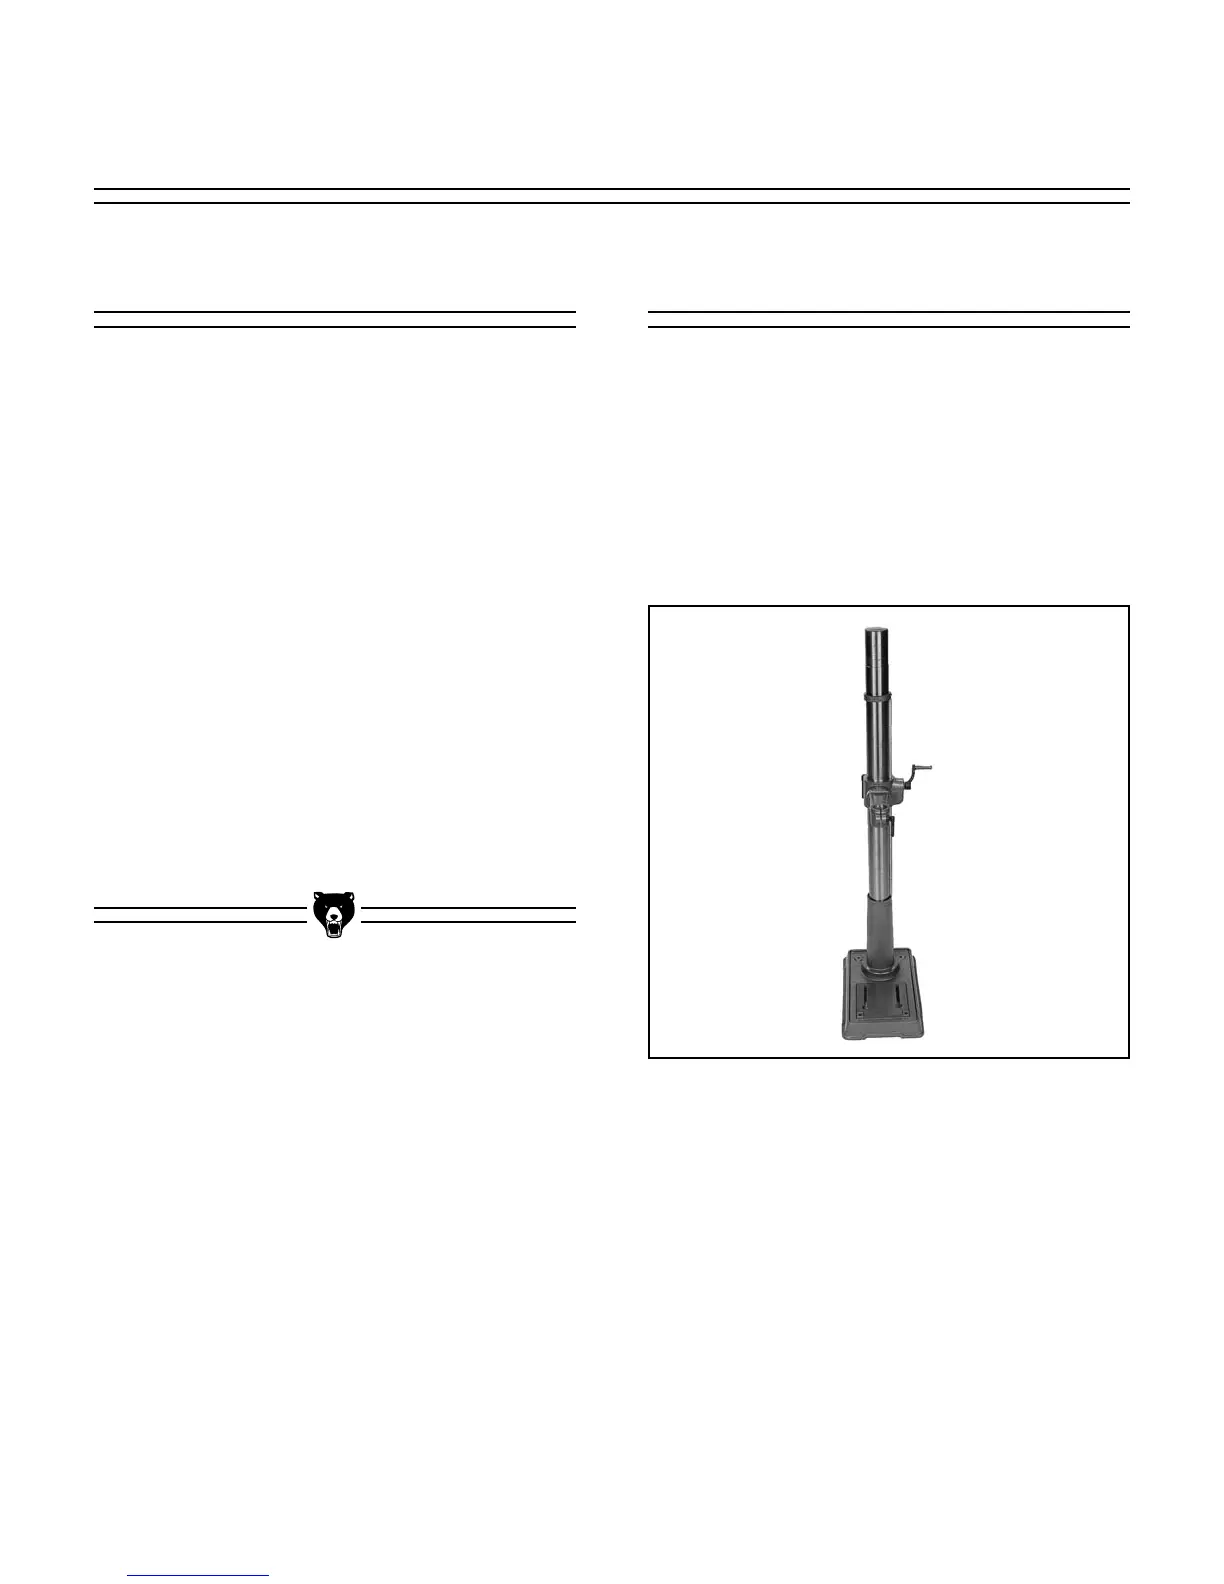
Figure 2. Base to column.
Base/Column
1. Place the base on the floor (if G1200) or on a
suitable bench (if G1199). In either case, be
sure the surface is flat and stable.
2. Place the column onto the base, line up the
four holes and secure tightly with the four
M10-1.5 x 40mm Hex Head Bolts provided.
Figure 2.
 Loading...