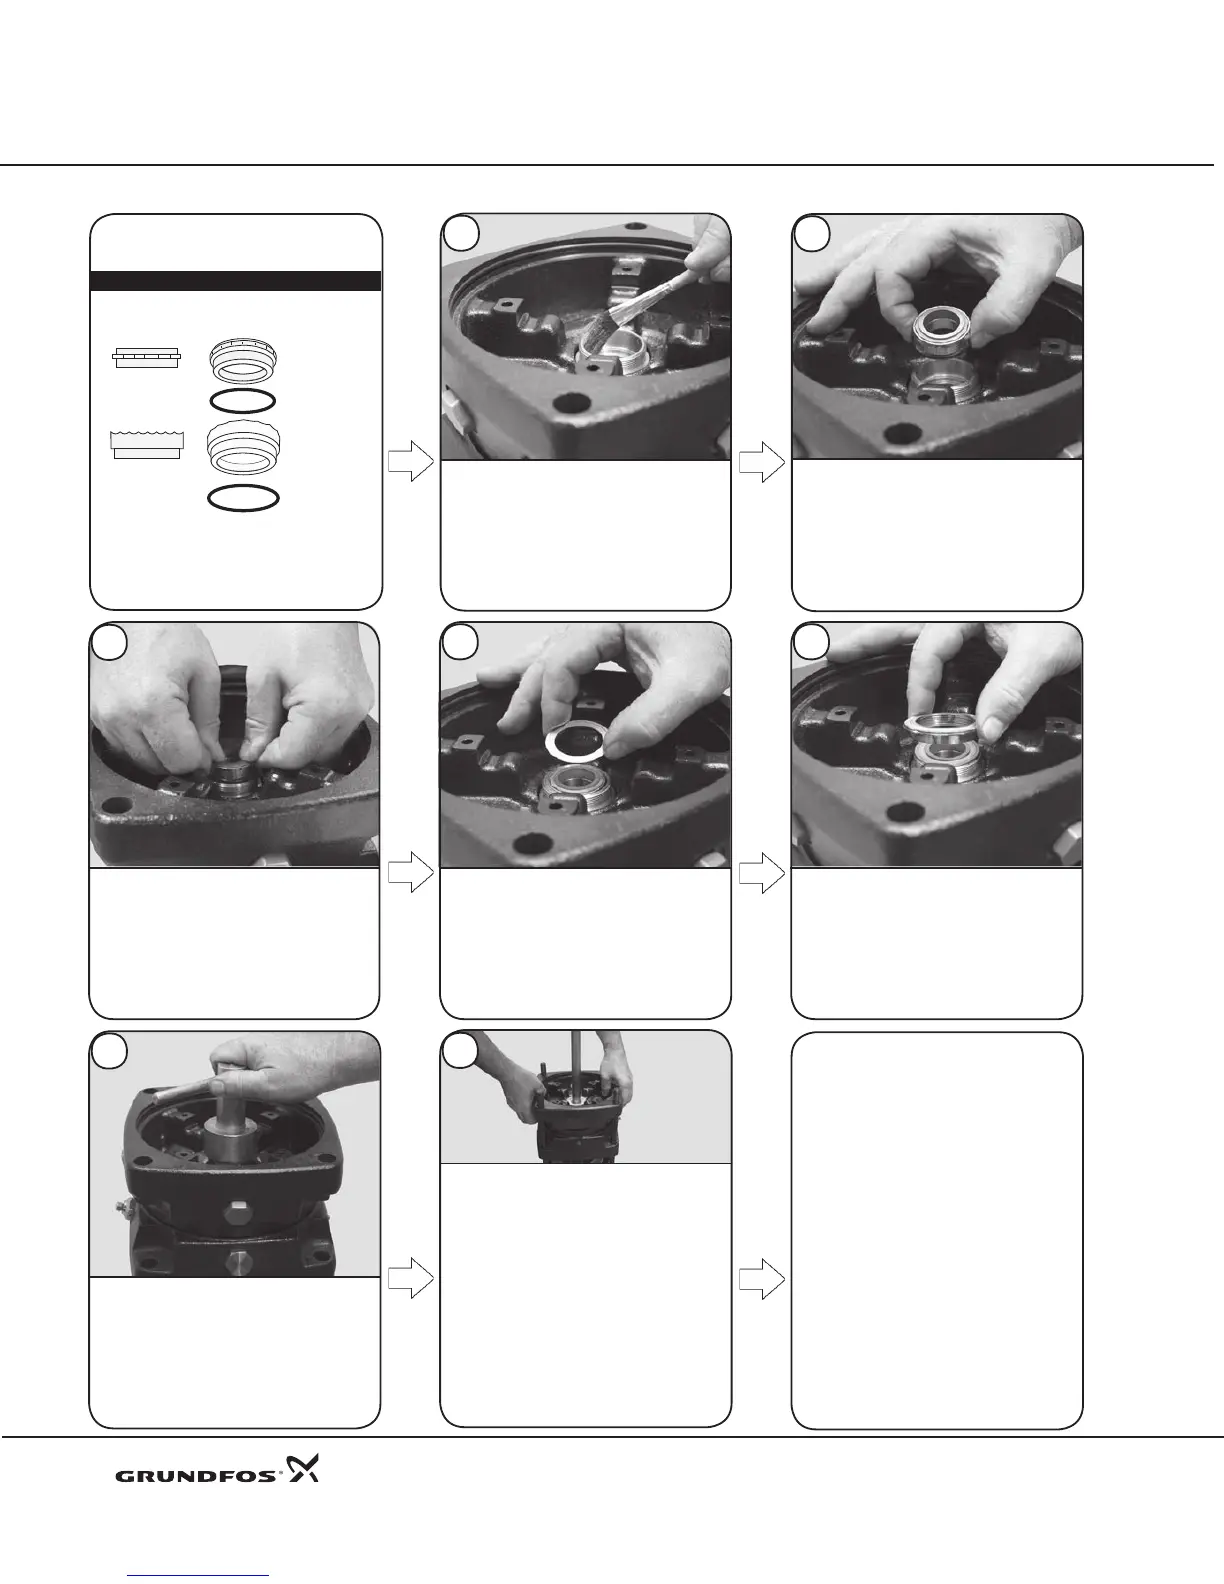
COMPONENTS OF
STATIONARY SEAL
Pos. 103
Upper Seal
Ring
Pos. 102a
O-Ring
Pos. 103a
Retainer
For Upper
Seal Ring
Pos. 102
O-Ring
"N" PUMPS AND MODEL B
Side View
Side View
Use special tool 00SV7902 to tighten
the nut.
Reassembly Procedures CR, CRN 32•45•64•90
Back-to-Back Seal (continued)
Lubricate the inner surface of
the connecting pipe with Rocol,
Dow Corning 111, or soapy
water. Lubricate the threads with
Gardolube or an equivalent FDA
approved non-toxic lubricant.
32
Press the stationary seal assembly
i n t o th e co n n e c t i n g p i p e .
Clean the polished seal face
surface with an alcohol wipe.
34
18
Loosely thread the Securing Nut
(Pos. 148) onto the connecting pipe.
36
The order of assembly
for the rotating portion
of the seal can be seen
on the next page.
To prevent leakage,
it is critical to position
the rotating seal
face correctly.
37
When reusing an existing shaft, rst
clean any set screw marks off the shaft
with a light grit emery cloth before
proceeding with the next step. Then,
lift the complete assembly (lowermost
pump head, spacing ring, middle pump
head, and complete stationary seal) by
the lowermost pump head. Make sure
the Priming Vent Plug (Pos. 18) on the
lowermost pump head is inline/over the
discharge port of the suction/discharge
base. Carefully lower the assembly down
the shaft and staybolts. Firmly seat the
assembly in place onto the sleeve.
38
Lower and press the completed
s t a t i o n a r y s e a l a s s e m b l y
i nt o t h e co n n e c t i n g pi p e .
33
Place the Retaining Washer (Pos. 59a)
onto the seal.
35
 Loading...


