English (GB)
15
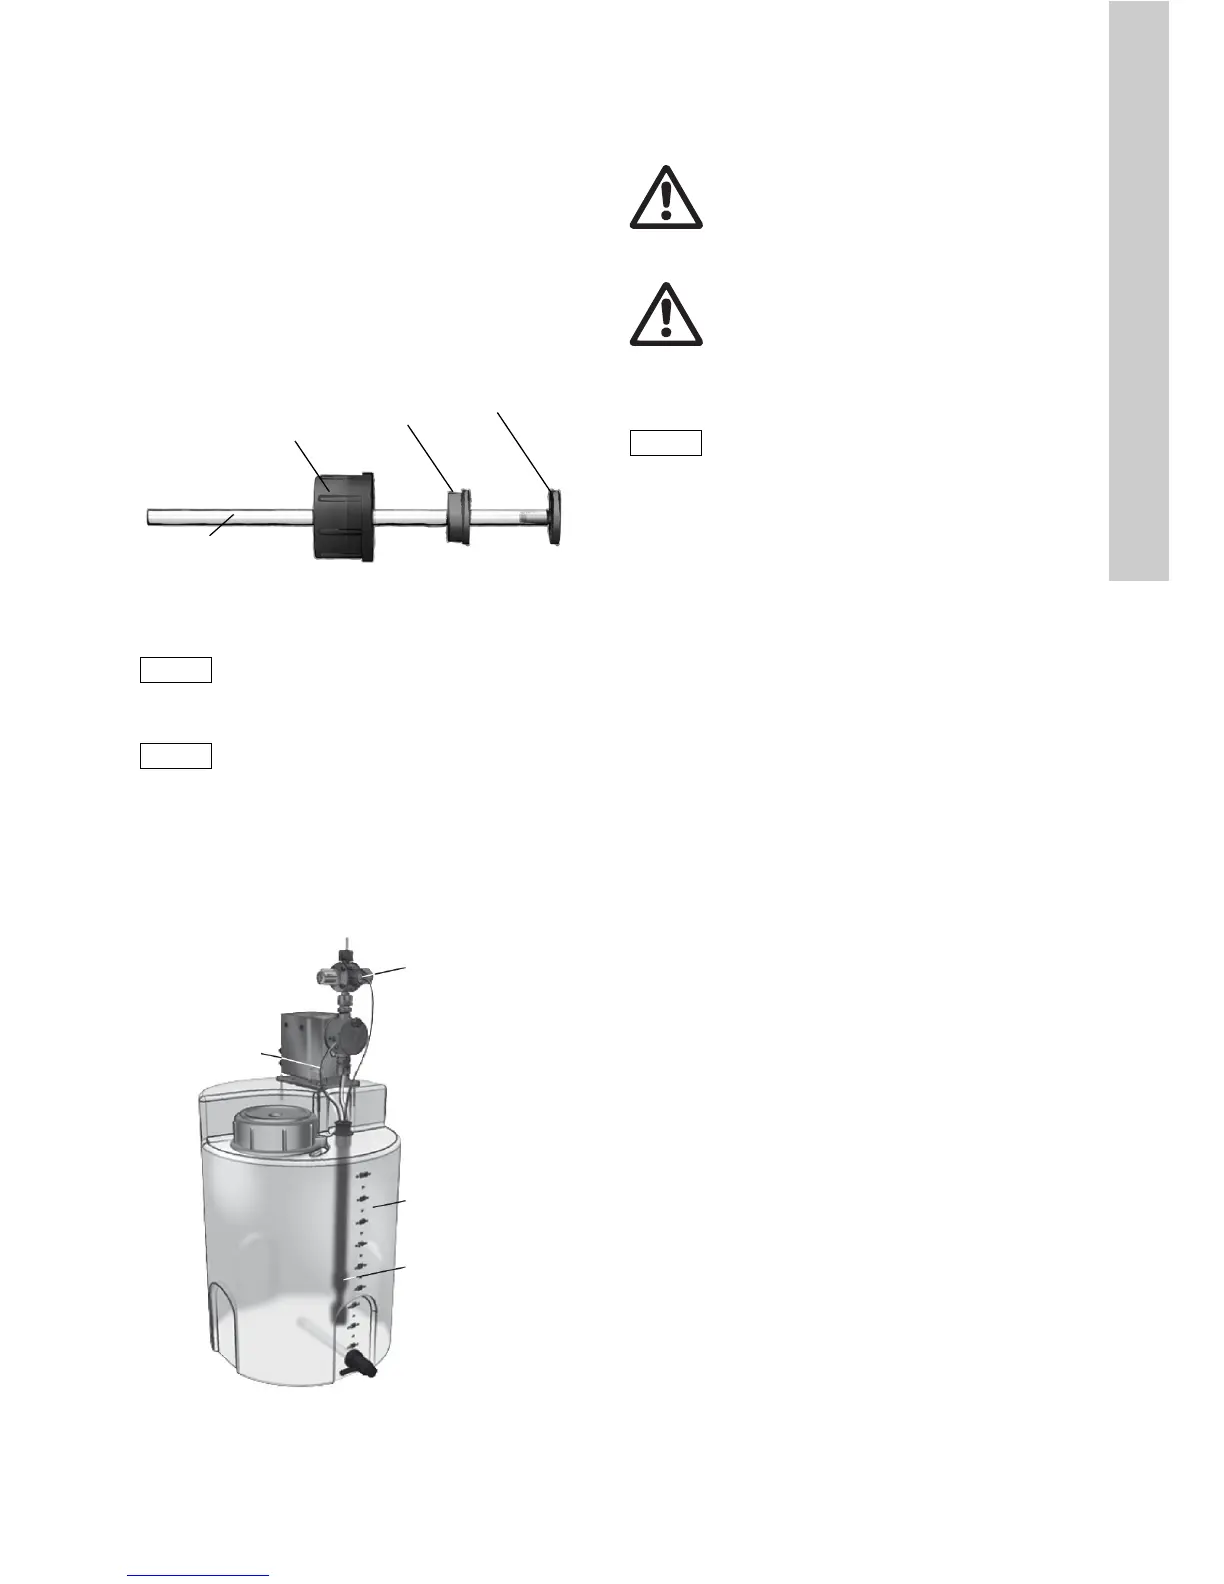
Hose connection procedure
1. Push union nut and tensioning ring across hose.
2. Push cone part fully into the hose, see fig. 6.
3. Attach cone part with hose to the corresponding
pump valve.
4. Tighten union nut manually.
– Do not use tools!
5. Tighten up union nuts after 2-5 operating hours,
if using PTFE gaskets!
6. Attach deaeration hose to the corresponding
connection (see fig. 2) and run into a container or
a collecting tray.
Fig. 6 Hydraulic connection
Installation example
The pump offers various installation options. In the
picture below, the pump is installed in conjunction
with a suction line, level switch and multifunction
valve on a Grundfos tank.
Fig. 7 Installation example
4.3 Electrical connection
Mains connection
The pump is supplied with assembled mains cable
and plug.
1. Set capacity adjustment knob to 0 %
(see 6.1 Operating elements).
2. Connect the mains plug with the mains socket.
TM04 1155 0110
Tighten up the dosing head screws
once before commissioning and after
2-5 operating hours at 3 Nm.
TM04 8171 3510
Warning
The enclosure class (IP65/Nema 4X) is
only guaranteed if plugs or protective
caps are correctly installed!
Warning
The pump can start automatically when
the mains voltage is switched on!
Do not manipulate mains plug or cable!
The mains plug is the separator
separating the pump from the mains.
The rated voltage of the pump, see
section 2.5 Nameplate, must conform
to local conditions.