21
V6.0
DMX model 226 en
5 Commissioning
5.1 Inspections before Commissioning
● Check the tightness of all connections. If necessary, retighten.
● Check the correctness of all electrical connections.
● Check if the voltage indicated on the type plate corresponds with the local
voltage!
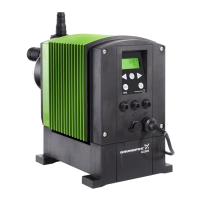
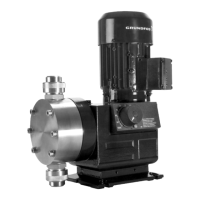
5.2 Commissioning
CAUTION After initial start-up and after each diaphragm
exchange, tighten the fixing screws of the dosing
head:
After approx. 6 to 10 working hours or two
days, tighten the dosing head screws crosswise using
a torque wrench, torque 6 Nm.
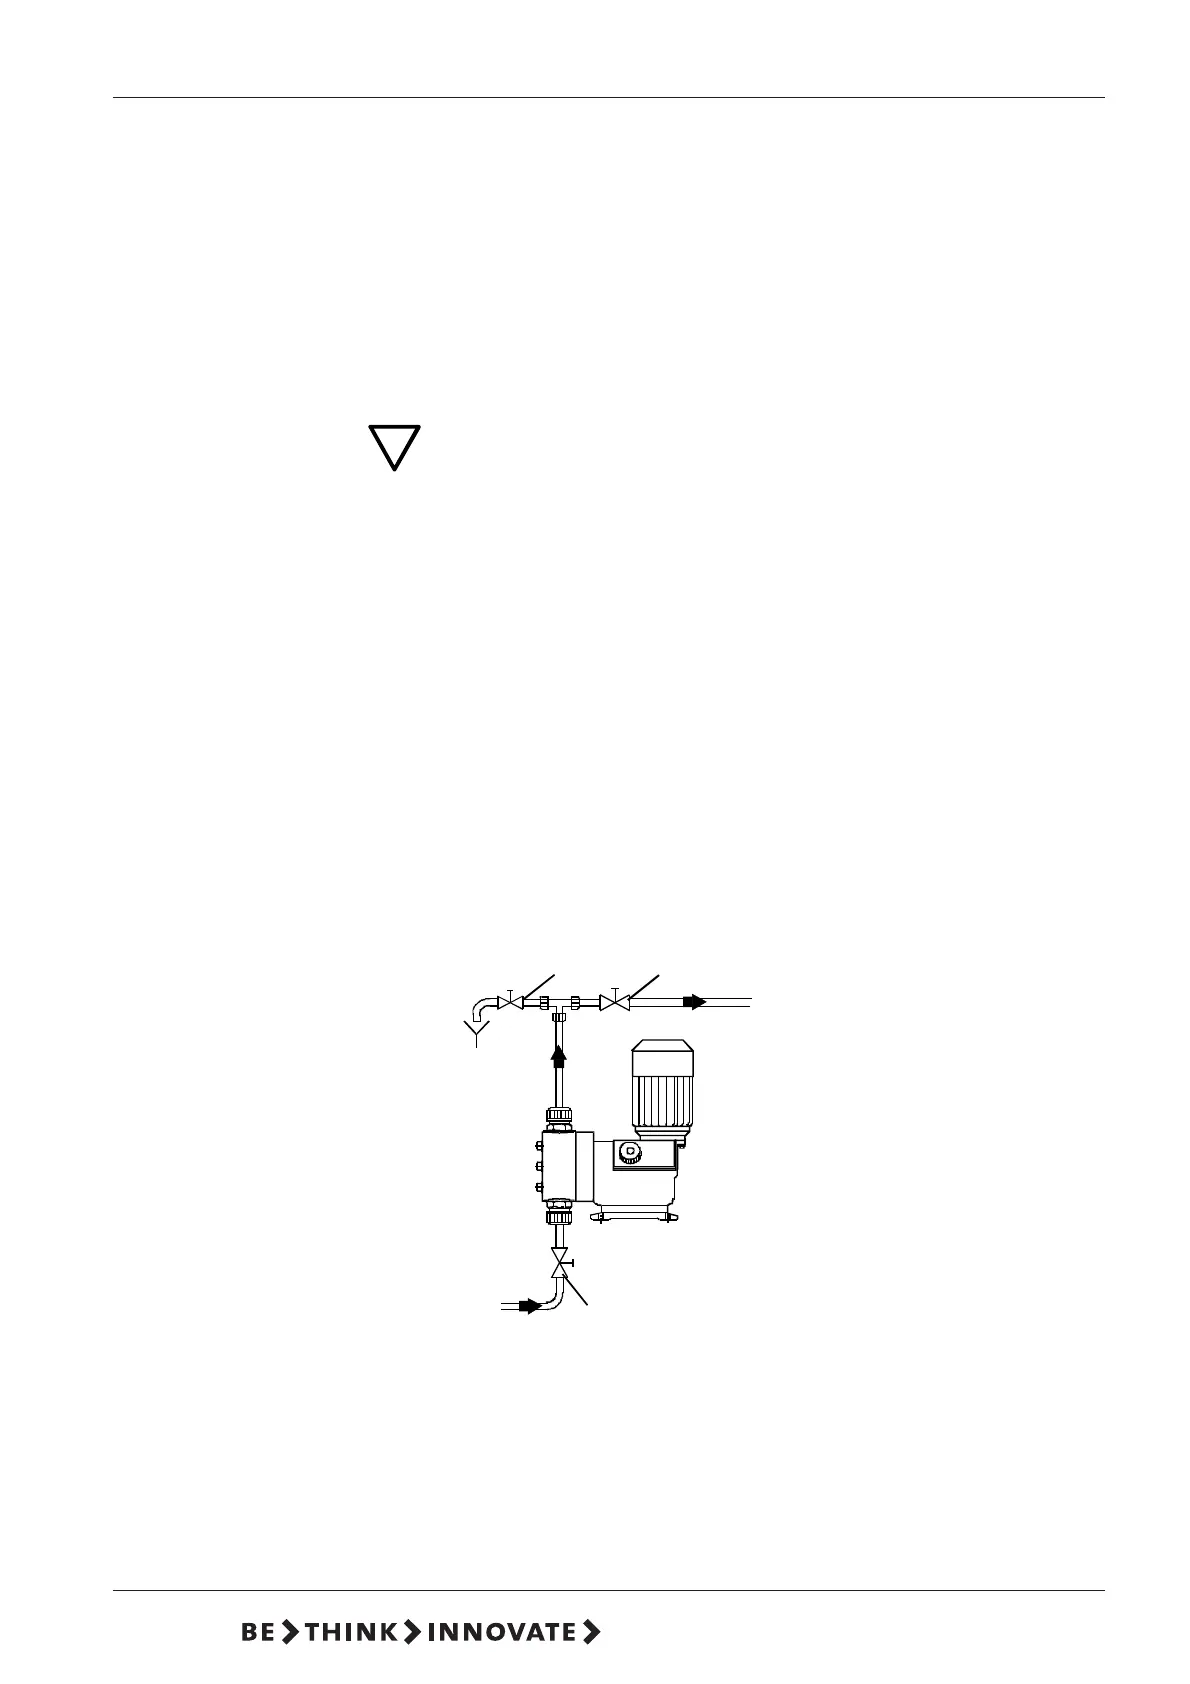
● Open the shut-off valves (15, 16, if installed) both at the suction and
pressure side.
● Open the deaeration valve (17, if installed) of the dosing line, or remove
pressure on the pressure side so that the medium is able to issue without
counterpressure.
● Switch on mains voltage.
● Set the stroke length adjustment knob to 100%.
Keep the dosing pump in operation until bubble-free medium comes out of the
deaeration valve or the dosing line.
● Close the deaeration valve (17, if installed).
The pump is now ready for operation.
1617
15
 Loading...