32 15.720023-V3.0
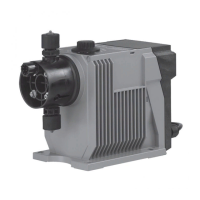
DMX model 227
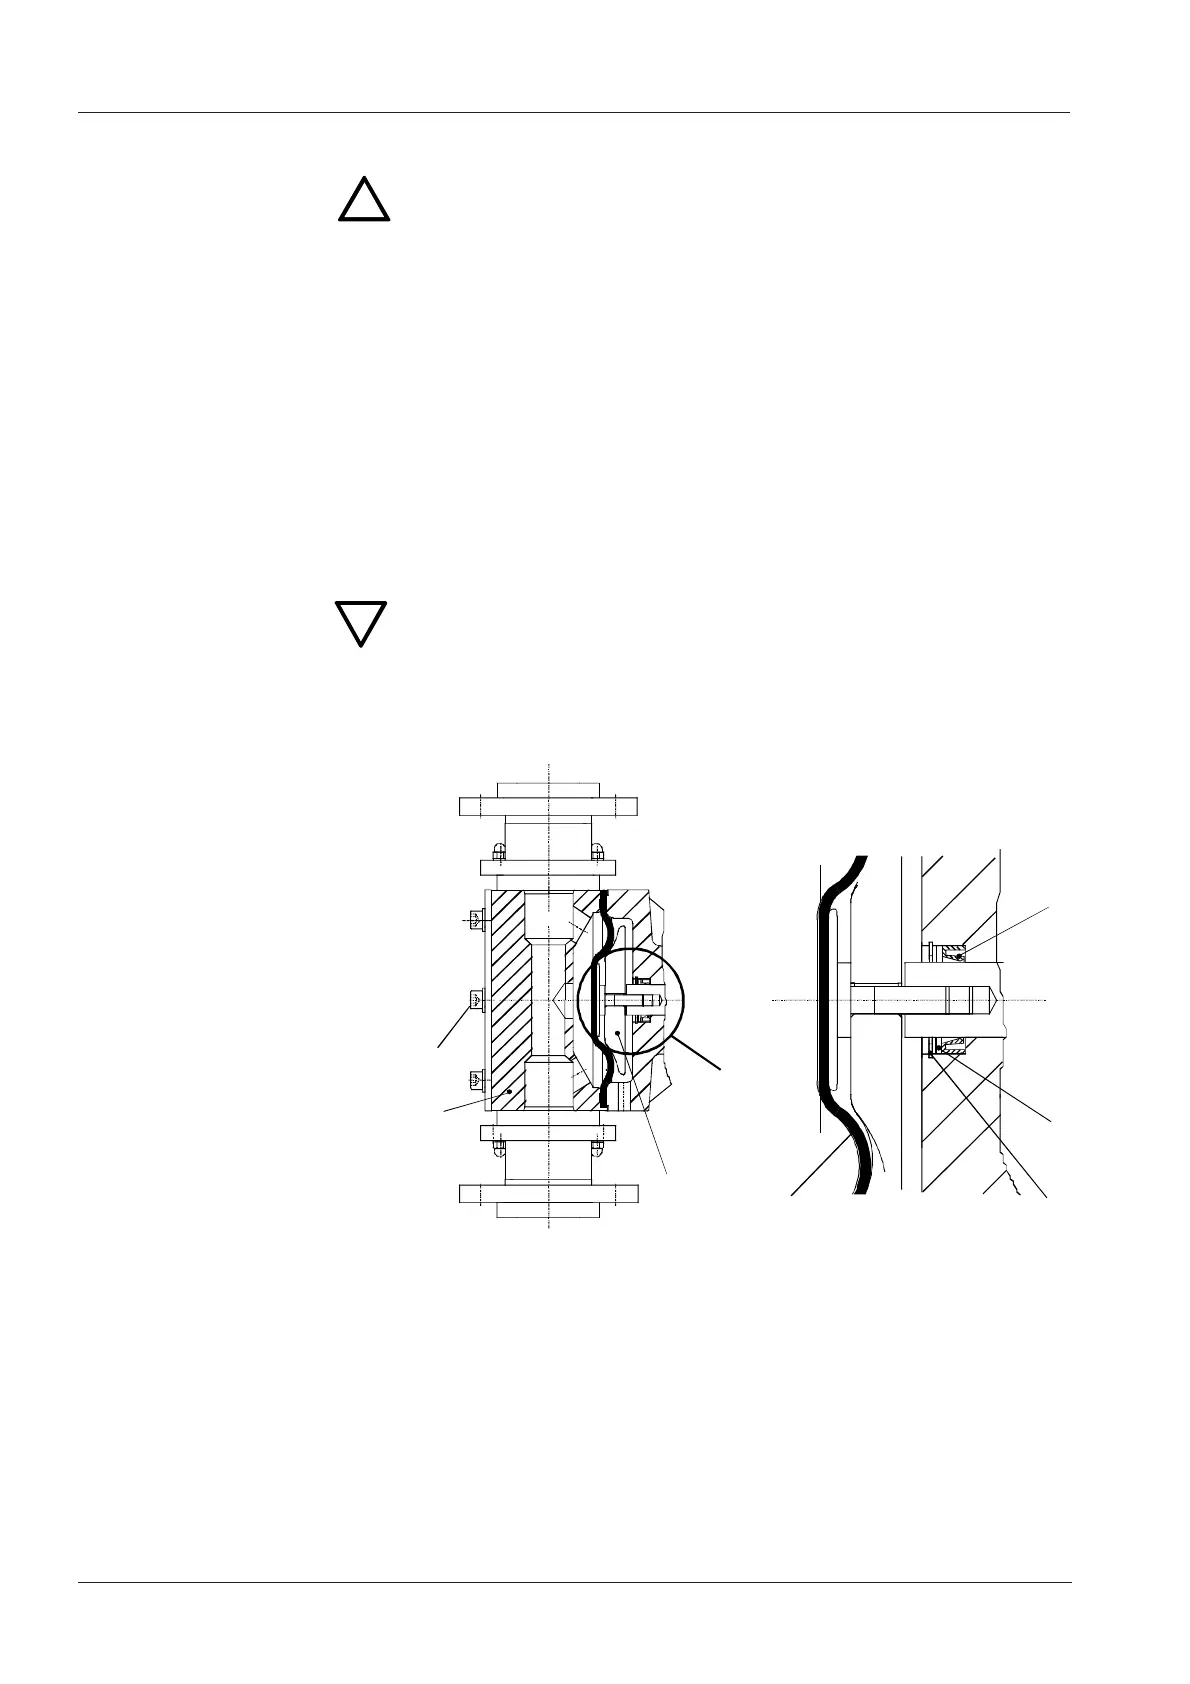
8.4 Exchanging the Diaphragm
!
WARNING Wear protective gloves and glasses when carrying out
work on the dosing head, connections or lines!
● Loosen the 6 screws (2) on the dosing head (3).
● Remove the dosing head (3).
● Unscrew the diaphragm (1) to the left.
● Refit the retaining ring (4), shim ring (5), lip seal (7) and supporting ring (6),
replacing if necessary.
● Screw in the new diaphragm (1).
● Remove the ventilation hood of the motor, and rotate the fan blades until
the diaphragm reaches the rear dead point.
● Attach the dosing head (3), and tighten the screws (2) diagonally.
Max. torque 70-80 Nm.
● Vent the pump, and restart.
CAUTION After initial start-up and after each diaphragm
exchange, tighten the fixing screws of the dosing head:
After approx. 6 to 10 working hours or two days, tighten
the dosing head screws crosswise using a torque
wrench, torque 70-80 Nm.
2
3
6
1
4
5
7
 Loading...