9 / 17
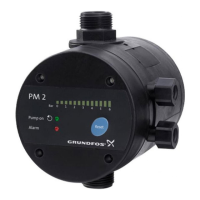
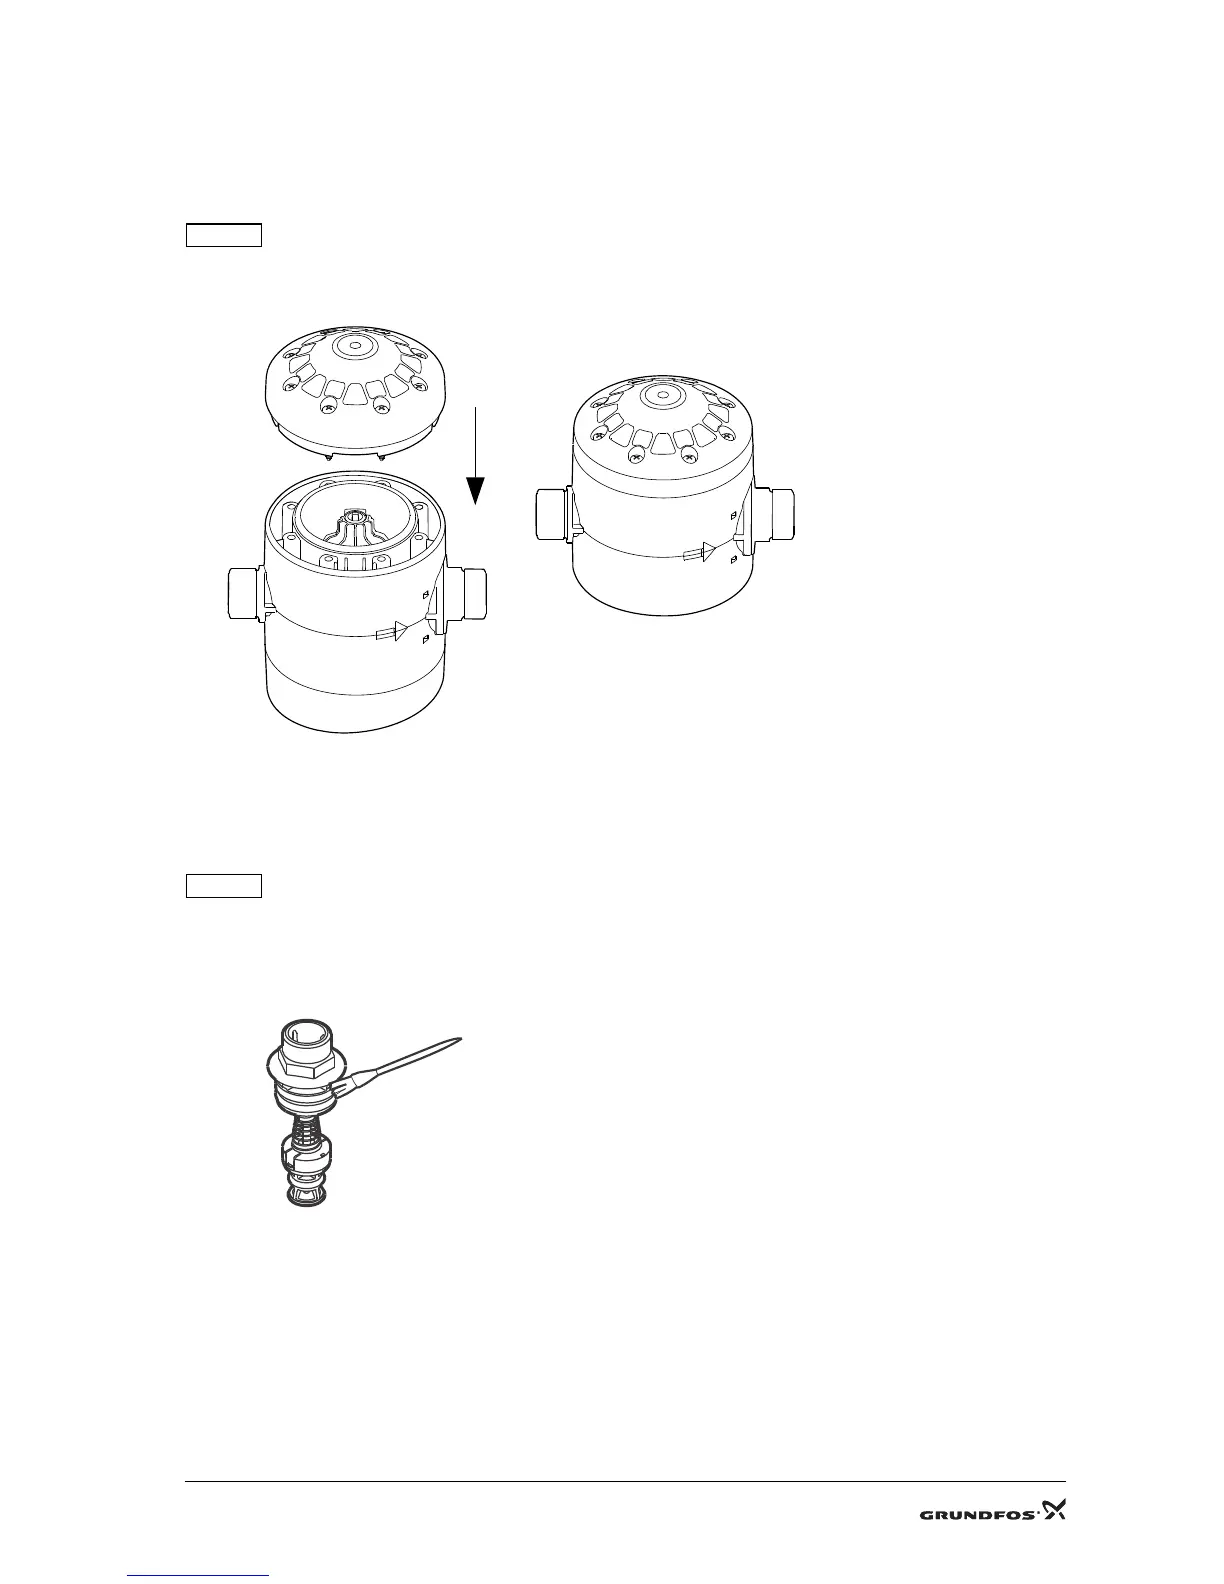
4.3.5 Removing the diaphragm
1. Slacken screws (pos. 16), and remove cover for diaphragm (pos. 15).
2. Remove diaphragm (pos. 14).
4.3.6 Fitting the diaphragm
1. Fit diaphragm (pos. 14) in the cover for diaphragm (pos. 15).
2. Fit cover for diaphragm (pos. 15), and fit and cross-tighten screws (pos. 16) in steps to prevent the back cover
from tilting.
Fig. 11 Correct fitting of cover for diaphragm
4.3.7 Removing the valve
1. Remove side cover (pos. 8) and clamp (pos. 7).
2. Remove the fitting and valve (pos. 6) out of the housing (pos. 5) by pulling the outlet fitting.
4.3.8 Fitting the valve
1. Lubricate the O-ring. See Fig. 12
Fig. 12 Lubricating the O-ring
2. Press valve (pos. 6) home in the housing (pos. 5).
3. Fit clamp (pos. 7) and side cover (pos. 8).
 Loading...