English (GB)
27
10.3 Assembling the pump
10.3.1 Fitting the shaft seal
Procedure
1. Fit and lubricate the O-ring (pos. 153b) with oil.
2. Slide the shaft seal (pos. 105) gently over the shaft.
3. Fit and tighten the screws (pos. 186).
4. Fit and lubricate the O-ring (pos. 107) in the cover for oil
chamber (pos. 58) with oil.
5. Fit the cover for oil chamber.
6. Fit and tighten the screws (pos. 188).
Procedure (pump with sensor)
1. Fit and lubricate the O-ring (pos. 153b) with oil.
2. Slide the shaft seal (pos. 105) gently over the shaft.
3. Fit the holder (pos. 522) and sensor (pos. 521) with one of the
screws (pos. 186).
4. Fit the second screw and tighten both screws (pos. 186).
5. Fit and lubricate the O-ring (pos. 107) in the cover for oil
chamber (pos. 58) with oil.
6. Check that the sensor is positioned correctly, see section
8.4.1 Fitting the WIO sensor and fig. 11. This is of special
importance in horizontal pumps.
7. Fit the cover for oil chamber.
8. Fit and tighten the screws (pos. 188).
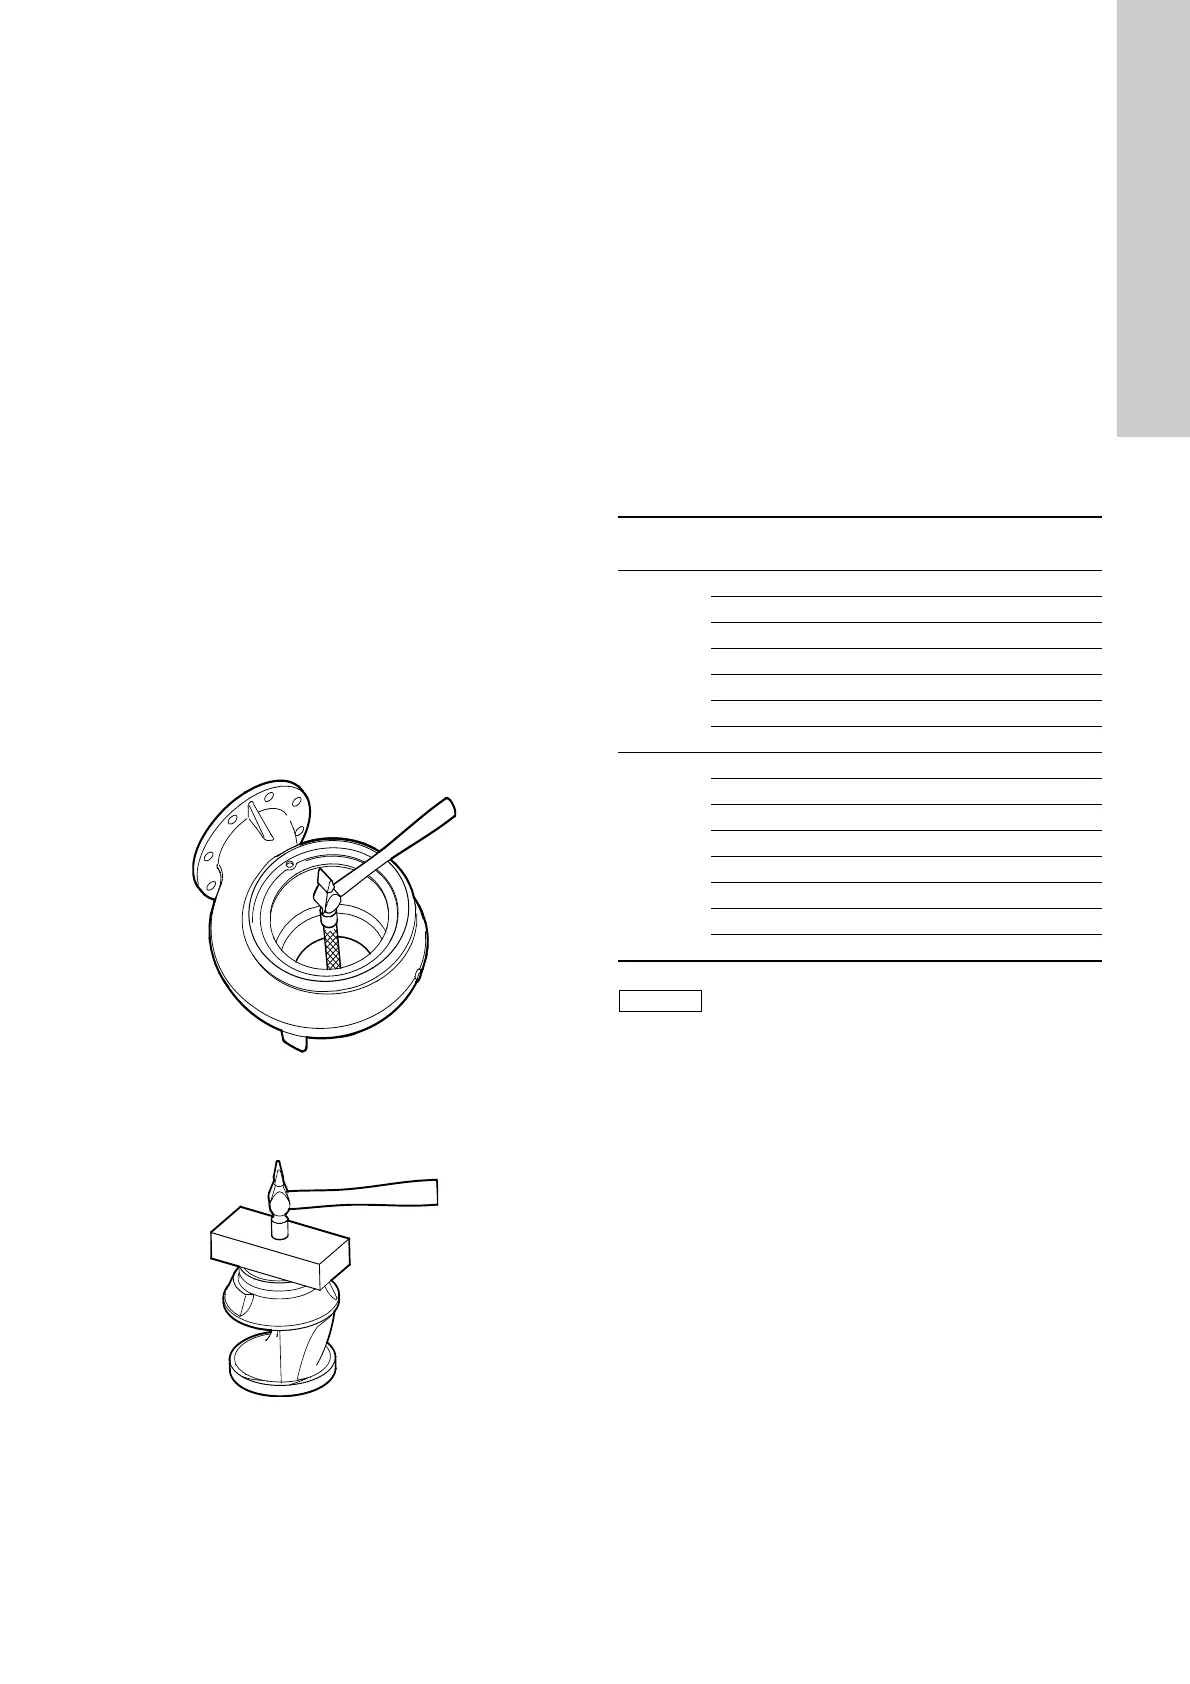
10.3.2 Fitting the seal ring and wear ring
Procedure
1. Lubricate the seal ring (pos. 46) with soapy water.
2. Place the seal ring in the pump housing.
3. Knock the seal ring home in the pump housing using a punch
or a wooden block.
Fig. 21 Fitting the seal ring
4. Place the wear ring (pos. 49c) on the impeller.
5. Knock the wear ring home using a wooden block.
Fig. 22 Fitting the wear ring
10.3.3 Fitting the impeller and pump housing
Procedure
1. Fit the spring (pos. 157) and the key (pos. 9a).
Keep the key in position while the impeller is fitted.
2. Fit the impeller (pos. 49).
3. Fit the washer (pos. 66) and the screw (pos. 188a).
4. Tighten the screw (pos. 188a) to 75 Nm. Hold the impeller
with the strap wrench.
5. Mark the position of the pin on the pump housing.
6. Mark the position of the pin hole on the oil chamber.
7. Fit and lubricate the O-ring (pos. 37) with oil.
8. Fit the pump part in the pump housing (pos. 50).
9. Fit the clamp (pos. 92).
10. Tighten the screw (pos. 92a) to 12 Nm.
11. Check that the impeller rotates freely and without drag.
10.4 Oil quantities
The table shows the quantity of oil in the oil chamber of SL1 and
SLV pumps. Oil type: Shell Ondina 919.
TM02 8421 5103TM02 8423 5103
Power
[kW]
Oil quantity
[l]
2-pole
2.2 0.6
3.0 0.6
4.0 1.0
6.0 1.0
7.5 1.0
9.2 1.2
11.0 1.2
4-pole
1.1 0.6
1.3 0.6
1.5 0.6
2.2 0.6
3.0 1.0
4.0 1.0
5.5 1.0
7.5 1.2
Used oil must be disposed of in accordance with
local regulations.

 Loading...