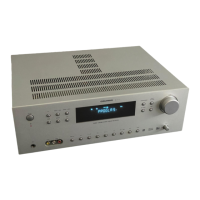
GRUNDIG Service CINIO AVR 5200 DD
1 - 6
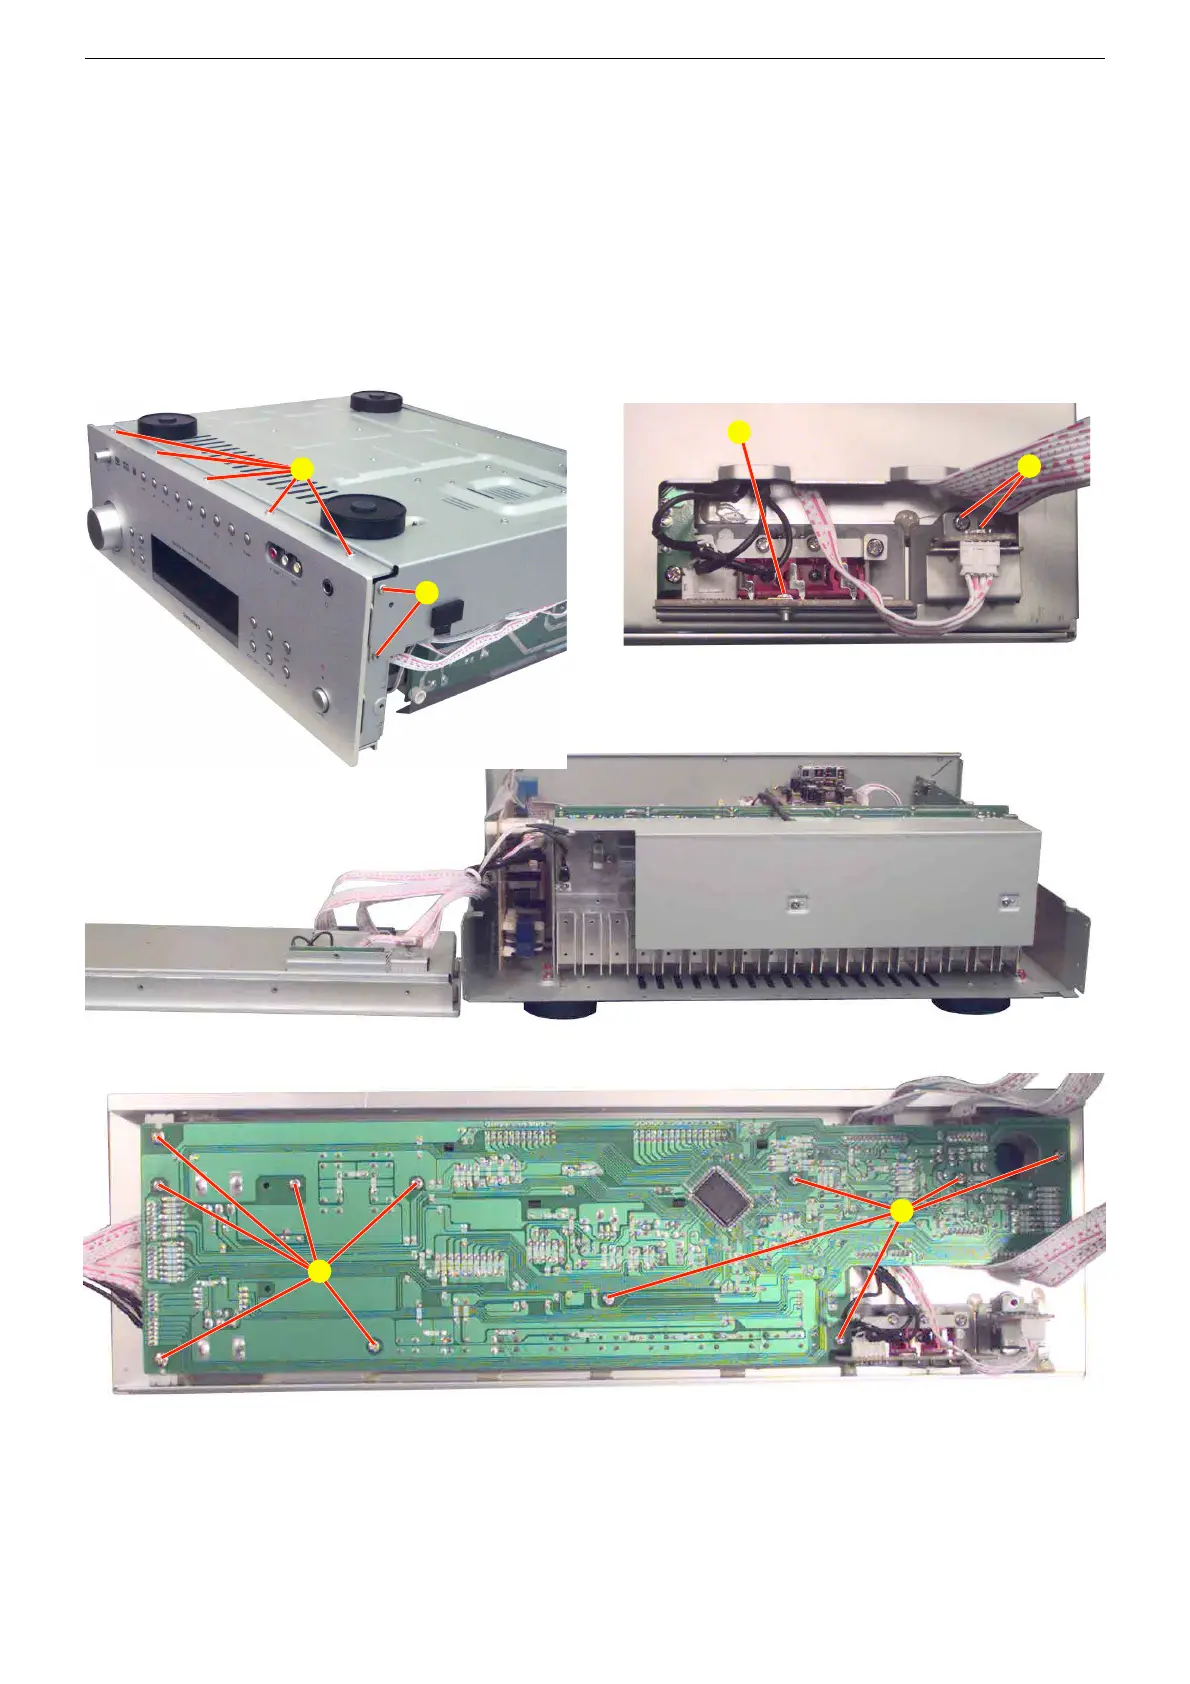
8. Front
- 5 Schrauben M (Fig. 7) herausdrehen.
- 4 Schrauben N (Fig. 7) herausdrehen.
- Front nach vorne ziehen.
- Netztaste ausrasten.
- Steckverbindungen der rechten Seite lösen.
- Front zur linken Seite umlegen (Fig. 9).
- Schraube O (Fig. 8) herausdrehen.
- 2 Schrauben P (Fig. 8) herausdrehen.
- 5 Schrauben Q (Fig. 2) herausdrehen.
- Abdeckblech abnehmen.
- Bei Bedarf Steckverbindungen lösen.
- Lautstärkereglerknopf abziehen.
- 11 Schrauben R (Fig. 10) herausdrehen.
8. Front
- Undo 5 screws M (Fig. 7).
- Undo 4 screws N (Fig. 7).
- Pull the front carefully forward.
- Disengage the mains button.
- Unplug connectors on the right side.
- Move the front to the left (Fig. 9).
- Undo screw O (Fig. 8).
- Undo 2 screws P (Fig. 8).
- Undo 5 screws Q (Fig. 2).
- Remove the cover sheet.
- When necessary unplug connectors.
- Pull up the volume control knob.
- Undo 11 screws R (Fig. 10).
9. Netzteil-Platte
- Schraube B (Fig. 2) herausdrehen.
- 4 Schrauben S (Fig. 2) herausdrehen.
- Netztaste ausrasten.
- Bei Bedarf Steckverbindungen lösen.
9. Mains Unit PCB
- Undo screw B (Fig. 2).
- Undo 4 screws S (Fig. 2).
- Disengage the mains button.
- When necessary unplug connectors.
Fig. 7
Fig. 9
Fig. 8
Fig. 10
O
P
R
R
N
M
 Loading...