IV) OPERATION
Temperature Adjustment
The National Plumbing code requires that the temperature
of residential electric service water heaters be set at 60°C
(140°F) (Canada), 49°C (120°F) (U.S.A.). The maximum
outlet temperature of some bath fixtures must be tempered
to 49°C (120°F) to reduce risk of scalding. Higher tempera-
tures increase the risk of scalding. The thermostats operate
automatically. They can be adjusted to provide warmer or
cooler water temperature. Set both thermostats to the
SAME setting (if applicable).
If water temperature adjustment is required:
1. Turn the electrical supply to the water heater "OFF".
2. Remove the access door(s) and insulation pad(s).
3. Check with a voltage tester at terminal 1 and 3 of the
limit control that power is indeed "OFF".
4. Adjust the thermostat(s) to the water temperature
desired (if a two-thermostat system exists, set both ther-
mostats at the same temperature).
5. Ensure insulation pad is in the door cavity. Replace
access door(s).
6. Turn the electrical supply to the water heater "ON".
Temperature Limit Control
For safety, a non-adjustable high limit temperature switch
will shut off the power when excessive water temperatures
are reached. This switch must be re-set manually. See
“Trouble-Shooting” section.
V) MAINTENANCE
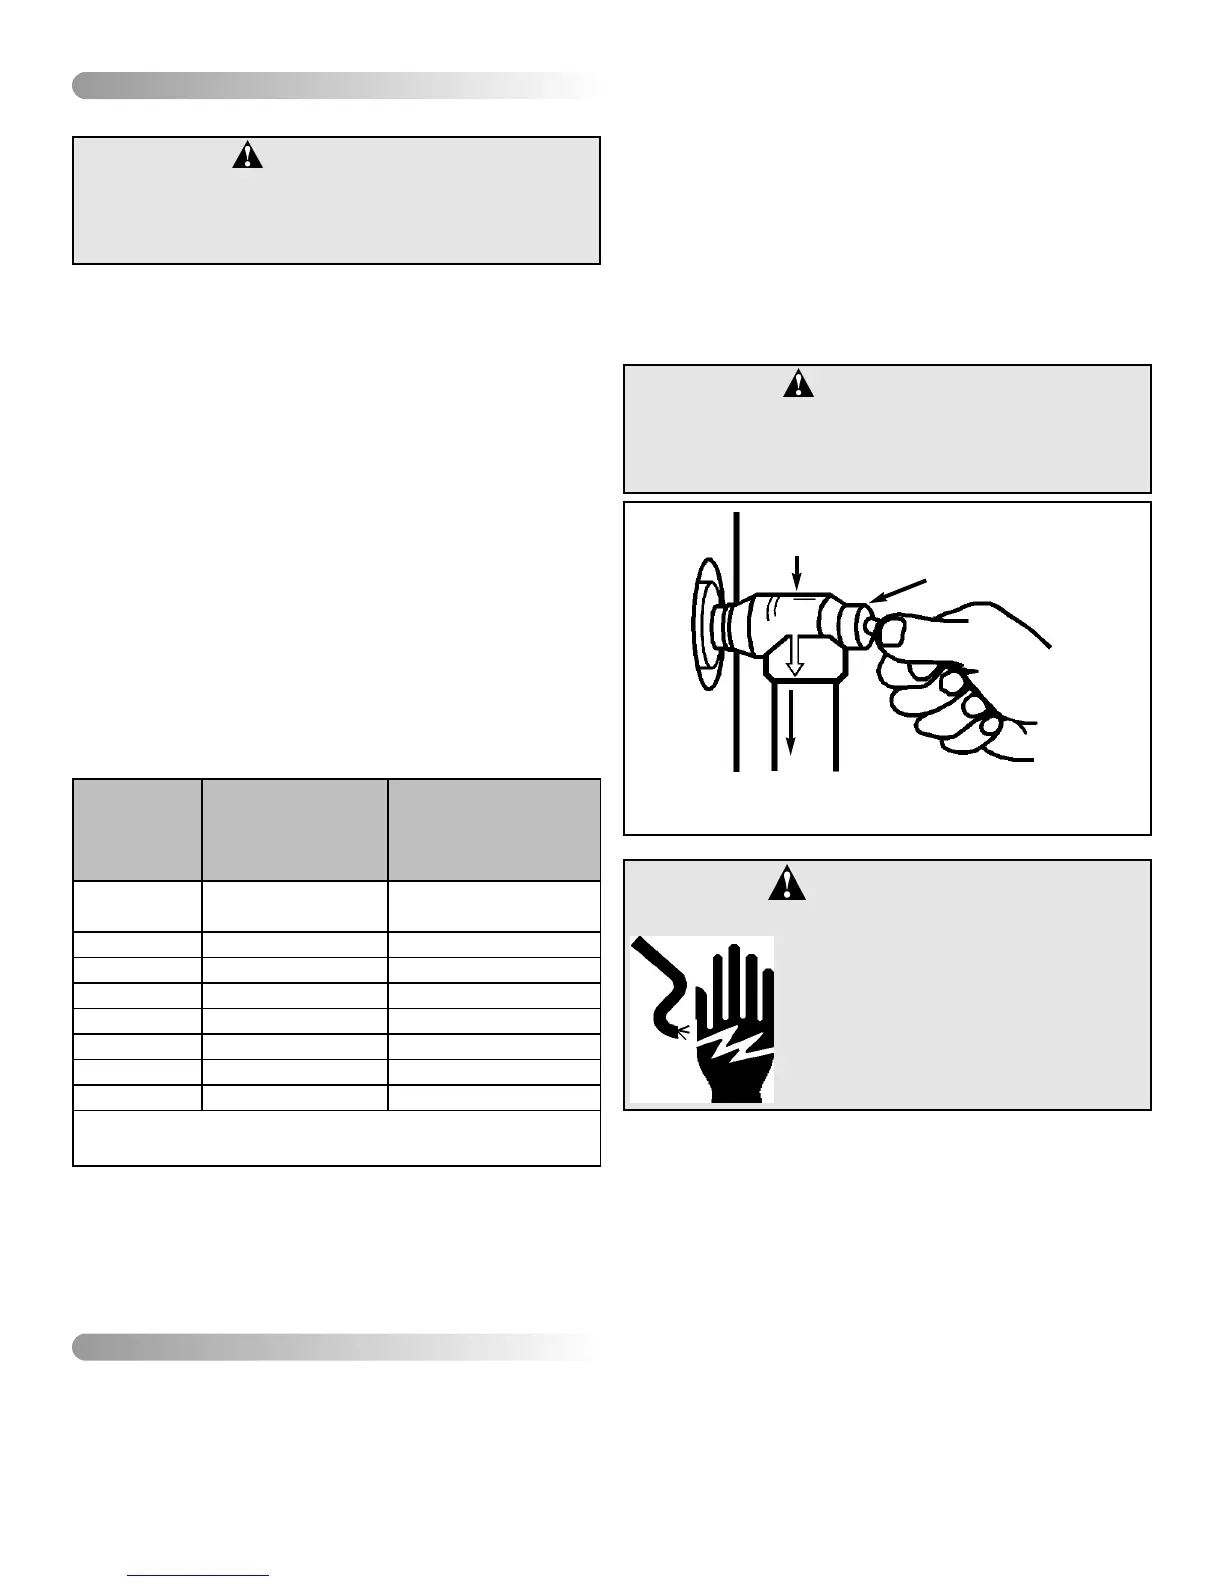
Temperature & Pressure Relief Valve
Manually operate the temperature and pressure relief valve
at least once a year to make sure it is working properly and
that there are no blockages. To prevent water damage, the
valve must be properly connected to a discharge line that
terminates at an adequate drain. Standing clear of the
outlet (discharged water may be hot), slowly lift and
release the lever handle on the temperature and pressure
relief valve (see Figure 3) to allow the valve to operate freely
and return to its closed position. If the valve fails to com-
pletely reset and continues to release water, immediately
turn "OFF" the electrical supply to the tank, and close the
cold water supply valve and call a qualified service techni-
cian. In systems where the relief valve discharges periodi-
cally, this may be due to thermal expansion causing pres-
sure build up. See “Pressure Build-Up (Thermal
Expansion)” section.
Element Replacement
1. See “Draining the Tank” section to remove water from
the heater.
2. Turn the electrical supply to the water heater "OFF".
3. Remove the access door(s) and insulation pad(s).
4. Disconnect wires from heating element terminals.
5. Unscrew the element using a 1-1/2 in. socket wrench or
tool number S1008, available from your water heater
distributor.
6. Replace element with new one, taking care that sealing
gasket is in the groove of element flange.
7. Re-connect wiring, and replace Di-Electric shields.
8. Ensure insulation pad is in the door cavity. Replace
access door(s).
9. Fill tank with water BEFORE turning ELECTRICITY on.
See “Filling the Tank” section.
– 7 –
WARNING:
Risk of scalding
There is a hot water scald potential if the
thermostat is set too high.