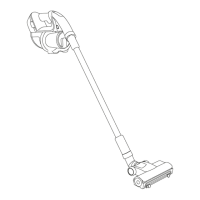
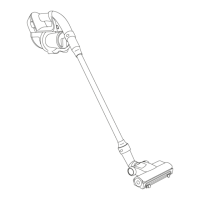
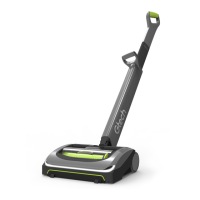
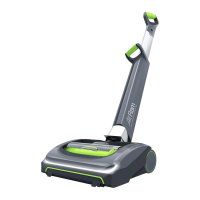
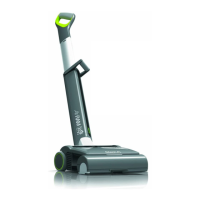
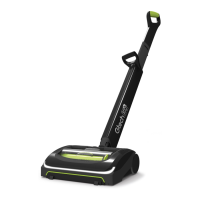
The Gtech Pro 2 is a cordless vacuum cleaner designed for domestic dry vacuum cleaning. It features a lightweight and versatile design, allowing for both floor cleaning and above-floor cleaning with various attachments. The product is powered by a Li-ion battery, offering two power settings: Max mode for higher suction and shorter runtime, and Eco mode for lower suction and longer runtime. The vacuum turns on in the mode it was last used.
Function Description:
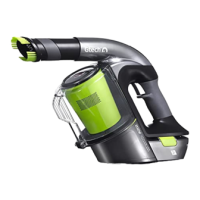
The Gtech Pro 2 is primarily used for vacuuming dry debris from various floor surfaces, rugs, and carpets. Its AirLOC technology is designed to pick up both larger pieces of debris with a forward motion and finer particles when pulled back. The constantly rotating brush bar aids in effective cleaning. For above-floor cleaning, the main unit can be used with attachments like the dusting brush or crevice tool, or with the extension tube for reaching high areas. An optional power brush attachment can be used for more intensive cleaning on specific surfaces. The vacuum also includes a scented cartridge to release a pleasant fragrance during operation.
Usage Features:
To operate the Gtech Pro 2, simply press the large button above the handle to turn it on or off. The power settings (Max and Eco) can be toggled using a switch located in front of the On/Off button. For floor cleaning, the extension tube sections are joined and the power floor head is fitted. All parts should be correctly lined up and pushed into place, ensuring the product is switched off before attaching or removing accessories. To disassemble, fingers are placed in the indents of the tube, and the sections are gripped and pulled apart. When cleaning, place your foot gently on the head of the vacuum and pull the body back towards you until you hear a click. A headlight on the power floor head illuminates the cleaning area. The battery state of charge is indicated by green LEDs, which turn off downwards as the charge depletes.
Maintenance Features:
Regular maintenance of the Gtech Pro 2 involves keeping it clean, checking for blockages, removing hair from the brush bar, and charging the battery. The exterior of the appliance should be wiped clean with a dry cloth; water, solvents, or polishes should not be used, and the unit should never be immersed in water or cleaned in a dishwasher. The product should not be used without a bag fitted, as this can damage the motor and invalidate the warranty.
Battery Management:
The Li-ion battery should be recharged when a single green light flashes. The charger is plugged into the charging port on the side of the battery. A full charge takes approximately 4 hours, indicated by all 4 LEDs showing solid green. A 1-hour charge can provide a burst of cleaning. The battery can be charged both on or off the main unit. To remove the battery, pull the latch at the top. To refit, slot it into the front of the product from the bottom first, with the latch facing outwards, and push until it clicks into place.
Bag Installation and Removal:
To install a bag, gently pull the lid upwards to remove it. Expand the new bag before insertion for maximum efficiency. Fit the bag collar onto the tube underneath the lid and push it up firmly. Pull the bag down to sit vertically. Once the bag is attached and straightened, place the lid back onto the main body, ensuring the bag cap is inserted. When the bag is full, lift the lid and remove it from the product with the bag attached. Carefully remove the bag from the product lid to avoid squashing contents and insert the bag cap to secure contents. Used bags should be disposed of and replaced with new, authentic Gtech bags; reusing bags can damage the product and reduce performance. A light above the window on the lid indicates when the bag is full or if there's a blockage.
Blockage Clearing:
If suction is low despite an empty bag and a new bag fitted, a blockage may be present. To check for blockages, remove the battery and lid, then look through the nozzle. Also, remove the bag from the lid and check for blockages within the lid itself. Any blockages found should be removed. The tools themselves can also sometimes become blocked.
Brush Bar Maintenance:
To remove the brush bar, first detach the power floor head from the extension tube. Rotate the latch on the side of the powered floor head to the 'unlock' position and pull out the brush bar. To remove hair, use the hair removal tool to cut the hair along the groove, then pull it out. The power floor head should never be operated without the brush bar in place.
The Gtech Pro 2 supports several optional accessories. The power brush attaches over the standard nozzle (with the power off) and provides additional powered cleaning. To remove it, press the buttons on the sides of the attachment and pull it away. The scented cartridge slides into an opening on the right side of the lid; its absence can affect the product's seal and performance. A flexible power hose attaches like other accessories and can be used with or without additional tools. The Car Accessory Kit includes three tools that fit directly into the product's nozzle. A wall mount is provided for storage, which should be installed at least 1072mm from the floor, using appropriate fixings. The detachable tool kit from the wall mount can be carried on a belt during cleaning.
Safety and Warranty:
It is crucial to read all instructions before use and retain them for future reference. The appliance should not be used in rain or left outdoors. Basic safety precautions, including those related to electrical and personal safety, must always be observed. The product is designed for domestic dry vacuum cleaning only and should not be used to pick up liquids or flammable/burning materials. Only Gtech-supplied batteries and chargers should be used. The warranty covers manufacturing defects for 2 years from the date of purchase or delivery, provided the product is registered and proof of purchase is available. Normal wear and tear, consumables, accidental damage, misuse, or unauthorized repairs are not covered. The product and its Li-ion battery should be disposed of properly at a recognized recycling facility at the end of their life.