20
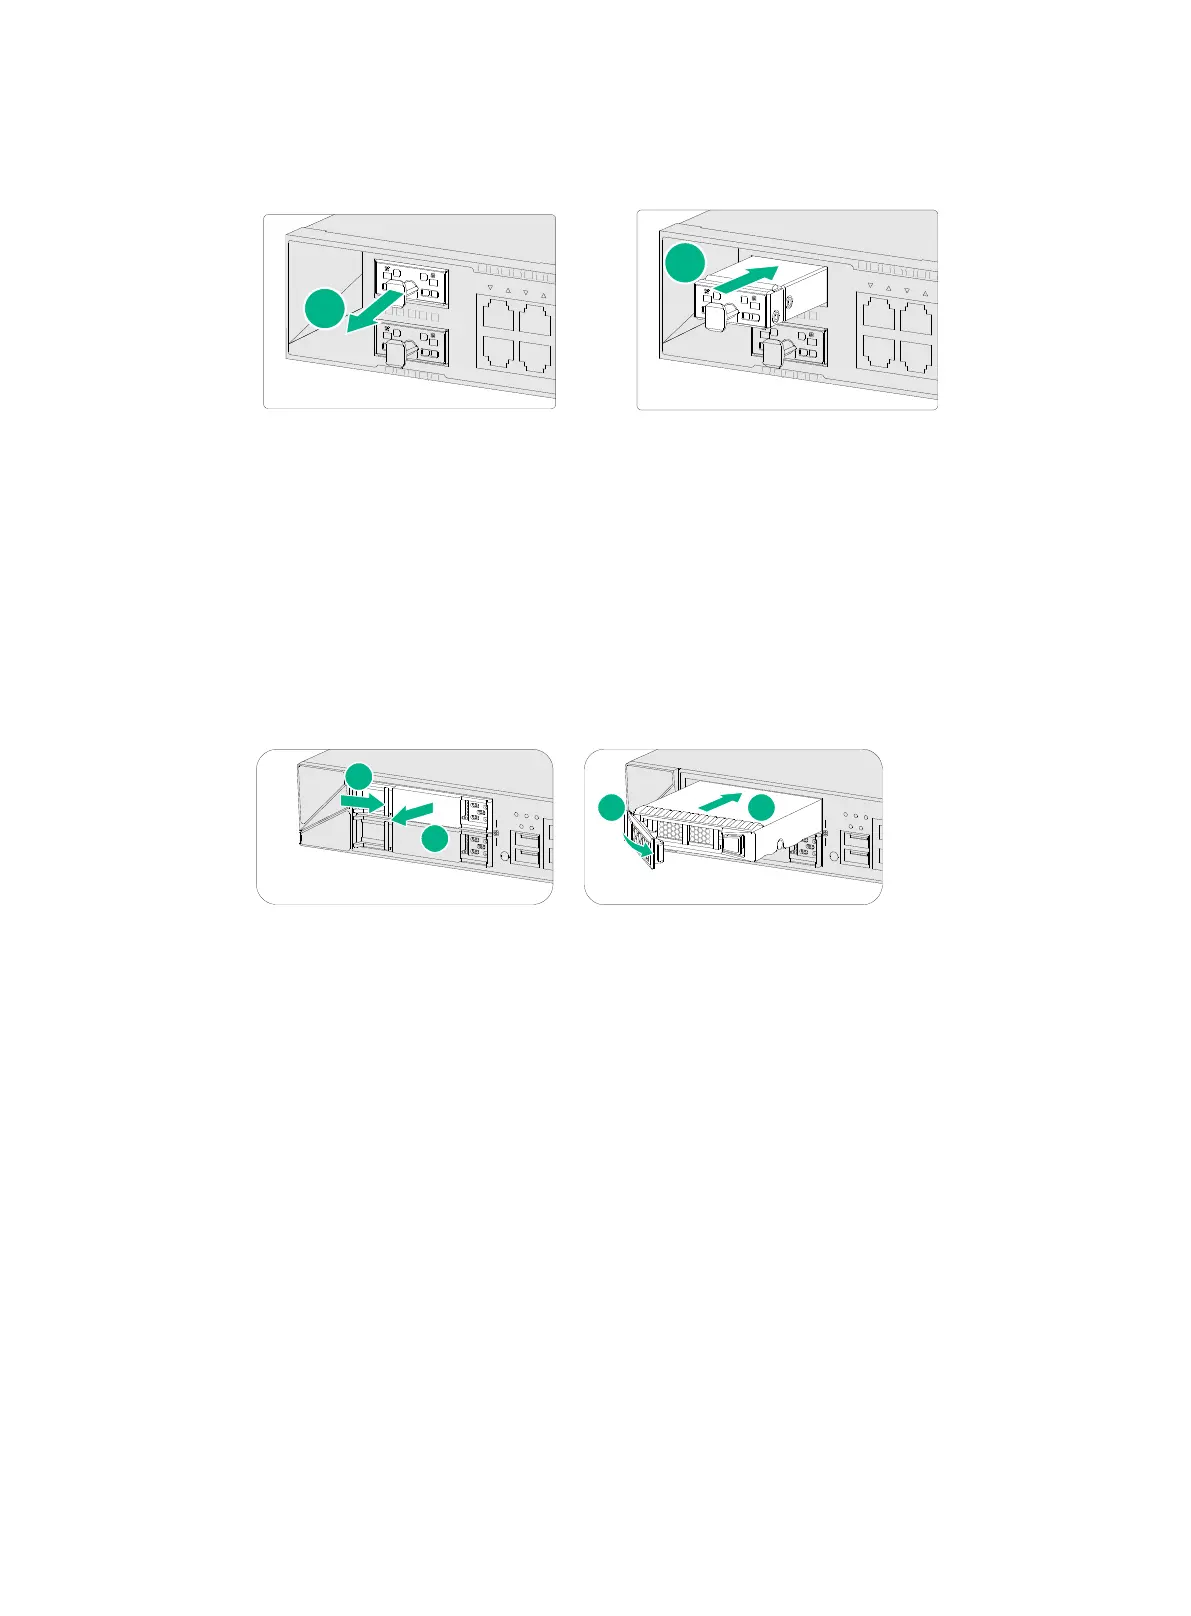
3. Push the drive into the slot slowly along the guide rails.
Figure2-19 Installing a drive for an F1000-AI-10 firewall
Installing a drive for other firewalls than the F1000-AI-15
1. Wear an ESD wrist strap and make sure it makes good skin contact and is reliably grounded.
2. Remove the filler panel from the drive slot.
3. Press the button on the drive panel to release the locking lever.
4. Hold the locking lever and push the drive into the slot slowly along the guide rails.
5. Close the locking lever.
Figure2-20 Installing a drive
Connecting Ethernet cables
Connecting a copper Ethernet port
You can use either a straight-through or a cross-over network cable. For more information about
Ethernet twisted pair cables, see "Ethernet twisted pair cable."
To connect a copper Ethernet port:
1. Connect one end of the Ethernet cable to the copper Ethernet port of the firewall, and the other
end to the Ethernet port of the peer device.
2. Examine whether the LEDs of the Ethernet port are normal. For more information about LEDs,
see "Appendix B LEDs."
After connecting the firewall to the network, you can use the
ping or tracert command to
examine network connectivity. For more information, see the related command reference.
 Loading...