6
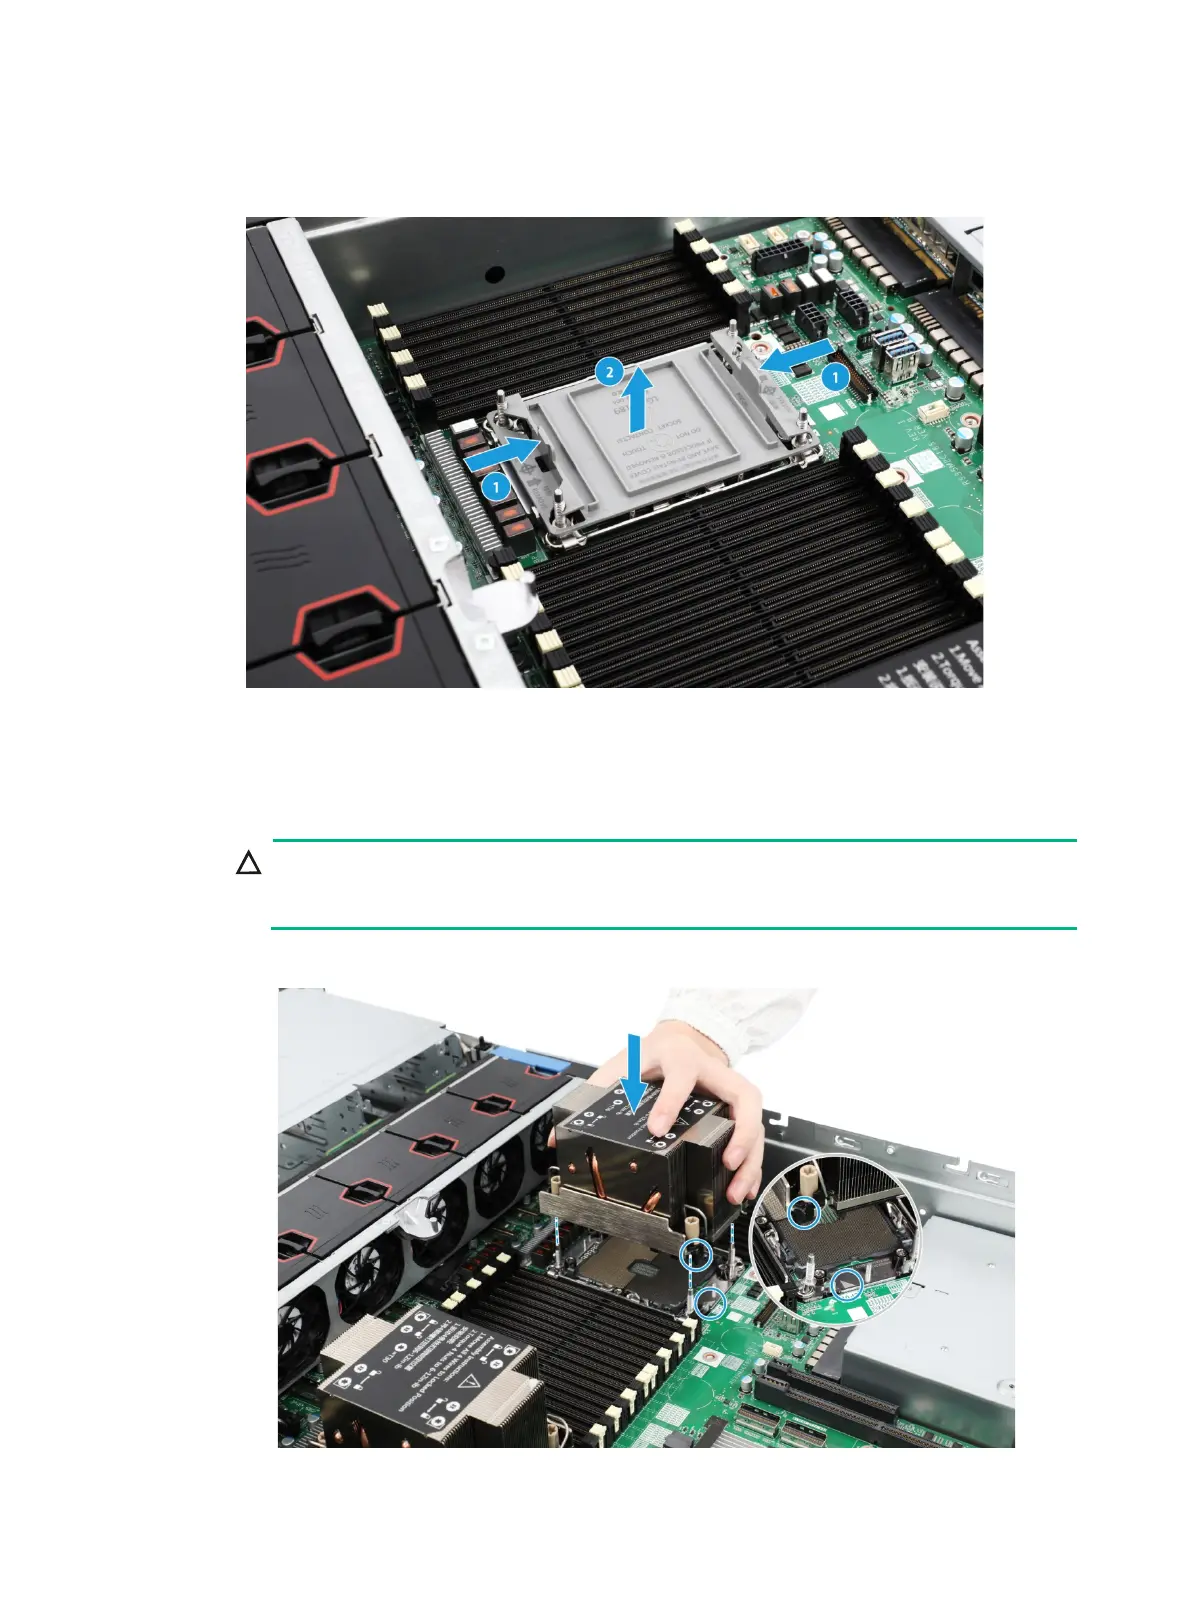
As shown in Figure1-8, hold the cover by the tabs at both sides, and lift the cover straight up to
remove it from the socket. Keep the cover secure for future use.
Figure1-8 Removing the processor socket cover
5. Install the heatsink onto the server.
a. Align the alignment triangle on the retaining bracket with the cut-off corner of the processor
socket and the pin holes in the heatsink with the guide pins on the processor socket. Lower
down the heatsink on the processor socket. See Figure1-9.
To avoid damages to the heatsink, hold the heatsink in the correct way as shown in
Figure1-10.
Figure1-9 Attaching the heatsink to the processor socket

 Loading...


