6
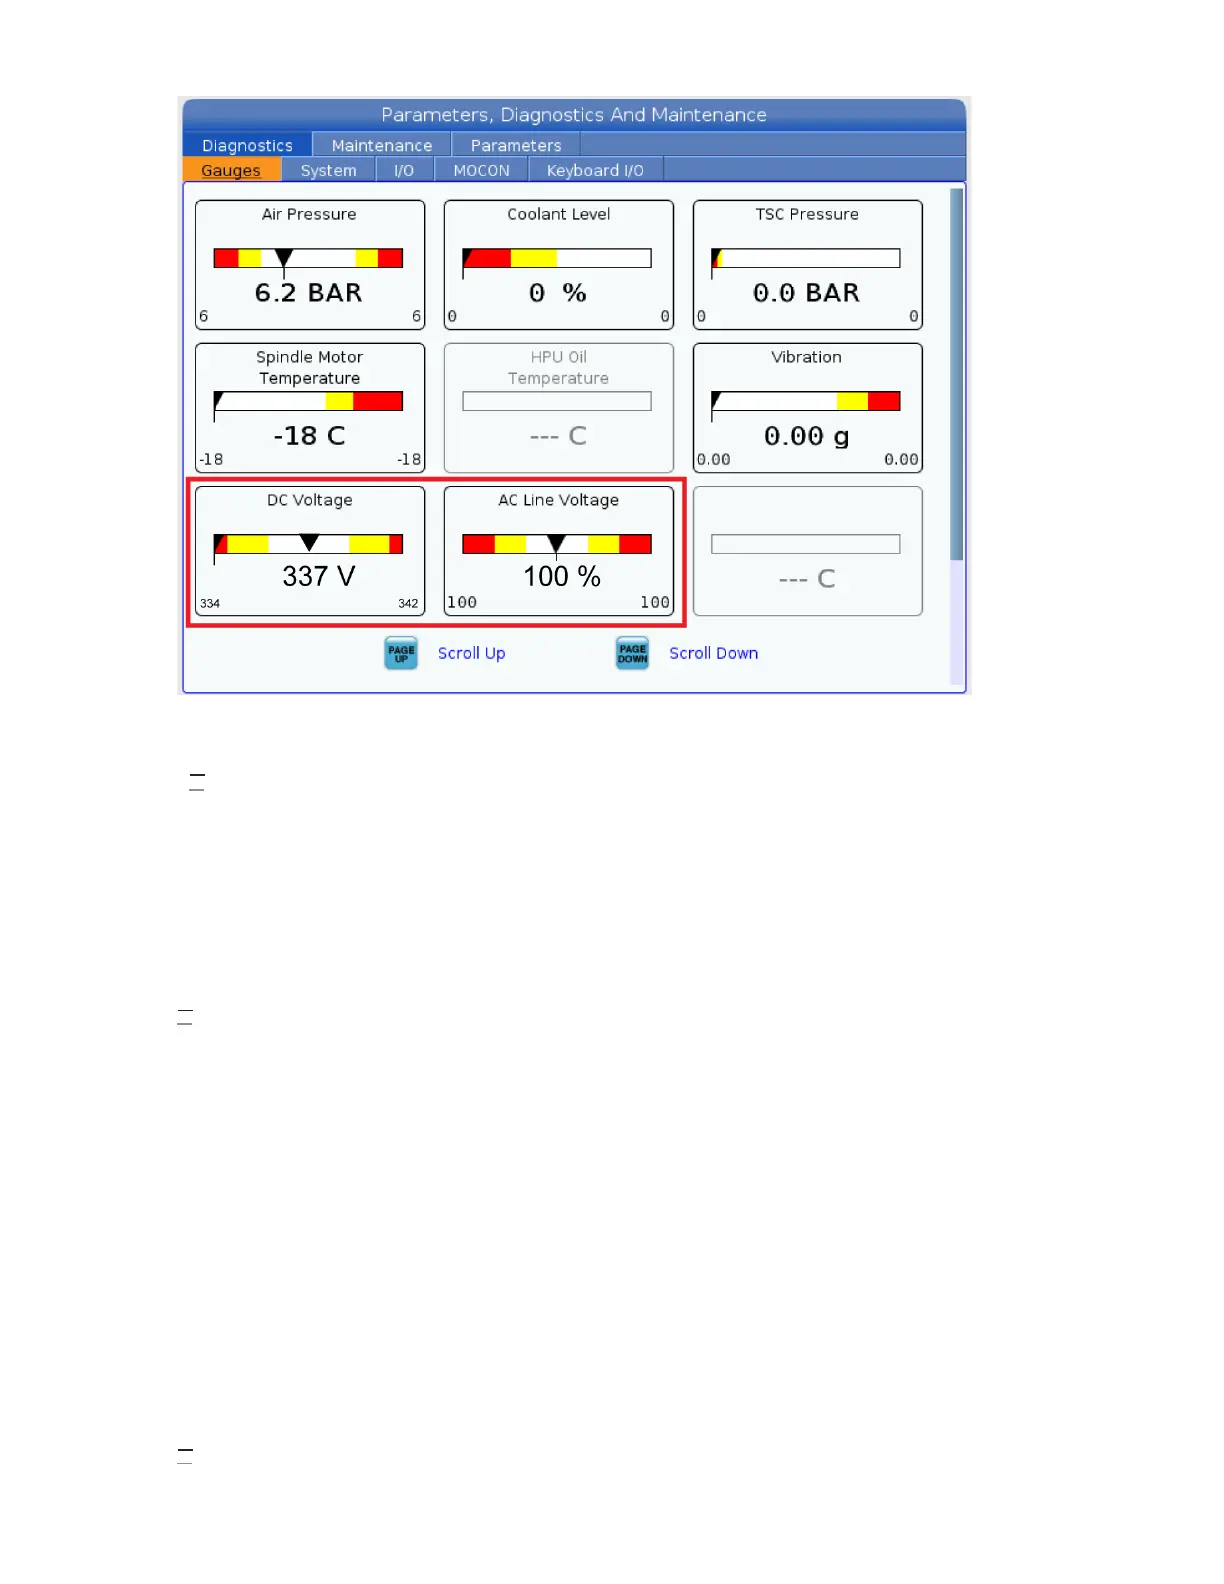
Apply power to the control by pressing the Power-On switch on the front panel.
Check the DC Voltage and AC Line Voltage gauges in Diagnostics. The DC Voltage gauge must read between
310 - 360V. The AC Line Voltage must be between 90 and 105 percent. If the voltage is outside these limits,
turn off the power and recheck steps 2 and 3. If the voltage is still outside these limits, call the factory.
7
Electrical power must be phased properly to avoid damage to your equipment. The Power Supply Assembly PC
board incorporates a "Phase Detect" circuit with neon indicators. When the orange neon is lit (NE5), the phasing
is incorrect. If the green neon is lit (NE6), the phasing is correct. If both neon indicators are lit, you have a loose
wire; check the connections. Adjust phasing by setting the source power to off and then swapping L1 and L2 of
the incoming power lines at the main circuit breaker.
Danger: ALL POWER TO CNC MUST BE TURNED OFF LOCKOUT-TAGOUT AT THE SOURCE PRIOR TO
ADJUSTING PHASING. ALWAYS DOUBLE CHECK THE INCOMING LINES WITH AN AC VOLTAGE
DETECTOR.
Turn off the power and set the main circuit breaker to OFF. Close the door, lock the latches, and turn the power
back on.
Remove the key from the control cabinet and give it to the shop manager.
8
Activation