

R
Rachel BrownAug 20, 2025
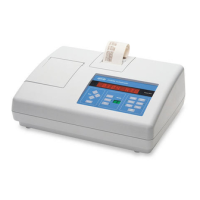
What to do if Hach 2100AN shows ERR03?
- AadamrichardsAug 20, 2025
If the Hach Laboratory Equipment displays ERR03, which indicates a low light error, try re-inserting the sample. Ensure that the lamp is on and check for any obstructions in the light path. Dilution of the sample may also be necessary.