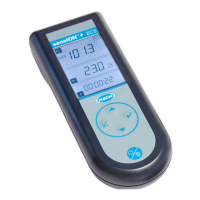
Table 3 Keypad description (continued)
Key Function Description
4 HARD CAL Completes a hard calibration. Refer to Calibration on page 17. The status indicator light is
yellow.
5 ZERO CAL Completes a zero-point calibration. Refer to Calibration on page 17. The status indicator
light is yellow.
Startup
Start the instrument
Note: Install the pressure plate correctly to prevent sample flow directly into the reagents. Refer to Install the pump
valve pressure plate on page 11.
1. Open the supply valve to the instrument.
2. Let the pressure in the tubes stabilize.
Note: If leaks occur under pressure, examine all connections. Secure connections until all leaks have stopped.
3. Set the power to on.
4. Operate the instrument for approximately 2 hours with the sample and reagents.
Note: The sample cell will have bubbles on the surface until it is fully wetted. The bubbles can cause irregular
readings until the sample flow stabilizes.
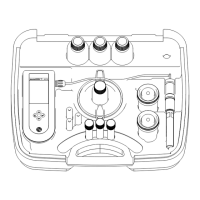
Prime the reagents (optional)
Prime the reagents to decrease the start up time to 15 minutes.
1. Set the sample flow to the instrument to off.
2. Disconnect the reagent feed line after the “Y” fitting at the colorimeter.
3. Connect a syringe to the tubing that comes from the “Y” fitting.
4. Loosen the two screws on the pump pinch plate so that the reagents can be pulled through the
reagent lines.
5. Use the syringe to remove the air and fill the lines with reagent.
6. Tighten the screws on the pump pinch plate. Do not overtighten.
7. Remove the syringe from the tubing and connect the fitting on the colorimeter.
Calibration
C A U T I O N
Chemical exposure hazard. Obey laboratory safety procedures and wear all of the personal protective
equipment appropriate to the chemicals that are handled. Refer to the current safety data sheets
(MSDS/SDS) for safety protocols.
Complete a 2-point calibration
Complete a calibration after reagent installation or when an optical system component is replaced.
The standardization procedure makes the sample first hard, then soft.
1. Remove the plug from the top port of the colorimeter. Refer to Figure 13 on page 16.
2. Push HARD CAL. The hard cal LED is on continuously.
English
17
 Loading...