7.9 Ice cube tray
1. Fill the ice cube tray 3/4 full of water and put it into
one of the freezer storage drawer (Fig. 7.9-1)
2. Twist the ice cube tray slightly or hold it under
flowing water to loosen the ice cubes (Fig. 7.9-2)
7.10 Wine rack & Egg tray
(modle:A3FE743CPJ/HB17FPAAA)
1. Keep it flat.
2. Follow the gate well to put wine (Fig. 7.10-1)
3. The reverse side is for eggs (Fig. 7.10-2)
7.11 The Light
The LED interior light comes on when the door is opened. The performance of the lights
is not affected by any of the appliances other settings
7.12 Foldable bottle rack
(modle:HB20FPAAA/A3FE744CPJ/A3FE744CSNJ/A
3FE744CGBJ/HB20FSNAAA/HB20FGBAAA)
For normal use
1. Pull down the brackets of the bottle rack (Fig. 7.12-1)
2. Fit the bottles into the rack (Fig 7.12-2)
When not in use, the bottle rack can be folded back in
order to save space.
Make sure the total weight of the bottles does not exceed 10 kg
7.13 HUMIDITY ZONE
For use of the HUMIDITY ZONE compatment (Fig 7.13)
please check section USE (HUMIDITY ZONE)
8- Care and Cleaning
26
GB
8- Care an d Cleani ng
WARNING!
Disconnect the appliance from the power supply before cleaning
8.1 General
Clean the appliance when only little or no food is stored.
The appliance should be cleaned every four weeks for good maintenance and to prevent
bad stored food odours
WARNING!
Do not clean the appliance with hard brushes, wire brushes, detergent powder,
petrol, amyl acetate, acetone and similar organic solutions,
acid or alkaline solutions.
Please clean with special refrigerator detergent to avoid damage.
Do not spray or flush the appliance during cleaning.
Do not use water spray or steam to clean the appliance.
Do not clean
the cold glass shelves with hot water. Sudden temperature change may
cause the glass to break.
Do not touch the inside surface of the freezer storage compartment, especially with
wet hands, as your hands may freeze onto the surface.
In case of heating check the condition of frozen goods.
Always keep the door gasket clean.
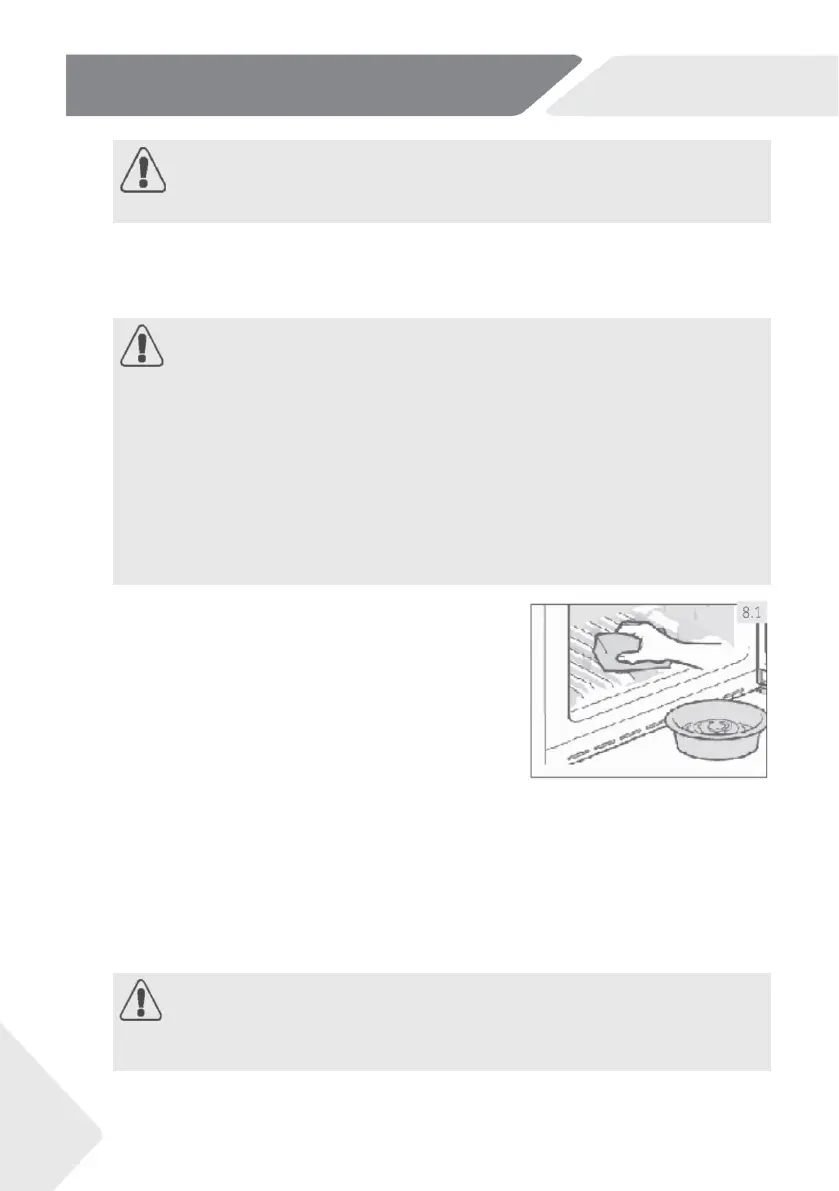
Clean the inside and housing of the appliance with
a sponge dampened in warm water and neutral
detergent (Fig. 8.1).
Rinse and dry with soft cloth.
Do not clean any of the parts of
dishwasher.
Clean the accessory only with warm water and
mild neutral detergent.
Allow at least 5 minutes before restarting the
appliance as frequent starting may damage the
compressor.
8.2 Defrosting
The defrosting of the refrigerator and the freezer compartment are done automatically,
no manual operation is needed
8.3 Replacing the Back-lamp
WARNING!
Do not replace the Back-lamp yourself, it must only be replaced by either the
manufacturer or the authorised service agent
 Loading...