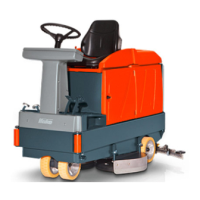
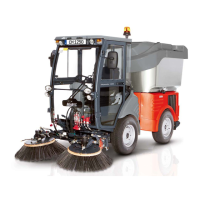
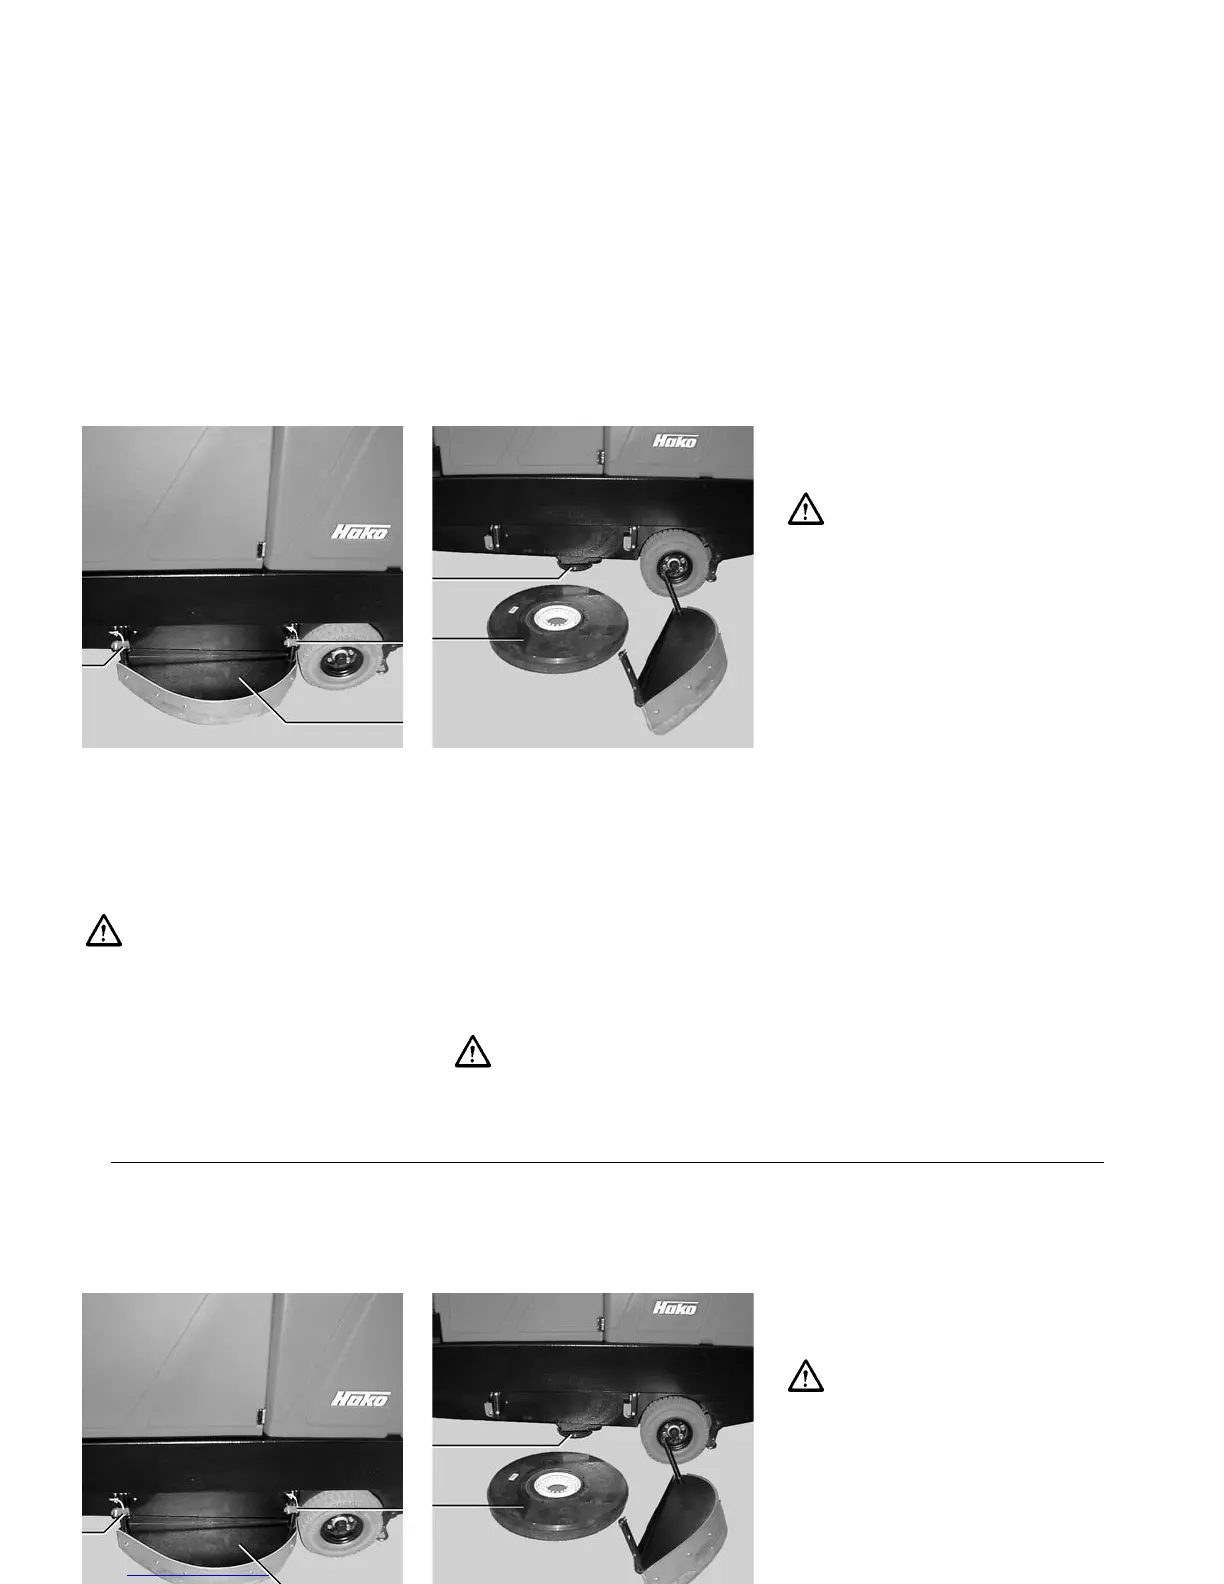
Removal of
brushes /drive plate
Install and remove brushes/drive plate
only with the brush drive being turned
OFF.
Open front and rear lock
(IV/1 and 3)
Lift cover (IV/2) slightly and remove
Press the brush/drive plate evenly
down (do not skew), unlock and
remove
Replace cover (IV/2) and lock.
Note: The brushes are equipped with
a water retaining ring which reduces
the water consumption during scrubb-
ing significantly.
54
1 Front lock
2 Cover
3 Rear lock
Installation of
brushes/drive plate
Install and remove brushes/drive plate
only with the brush drive being turned
OFF.
Open front and rear lock
(IV/1 and 3)
Lift cover (IV/2) slightly and remove
Place brush/drive plate (IV/5) on the
catch, rotate slightly until the teeth
IV
4 Catch
5 Brush/drive plate
take hold. Then pull upwards until
the hooks lock. Rotate the brush/
drive plate to check whether all
hooks are locked.
Replace cover (IV/2) and lock.
Do not operate the Hakomatic
without covers
1
3
2
4
5
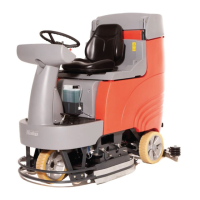
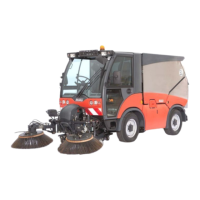
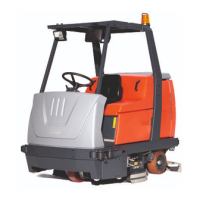
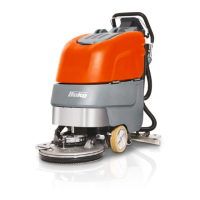