18
PIN setup
• Select your desired network. (Indicated by the
prex [WPS])
• In the WPS menu, choose the Pin option and conrm
your selection by pressing [VOLUME/ENTER/
NAVIGATE].
• The radio generates an 8-digit code, which must be
entered into the web or user interface of your router
or access point.
• Consult the corresponding handbook for details
on conguring the router or access point.
Skip WPS / Pre-Shared Key (PSK) setup
• Choose the item Skip WPS to proceed to key entry.
• In networks that do not support WPS, you will go
directly to key entry.
• In the input screen, enter the whole key and then
conrm with OK.
• If the key was entered correctly, the radio connects
to the access point and establishes the internet/
network connection.
Note
• Often the Pre-Shared Key is printed on the back or
bottom of the router or access point.
• When entering the key, take notice of capitalisation.
Open network
Note
• We recommend against establishing unsecured
connections and advise you to always protect your
network against unauthorised access.
• If you plan to use an open network, you just have
to select the network ID from the list of available
networks and conrm. The radio then connects
immediately to the network.
15.2.3 Manual configuration of network connection
– wireless (WLAN) and wired (LAN)
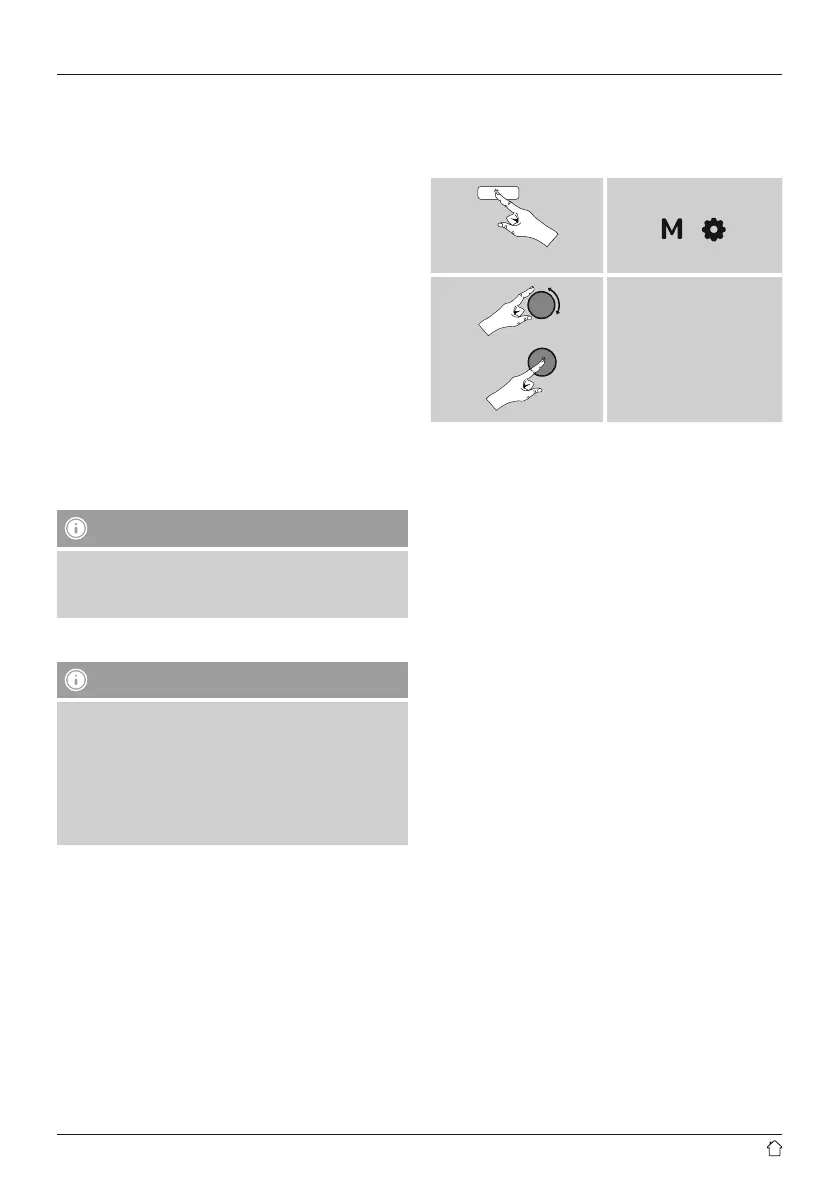
To manually con gure the network connection, proceed
as follows:
Press and hold
[ ] [ ]
System settings
Network
Manual settings
Manual conguration wireless (WLAN) –
DHCP enable
• Select the option Wireless.
• Select the option DHCP enable.
• In the input screen, enter the whole SSID (network name)
and then conrm with OK.
• Now choose the security standard used by the network.
This can be found in the con guration options of your
router or access point.
• Depending on the encryption used, you may need
to enter the network key before the connection is
established.
Manual conguration wireless (WLAN) –
DHCP disable
The method described here assumes the DHCP server
is active (manual wireless conguration (WLAN) –
DHCP enable). However, the network information such
as IP address, subnet mask, gateway address, and DNS
(primary and secondary) must still be entered. Find this
information in the web interface of your router or access
point, or ask your network administrator. Once all the
information has been entered correctly, conrm to proceed.
The radio now attempts to establish the connection.

 Loading...