INSTALLING THE CONTROL HORNS continued
10
➤ Parts Needed
Landing gear block
Fuselage
➤ Tools & Adhesives Needed
6-minute or 30-minute epoxy
Mixing stick or epoxy brush
Pencil
Medium sandpaper
INSTALLING THE MAIN LANDING GEAR BLOCK—TAIL DRAGGER
11
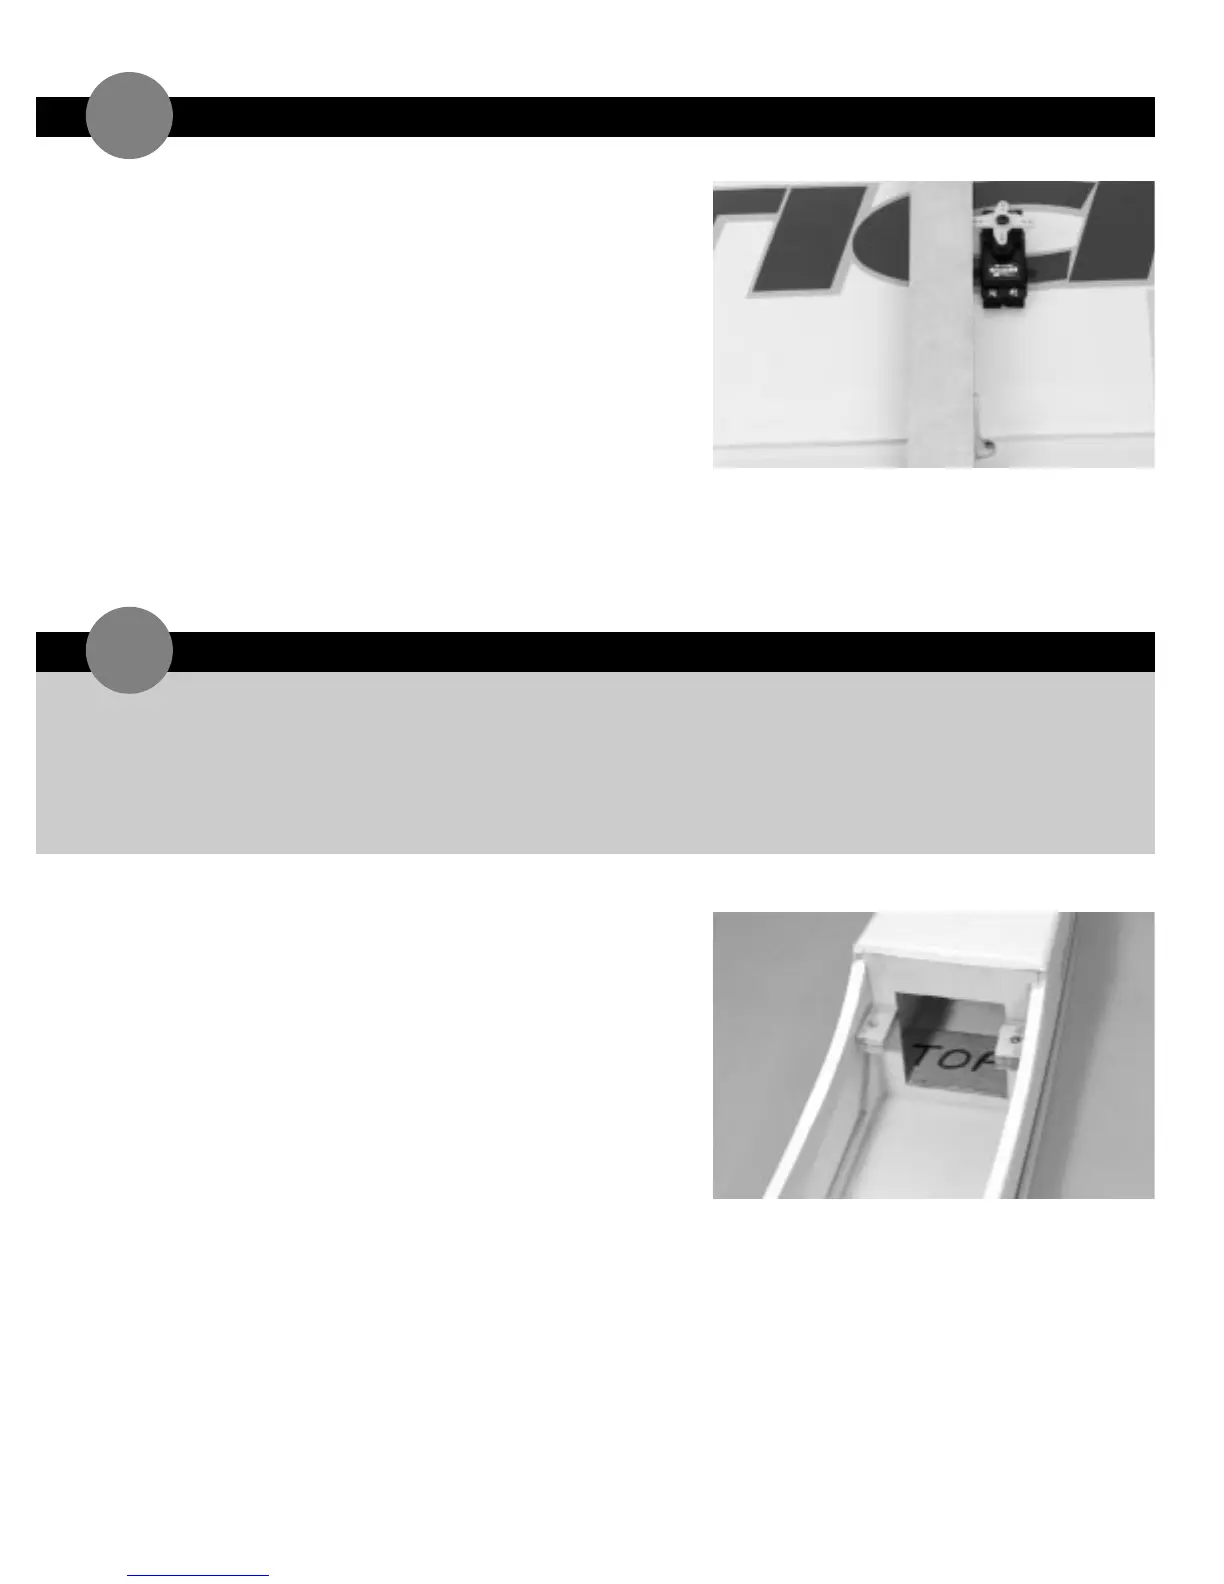
8. Turn the wing upside down. From the aileron servo
control horn that is attached to your servo (which
was installed earlier in this manual),mark the
location of the control horn directly in-line with the
control arm as shown. Remember to locate the
control horn holes so they are directly above the
hinge line.
9. Repeat this procedure for the other aileron linkage.
➤ Note: If you are building your Super Stick with a
Tricycle gear system,skip this section.
1. Trial fit the landing gear block in the front of the
second former (F-2) of the fuselage. Take note of which
side of the block is down as this is the side to which
you will apply epoxy. (The firewall is what the engine
mount is installed onto and is the first former,F-1.)
➤ Note:The landing gear block will have a tight fit
against the fuselage sides. That way it will work with
either of the two landing gear setups. Sand the block
to fit.
2. After you have trial fit the landing gear block,mix up
approximately 1/4 ounce of 6-minute (or 30-minute)
epoxy.
3. Spread a generous amount of epoxy onto the bottom
of the landing gear block. Place the landing gear block
in the location for your main landing gear. Press firmly
into place and allow to dry.
 Loading...