➤ Parts Needed
Wing
Heat shrink tubing
Clevises
Threaded rods
➤ Tools & Adhesives Needed
Z-bend pliers
Felt tipped pen
Thick CA glue
Hobby knife
Heat gun
Wire cutters
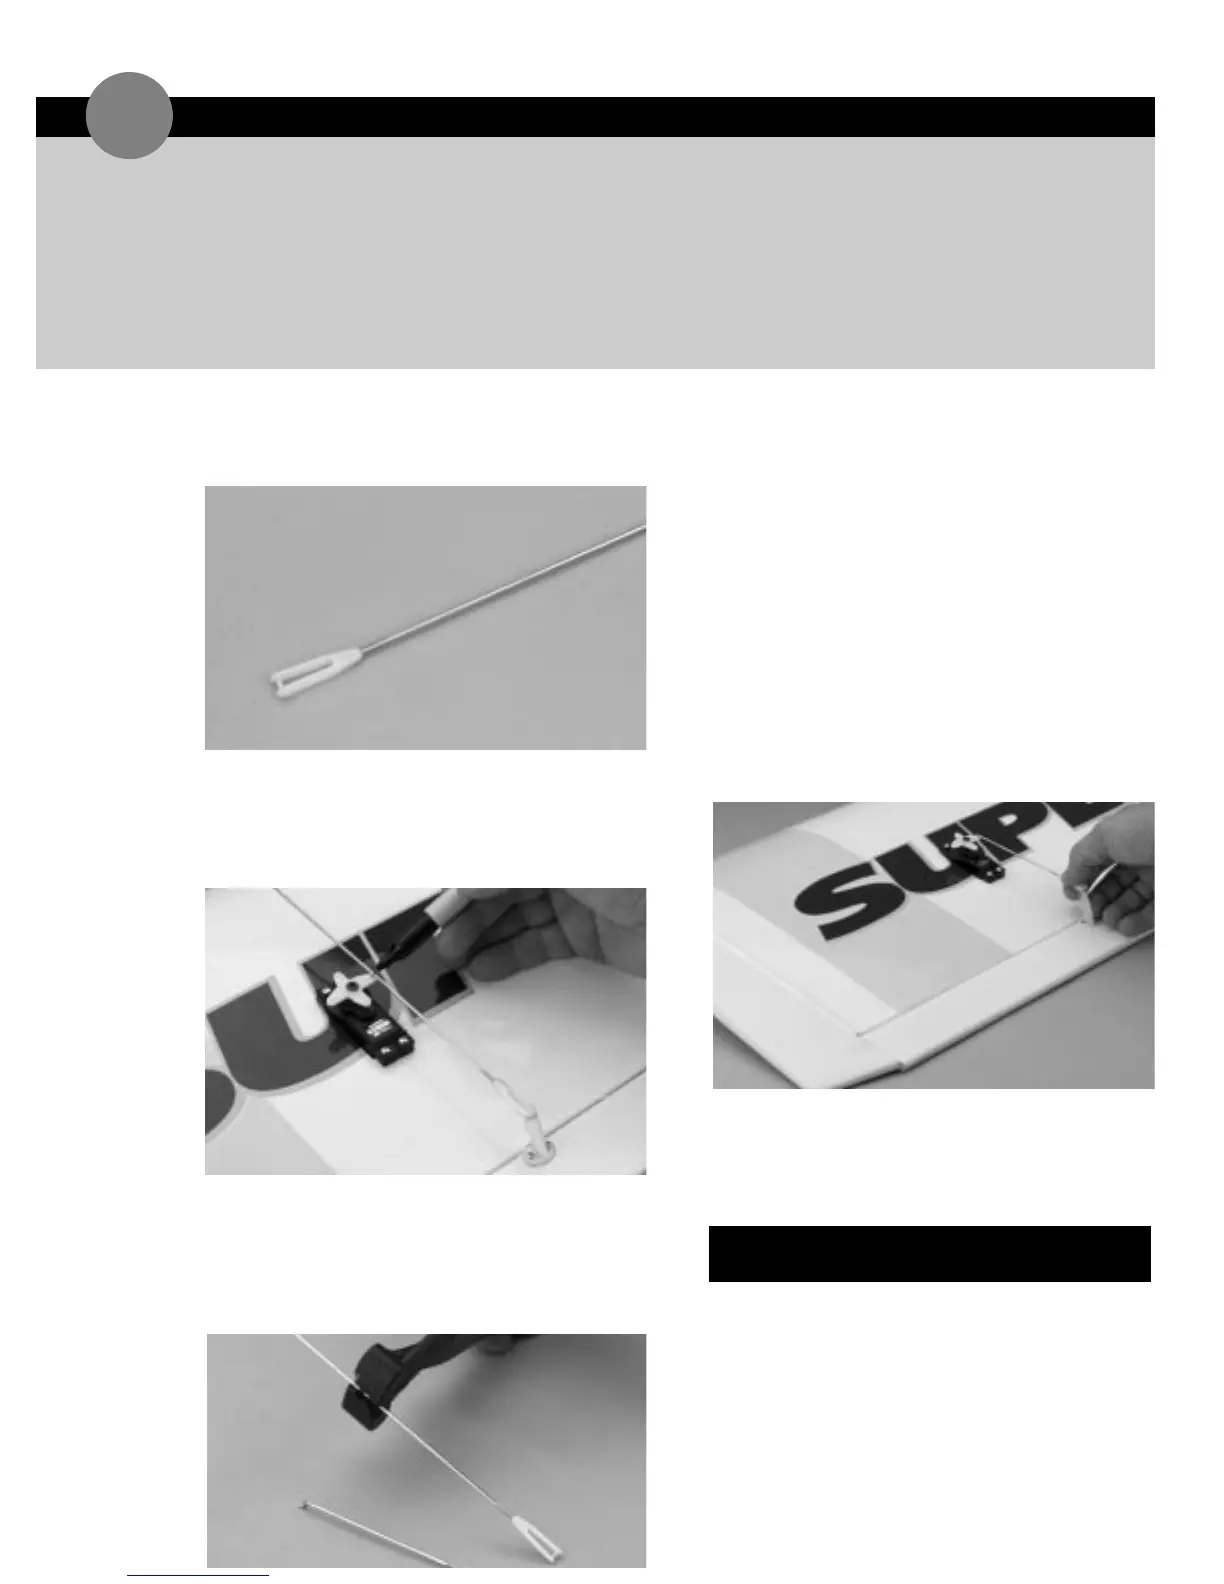
1. Locate two of the threaded rods. Thread a clevis at
least 20 turns,onto each rod. Be sure they are not
the longer rods.
2. Install the clevis with the attached linkage to the
aileron control horn. Center the servo horn as
shown and,using a felt tipped pen,make a mark on
the linkage where the Z-bend will be inserted into the
horn.
3. Make a Z-bend in the linkage and cut off the excess
linkage.
➤ Important: Do not discard the piece of linkage you
just cut off;this will be used to make the rudder and
elevator pushrods.
4. Center the servo horn and install the Z-bend into the
outer-most hole of a standard size.
5. Attach the linkages onto their respective aileron
horns.
➤ Note: It is a good idea to place a piece of fuel tubing
over the clevises as shown. This will provide extra
insurance against the clevises accidentally coming
open.
6. With the servo arm centered as shown,adjust the
aileron linkage until the aileron is exactly in the
neutral position. Follow this procedure for both
aileron linkages.
INSTALLING THE AILERON LINKAGES
2
0
2 Long threaded rods (throttle,nose gear)
5 Threaded rods (ailerons,rudder,elevator)
2 Wooden dowels (pushrods)
2 Heat shrink tubing
1 Control horn/clevis parts tree
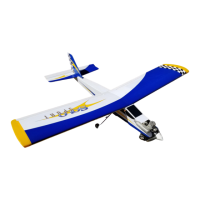
TOTAL PUSHROD & ACCESSORIES
LIST FOR SUPER STICK
 Loading...