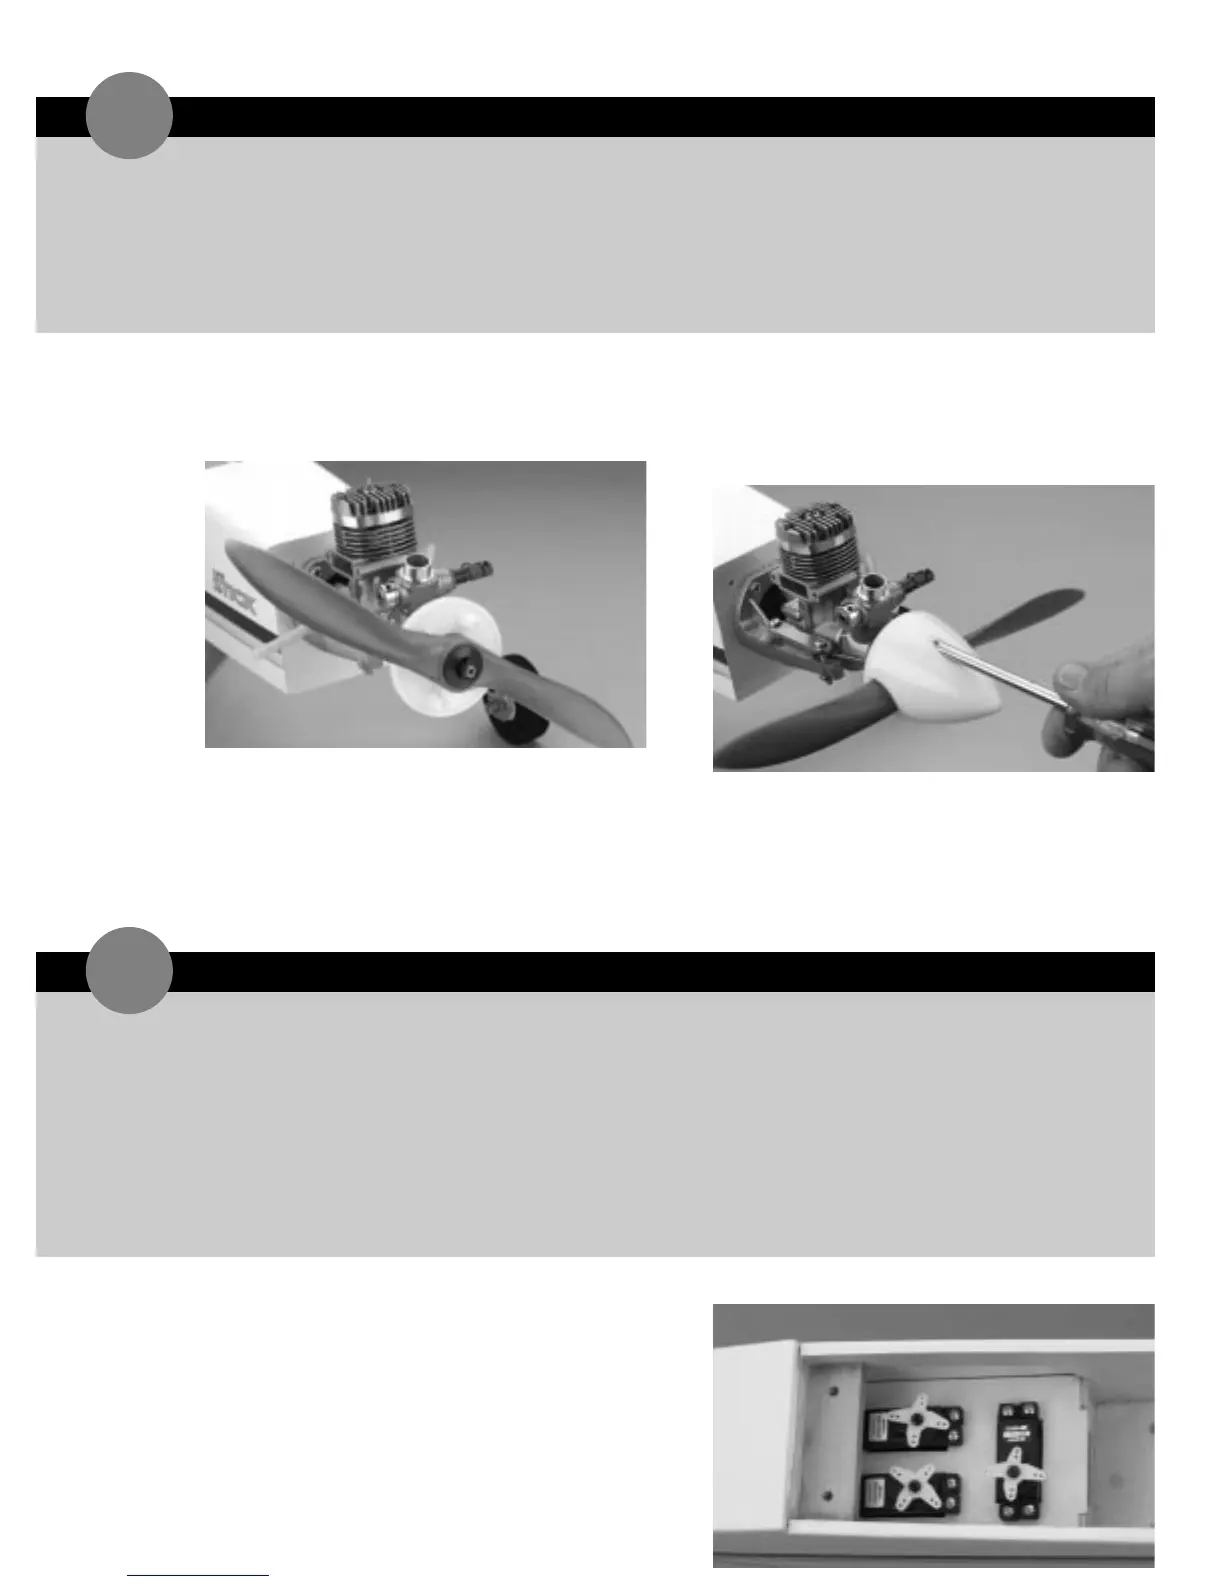
1. Remove the propeller nut and prop washer from the
engine. Install the spinner backplate on the crankshaft,
as shown.
2. Place the propeller onto the crankshaft so it seats
correctly against the spinner backplate. Next,install
the washer and the prop nut onto the crankshaft and
tighten securely.
3. Attach the spinner to the spinner backplate using the
two screws provided in the hardware bag.
➤ Note: Be sure not to over-tighten the spinner screws
as doing so would damage the spinner screws.
1. Install the rubber grommets and eyelets in the three
remaining servos. Position the servos in the fuselage
servo tray as shown,noting the location of the output
horns. Screw the servos in place using 12 servo
screws,which are included with the servos.
➤ Parts Needed
Spinner
Spinner backplate
Spinner screws (2)
Fuselage
➤ Tools & Adhesives Needed
Phillips screwdriver
➤ Parts Needed
4-channel radio system with 3 servos
and hardware (not included)
Fuselage
Radio packing foam (not included)
Antenna tube (optional,not included)
Y-harness (optional,must have if using a
4-channel radio)
➤ Tools & Adhesives Needed
Phillips screwdriver
Hobby knife
Drill
Drill bit:1/16
"
INSTALLING THE RADIO SYSTEM
19
INSTALLING THE SPINNER
18
 Loading...