POWER CONNECTION
Plug the supplied 12 Vdc adapter into the power supply socket
(#12 on page 4).
Note: Make sure the mains line is protected by a fuse.
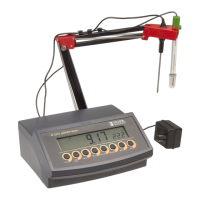
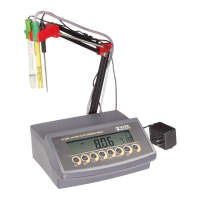
ELECTRODE CONNECTION
For combination pH or ORP electrodes (with internal reference)
connect the electrode's BNC to the socket provided (#10 on
page 4).
For an electrode with a separate reference, connect the measuring
electrode's BNC to the BNC socket (#10 on page 4) and the
reference electrode's jack to the socket provided (#11 on
page 4).
Note: To prevent damage to the electrode, remove the pH
electrode from the solution before turning the meter off.
If the meter is OFF, detach the electrode from the meter
before immersing the electrode in the storage solution.
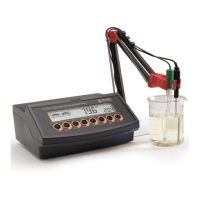
TAKING pH MEASUREMENTS
Make sure that the instrument has been calibrated for pH
before taking pH measurements.
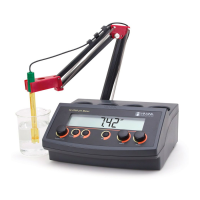
• Put the beakers (bottles 50 or 100 mL) with the
solutions under test on the sample holders.
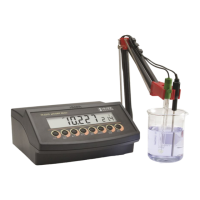
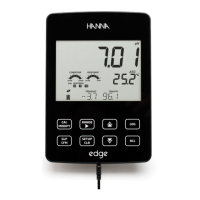
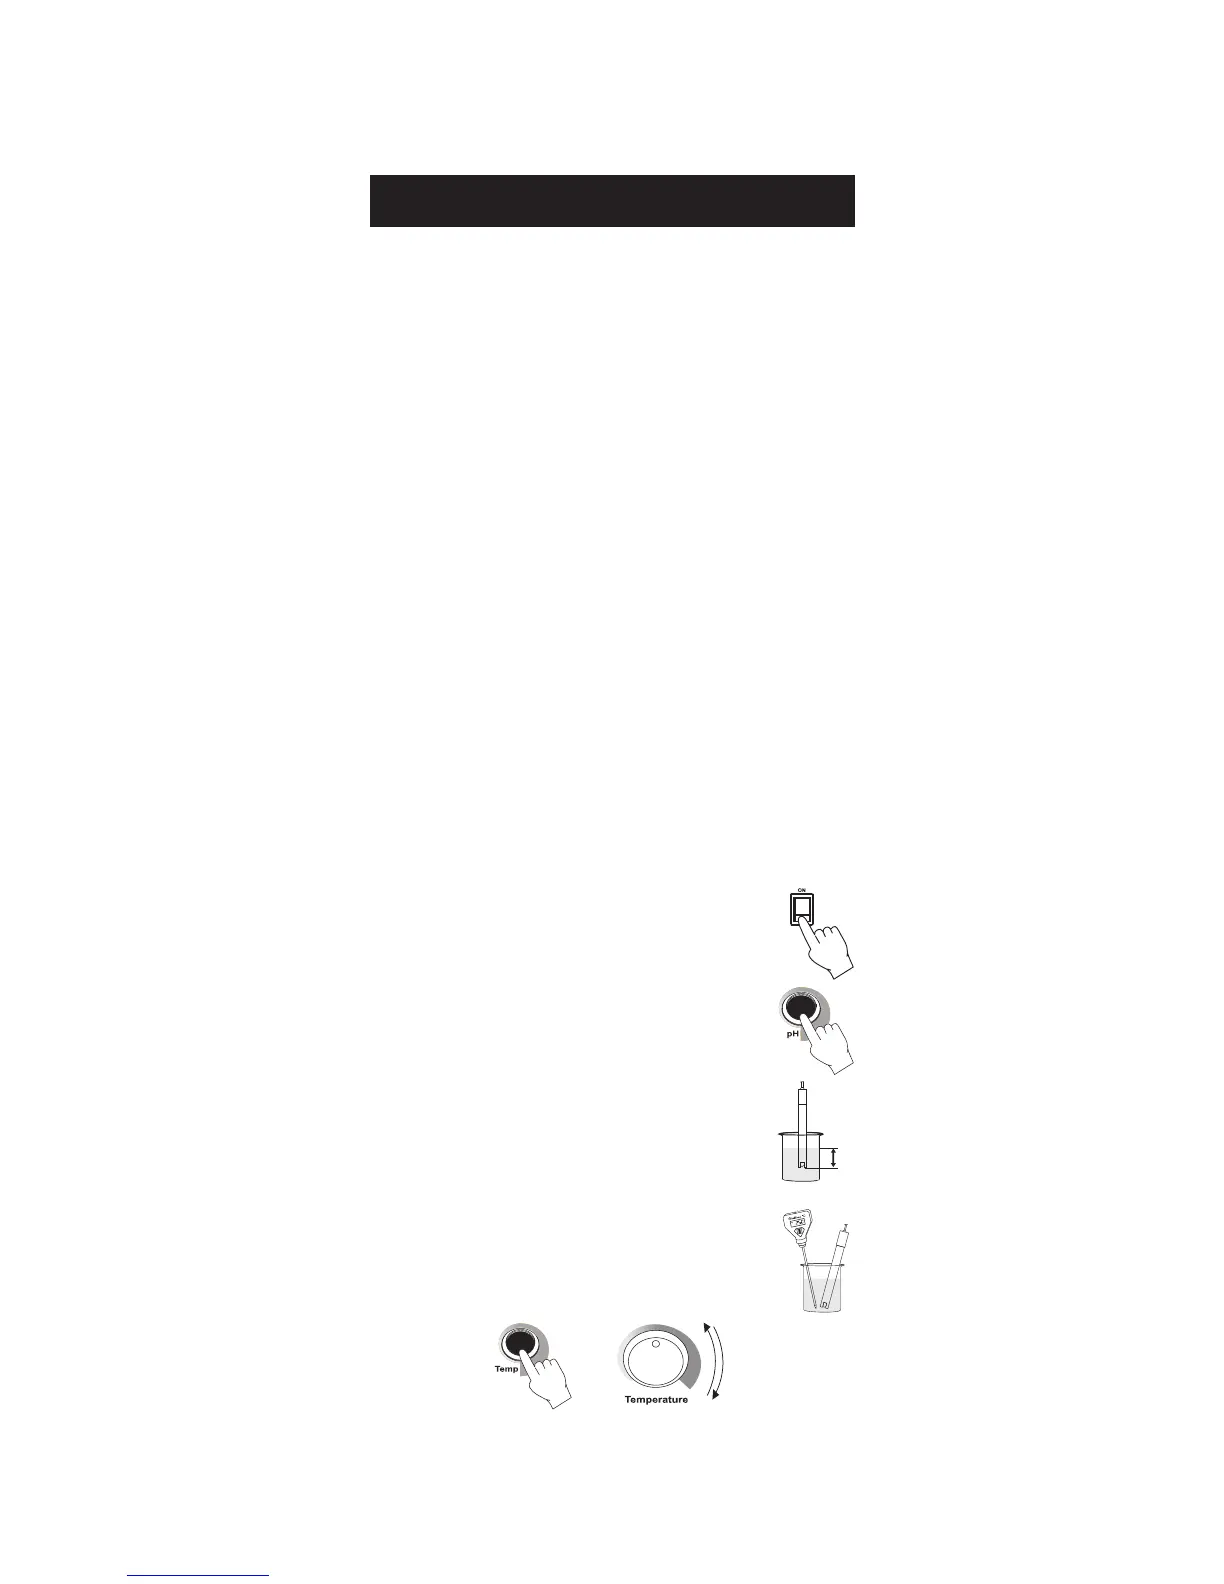
• Switch the instrument on by pressing the ON/OFF
switch.
• Press the pH key to display the pH measurement.
• Immerse the electrode tip (4 cm / 1½") into the
sample and shake briefly.
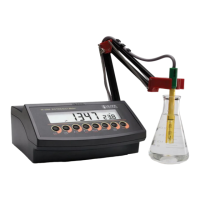
• Take the temperature of the solution with a
ChecktempC
or a glass thermometer (e.g.25°C).
• Press and hold the Temp key to display temperature
setting on the LCD and adjust the temperature
knob to display the temperature of the sample.
OPERATIONAL GUIDE
 Loading...