10
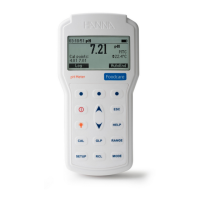
OPERATIONAL GUIDE
Each meter is supplied with batteries. Before using the
meter for the first time, open the battery compartment
and insert batteries, observing the polarity (see “Battery
Replacement“).
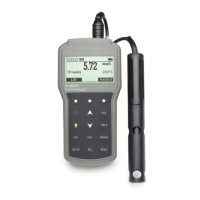
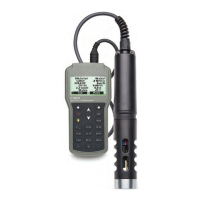
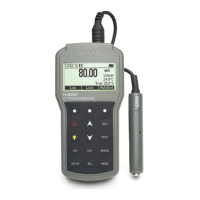
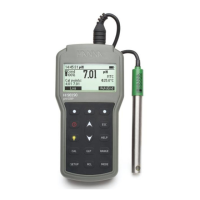
CONNECTING THE ELECTRODE
With the meter turned off, connect the HI12883 probe to the
DIN socket on the bottom of the meter by aligning the pins
and pushing in the plug firmly. Remove the protective cap
from the probe before taking any measurements.
TURNING THE METER ON
To turn the meter ON, press the
button on the
front of the meter. If it does not turn on, make
sure that the batteries are properly installed in their place.
The meter is provided with an active acoustic signal when
a key is pressed.
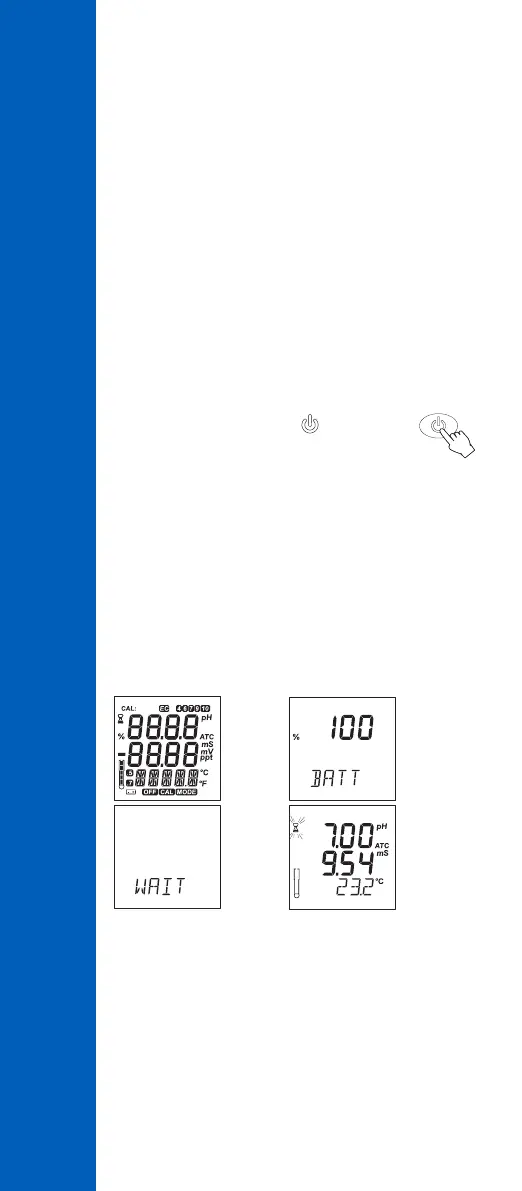
At start‑up the meter displays all LCD segments for a few
seconds, followed by the percentage indication of the
remaining battery life, displaying “WAIT“ until electrode
check is in process then the meter enters the normal
measurement mode.
Battery life
Measurement
mode
LCD
check up
→ →
→
Electrode
check
Note: The meter detects the presence and the type of the
probe at its input.
- If the probe is not connected the message “NO” ”PROBE“
appears alternatively on the tertiary LCD.
- If the probe is not compatible “WRONG” ”PROBE“
message appears alternatively on the tertiary LCD line
with “---“ blinking on the first LCD line.
OPERATIONAL GUIDE
 Loading...