Page 16 <&(%$*4.8"4,7%H'*#$"&8#I%/7*,#*%4,77%JKLLLKLMMKNOPO1 Item 56825
?@<6AQ D@CEA6E@ER6S@?CR%T6GUCEV T6GUCEV%ACW?SETUP
ACV%T*79"83
AX%W;6!6EA%?6;CXF?%CE`F;Q%@EU%U6@AB-%%%
U&%8&$%)*79%)"$.&'$%V(&'89"83%R7,5/1%%
T.*8%$.*%&/*(,$&(%"#%8&$%.&79"83%$.*%A&(4.I%"$%5'#$%+*%#"$$"83%&8%,%8&84&89'4$"Z*I%8&827,55,+7*%#'(2,4*1%
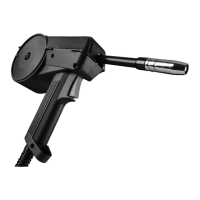
X87>%.&79%ACV%;&9%)"$.%,8%*7*4$("4,77>%"8#'7,$*9%)*79"83%37&Z*1
%%%
AX%W;6!6EA%U6@AB%<;XD%@?WBQfC@ACXE-%
U&%8&$%&/*8%3,#%)"$.&'$%/(&/*(%Z*8$"7,$"&81%%<"]%3,#%7*,Y#%"55*9",$*7>1 Shielding gas can displace
air and cause rapid loss of consciousness and death. ?."*79"83%3,#%)"$.&'$%4,(+&8%9"&]"9*%4,8%+*%
*Z*8%5&(*%.,\,(9&'#%+*4,'#*%,#/.>]",$"&8%4,8%#$,($%)"$.&'$%2**7"83%#.&($8*##%&2%+(*,$.1
EXACR6-% TIG welding is a complicated process,
requiring experience and skill to achieve
successful results. Training beyond the scope of
this manual is required to TIG weld properly.
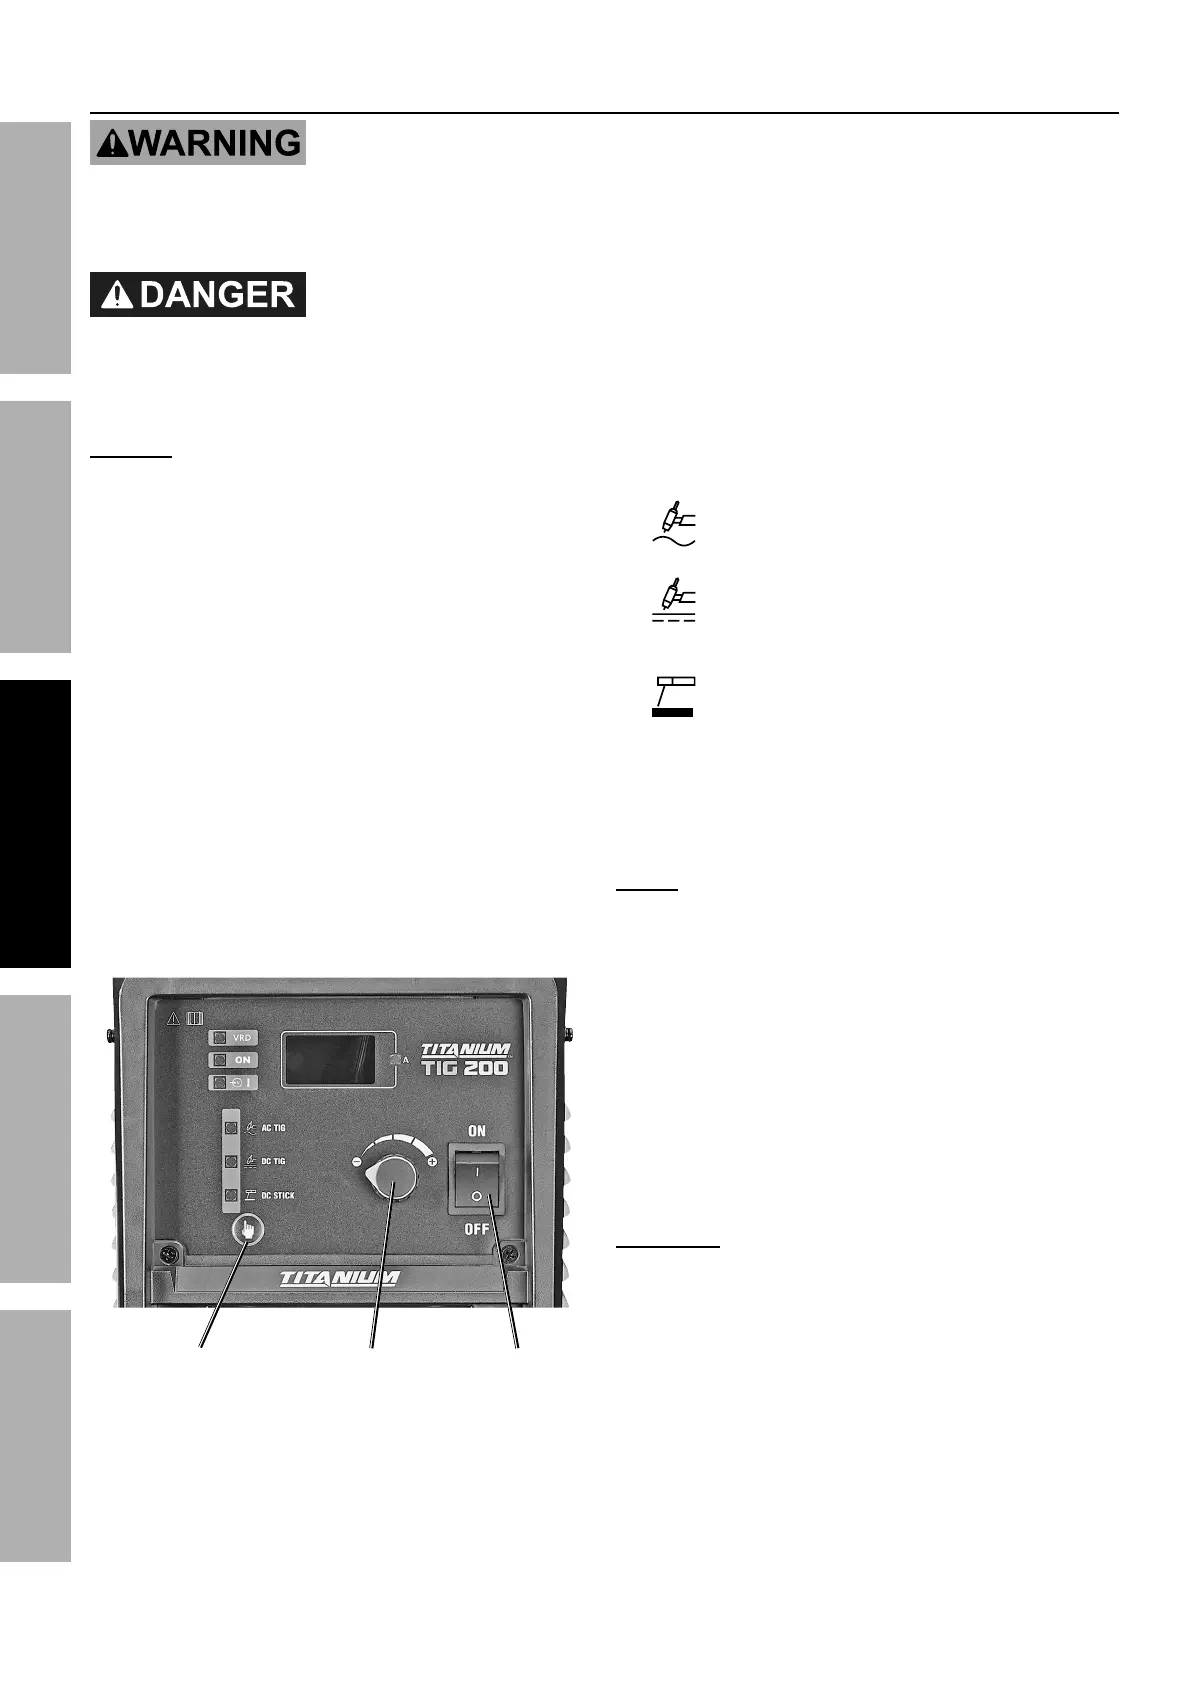
1. Open gas cylinder’s valve all the way.
2. Set Flow Gauge to SCFH value indicated
on Settings Chart on top of Welder.
3. Turn the Power Switch to the OFF position, then
plug the Welder into a properly grounded, GFCI
SURWHFWHG9$&DPSUDWHGRXWOHWRU
9$&UHFHSWDFOHWKDWPDWFKHVWKHSOXJ
The circuit must be equipped with delayed
action-type circuit breaker or fuses.
4. Set TIG Torch down on nonconductive,
nonflammable surface well away
from any grounded objects.
5. Turn the Power Switch ON.
R'((*8$%
X'$/'$%[8&+
T*79"83%
D&9*%?)"$4.
W&)*(%
?)"$4.
6. ?*7*4$%W(&4*##- Press Welding Mode
Switch to scroll to desired welding mode.
@R%ACV%K%<&(%)*79"83%,7'5"8'5
%%UR%ACV%K%<&(%)*79"83%
5"79%,89%#$,"87*##%#$**7
%%UR%?ACR[%K%V&%$&%?$"4Y%
T*79"83%&8%/,3*%JL1
7. Set amperage according to Settings Chart on top
of Welder. Set to high end of amperage range.
For example: Range is 80-100A,
set amperage to 100A.
EXA6- Amperage settings are
approximate. Adjust as necessary.
Other parameters like AC balance, pre-gas flow
time and post-gas flow time have been preset:
• Pre-Flow: The number of seconds that gas
ZLOOIORZRQFHWKH)RRW3HGDOLVSXVKHG±WKLV
is preset at 0.3 seconds. The arc will not start
for that preset time, but gas will flow. Once
the preset time expires, the arc will start.
• Post-Flow: The number of seconds that gas
will flow once the Foot Pedal is released. This
has been preset and automatically adjusts
based on the preset amperage output.
T@;ECEVc%%AX%W;6!6EA%?6;CXF?%CE`F;Q-%%
W(&$*4$"Z*%3*,(%5'#$%+*%)&(8%).*8%'#"83%$.*%
T*79*(d%5"8"5'5%#.,9*%8'5+*(%J^%2'77%2,4*%#."*79%
RUZHOGLQJPDVNHDUSURWHFWLRQZHOGLQJJORYHV
#7**Z*#%,89%,/(&8I%ECX?BK,//(&Z*9%(*#/"(,$&(I%
,89%2"(*%(*#"#$,8$%)&(Y%47&$.*#%)"$.&'$%/&4Y*$#%
#.&'79%+*%)&(8%).*8%)*79"831%%G"3.$%2(&5%$.*%
,(4%4,8%4,'#*%/*(5,8*8$%9,5,3*%$&%$.*%*>*#%
,89%#Y"81%%U&%8&$%+(*,$.*%,(4%2'5*#1
 Loading...