INSTALLATION
You are now ready to begin installing the AVR. Before beginning to connect
the various components to the receiver, turn off all devices, including the
AVR 160, and unplug their power cords.
Don’t plug in any of the power cords
until you have finished making all of your connections.
The receiver generates heat. Select a location that leaves several centimeters
of space on all sides. Avoid completely enclosing the receiver inside an
unventilated cabinet. Place components on separate shelves rather than
stacking them directly on top of the receiver.
Never block the AVR’s ventilation
slots on the top and side panels. Doing so could cause the AVR to overheat, with
potentially serious consequences
. Some shelf surface finishes are delicate. Try
to select a location with a sturdy surface finish.
Almost all of the following installation steps are optional, depending on your
system. Skip any step that does not apply to your system.
STEP ONE – Connect Source Devices
Leaving all AC power cords unplugged, connect the source devices to the AVR
using the audio and video inputs you assigned in Table 2.
STEP TWO – Connect TV
Connect the system-best video input on the TV to the corresponding video
monitor output on the AVR.
If your video display or source device is not HDMI-capable, you will need to
use one of the analog video connections (composite or component video).
STEP THREE – Connect Loudspeakers
After you have placed your loudspeakers in the room as explained on page
18, connect each speaker to its color-coded terminal on the AVR. Maintain
proper polarity by connecting the negative terminal on the speaker (usually
colored black) to the negative terminal on the AVR (also colored black); and
the positive terminal on the speaker (usually red) to the positive terminal on
the AVR (color varies by channel; see Table 1 on page 15).
If you have a subwoofer, connect its line-level or LFE input to the purple
Subwoofer Output.
NOTE
: If the subwoofer only has speaker-level inputs, after you have
configured the AVR using EzSet/EQ technology as described on page 23,
connect the subwoofer’s left and right speaker input terminals to the AVR’s
Front Left and Front Right Speaker Outputs, then connect the front left
and right main speakers to the subwoofer’s left and right speaker output
terminals. Consult the owner’s manual for the subwoofer for specific
installation instructions.
STEP FOUR – Connect FM Antenna
Connect the included FM antenna to the 75-ohm FM antenna terminal.
STEP FIVE – Connect AM Antenna
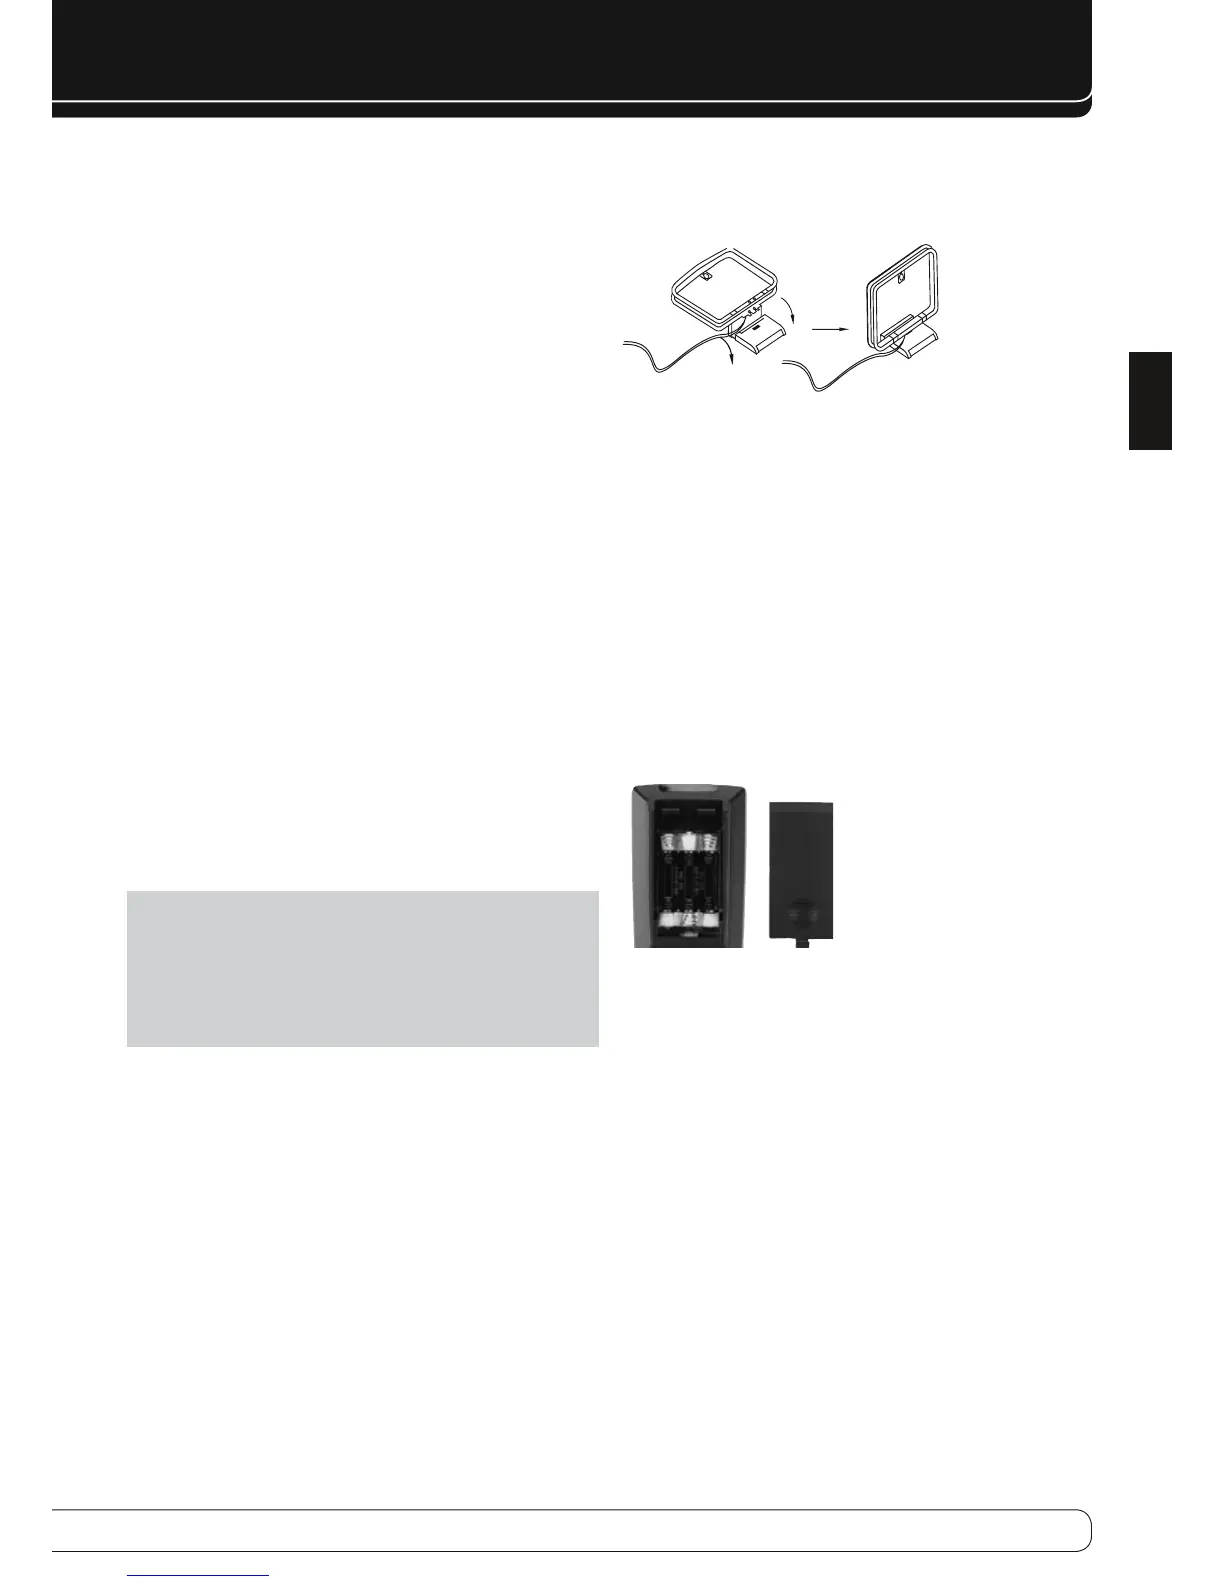
Assemble the included AM antenna (see Figure 16) and connect it to the AM
and Ground antenna terminals. The antenna is not polarized, and either lead
may be connected to either terminal.
Figure 16 – AM Antenna Assembly
STEP SIX – Plug in AC Power Cords
Before plugging the AVR into an unswitched electrical outlet, make sure
the Main Power Switch behind the front-panel door is off, to prevent the
possibility of damaging the AVR in case of a transient power surge.
Plug the AC Power cord into an unswitched AC outlet.
It is recommended that you copy the appropriate information from the Table
2 worksheet to Table A5 in the appendix for future reference, in the event
changes are made to the system components.
STEP SEVEN – Insert Batteries in Remote
The AVR 160 remote control uses three AAA batteries (included).
To remove the battery cover located on the back of the remote, firmly press
the ridged depression and slide the cover toward the top of the remote.
Insert the batteries as shown in Figure 17, observing the correct polarity.
Figure 17 – Remote Battery Compartment
Point the remote’s lens toward the front panel of the AVR 160. Make sure
no objects, such as furniture, are blocking the remote’s path to the receiver.
Bright lights, fluorescent lights and plasma video displays may interfere
with the remote’s functioning. The remote has a range of about 7 meter,
depending on the lighting conditions. It may be used at an angle of up to 30
degrees to either side of the AVR.
If the remote seems to operate intermittently, or if pressing a button on the
remote does not cause the AVR Settings Button or one of the Source Selectors
to light, check or replace the batteries.
 Loading...