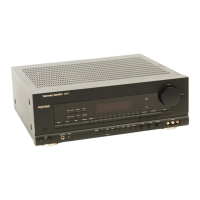
DISASSEMBLY PROCEDURES
1 . Removing the top Cover
Remove the screws
G)
-
GJ)
2.
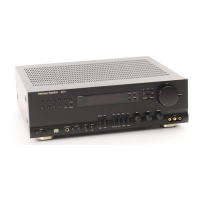
Removing the front panel
Remove the screws
G)
- @
MAIN PCB BLOCK (P704)
1.
Remove all of the screws
on
REAR PANEL. (900G)
2.
Remove the REAR PANEL.
3.
Remove the SPEAKER TERMINAL PCB. (P754)
4.
Remove the screw x4 for MAIN PCB mounting.
5.
Remove the screw
x2
for both sides GIRD PCB of main
heatsink.
6.
Remove the both sides GIRD PCB.
7.
Remove the screw x4 for MAIN PCB BLOCK mounting.
8. Remove the MAIN PCB BLOCK.
POWER SUPPLY PCB (PB04)
1. Remove the screw x2 for TRANSF mounting.
2.
Remove the screw x2 for POWER SUPPLY PCB
mounting.
3.
Remove the POWER SUPPLY PCB.
MAIN VOL PCB (PU54)
1.
Remove the MAIN VOL KNOB. (035B)
2.
Remove the MAIN VOL NUT.
3.
Pull out the MAIN VOL PCB.
12
3.
Removing the rear panel
Remove the screws
G)
- ®
4.
Removing the main PCB Block
Remove the screws
G) - @
12
5.
Removing the shield !)late
Remove the screws G) ®
~~c~
caJ~--f~
·-, ,
D"A-'1/-""~
GIRD PCB @
..
TONE VOL PCB (PF04)
1.
Remove the three TONE VOL KNOBS. (036B)
2.
Remove the three TONE VOL NUTS.
3.
Pull out the TONE VOL PCB.
FRONT FUNCTION PCB (PU04)
1.
Remove the screw x4 for FRONT PANEL ASSY
mounting.
2.
Lay down the FRONT PANEL ASSY.
3.
Remove the screw x16 for FRONT FUNCTION PCB.
4.
Remove the FRONT FUNCTION PCB.
-
 Loading...