harman/kardon Service Bulletin
Service bulletin # H/K2004-01 Rev1 March 2004
Warranty labor rate: MINOR repair
To: All harman/kardon Service Centers
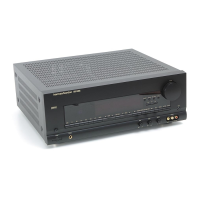
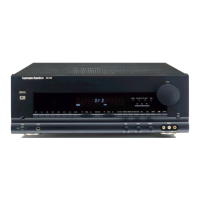
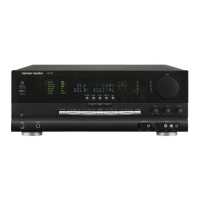
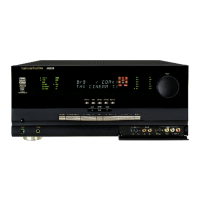
Model: AVR8000
Subject: DVD Surround Mode Switches to Stereo
When DVD software is being mastered, the producer has the option to choose which audio formats are used, and
the time intervals when they present themselves. For example, a typical DVD may utilize Dolby Digital 2.0
(2 channel) audio format in the initial screen. A typical first screen may include menu choices such as: Special
Features, Audio Setup, Directors Cuts, and Play Movie. This remains on-screen until the user makes a selection,
and normally would be “Play Movie”. At this point, the producer may decide to
switch from Dolby Digital 2.0 to
Dolby Digital 5.1. If this time interval is too short, as it is on a small number of DVD titles, the surround DSP
processor in early AVR8000’s may stay in Dolby Digital 2.0 (stereo), rather than switch to Dolby Digital 5.1 when the
program begins, even though the front panel indicators on the unit may imply 5.1 is in effect. In this condition, this
will not be a true stereo mode and music information will be lost, and not added to the stereo loudspeakers.
In the event you receive an AVR8000 A/V receiver with the complaint: “When I play a DVD with a player
that’s connected to the AVR8000 digital inputs, the receiver stays in stereo mode once the DVD starts
playing, when it should be playing Dolby Digital 5.1”, perform the modification below:
Synopsis: Change IC100 on the DSP sub-PCB.
CAUTION: IC100 is an electrostatically sensitive device and can be damaged by careless handling; follow
proper static control procedures to prevent damage to the module.
1) Unplug any external connected cables to the AVR8000, particularly the POWER cord.
2) Remove the top cover, (18) Black Phillips screws.
3) Locate and remove the metal shield located between the PCB’s and the power transformer (See figure 1);
remove the (2) bottom Phillips screws first. A long shaft Phillips screwdriver is required, and magnetic
blade preferred. Then remove the (2) Phillips upper screws; remove the shield from the unit.
4) At the rear of the AVR8000, remove the (2) black Phillips screws holding the IR Remote PCB to the rear
cover; set the PCB aside, with cable still attached; remove the (9) black Phillips screws holding the Video
PCB to the rear cover. (See figure 2)
5) Remove the 7 conductor amber colored Molex plug (CP602) from the right side of the Video PCB.
6) Remove the final top (2) Phillips screws holding the Video PCB on.
7) Push the narrow vertical connector PCB away from the rear of the Video PCB, disengaging it from the
Video PCB (and the Input PCB).
8) Lift the Video PCB, with ribbon cable attached, out of the unit and set it aside.
9) Carefully unplug and remove the IC100 module, pulling straight up; the connector and pins are on the left
side so more effort is required there.
10) Replace IC100 with h/k part# 55229550DPS; CAUTION – after replacement, make sure module is
inserted correctly – On PCB the lettering “TOP SIDE UP” should be facing the rear of the unit. Do not
force into place or bend pins, and make sure the socket is engaging all pins correctly.
11) Reassembly: follow instructions above in reverse order, assuring module, screws, molex connector,
vertical PCB, and shield/support is replaced. The metal shield has two “locator pins” at the bottom; make
sure they are replaced in the holes designed for them at the bottom of the chassis. Replace IR Remote
PCB and all screws at the rear of the unit; replace cover. When replacing the screws, use caution and do
not over-torque as you may strip the plastic receptacles.
12) Test the AVR8000 by re-connecting to the DVD player and playing the exact DVD disc that the problem
had occurred in, and assure the receiver stays in Dolby Digital 5.1 when the program is played.
17
AVR8000
harman/kardon
 Loading...