REPLACING IC701
CAUTION: IC701 module is an electrostatically sensitive device and can be damaged by careless
handling; you must follow proper static control procedures to prevent damage to the module.
1) Unplug any external connected cables to the AVR8000, particularly the POWER cord.
2) Remove the top cover, (18) Black Phillips screws.
3) Remove the (12) plated screws holding the front panel on; (5) are on the bottom – temporarily place the
receiver on its side to access these bottom screws.
4) With the receiver once again flat on the table, cut any plastic cables ties holding wires and ribbon cables at
the top front section of the front panel that would impede the front panel removal.
5) Remove the dual grounding wire and screw at the top left section of the front panel.
6) In a deep cavity on the left side, near the heatsink, remove the large Molex connector at the power switch
PCB. This can be accomplished with a long bladed screwdriver, pushing in on the tab at the right side of
the connector. Then gently tug on the connecting wires to disengage from the connector.
7) Unplug the white (15) conductor ribbon cable on the right side running straight back to the Video PCB at
that connector.
8) Pull away the front panel from the chassis, starting at the top – there are two small metal “tabs” that need
to be disengaged.
9) Locate IC701 module (see illustration); unplug from its socket.
10) Replace with new module h/k part# 55229760CPU; CAUTION – make sure module is plugged in correctly
– Pin 1 should be UP, lettering on the PCB, UP, there is a circle/dot on both the module and front PCB that
should line up. Do not force into place or bend pins, make sure socket is engaging all pins correctly.
11) Replace front panel, engaging from the bottom section first, and follow instructions above in reverse order.
Attention:
a) Assure the two tabs at the top snap shut.
b) Assure the large Molex connector is plugged back in, and “snaps” in place.
c) Assure the white (15) conductor ribbon cable on the right side is plugged back into the Video PCB;
conductor side is UP.
d) Re-attach dual ground wire; replace any tie wraps that were cut during disassembly.
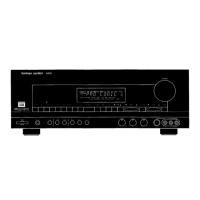
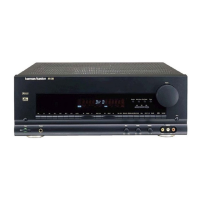
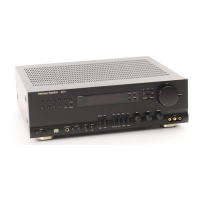
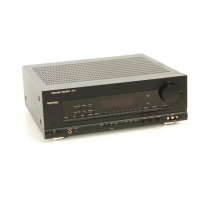
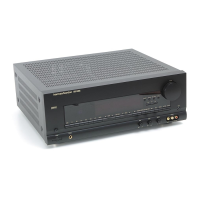
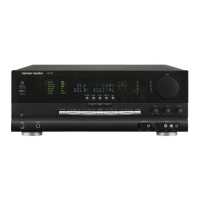
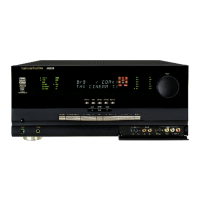
AVR8000
harman/kardon
 Loading...