Basic Operation
This section describes the steps you must take to make
the camera ready to use. You will nd comprehensive
information on how to operate the camera in the follow-
ing sections. With the camera, lens, and lm magazine
unwrapped but unassembled, ensure that the camera is
cocked (i.e. the mechanism is fully wound). otherwise the
circular front protective cover cannot be removed. The
winding crank on the right hand side of the camera is
locked if the mechanism is fully wound. If the crank is not
locked, rotate it clockwise until it does lock.
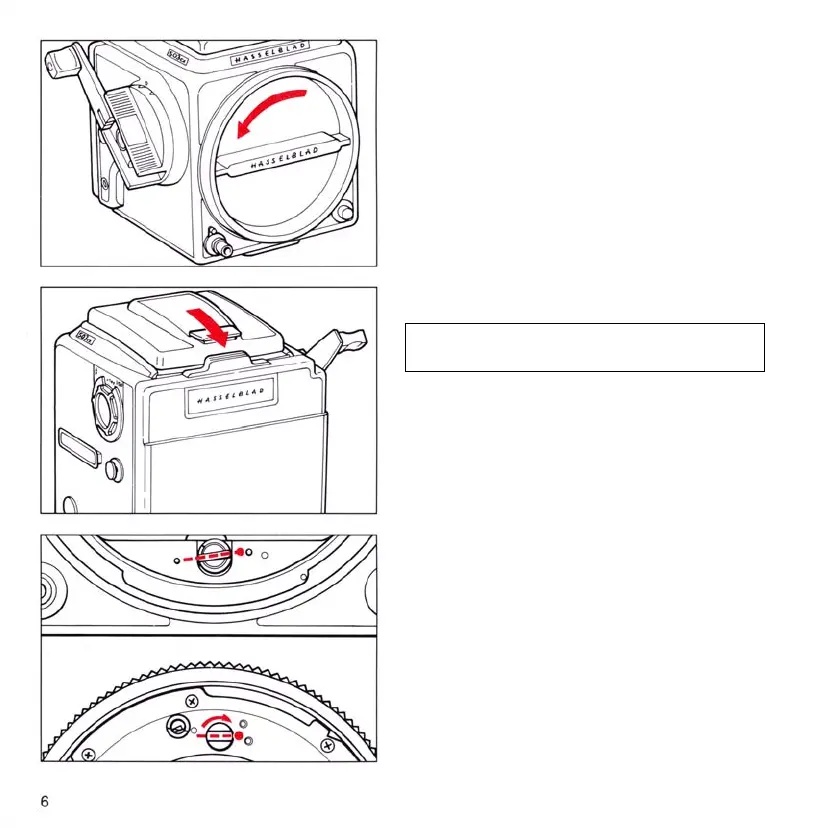
Front Protective Cover
Turnthecover(bayonettting)inthedirectionofthearrow
and remove.
NOTE: The front protective cover may only be removed
when the camera is cocked (fully wound) .
Rear Protective Cover
Depressthecatch,tiltthecoverbackwards,andliftito.
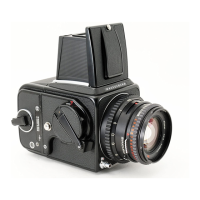
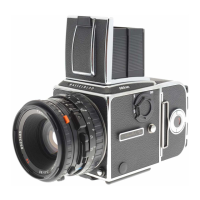
Attaching the Lens
Make sure that both camera and lens are fully cocked.
The adjacent illustration shows the correct relationship
between the drive shaft, the lens drive coupling and their
indexes.
If the lens is not cocked, you can insert a coin in the cou-
pling slot and rotate it clockwise until it locks (about 4/5
of a turn).