10
Attach the wall bracket above the
garage door with the center line
through the door aligned with the
center of the bracket. The bottom edge
of the bracket should be level with the
horizontal line. Attach the bracket with
expansion bolts.
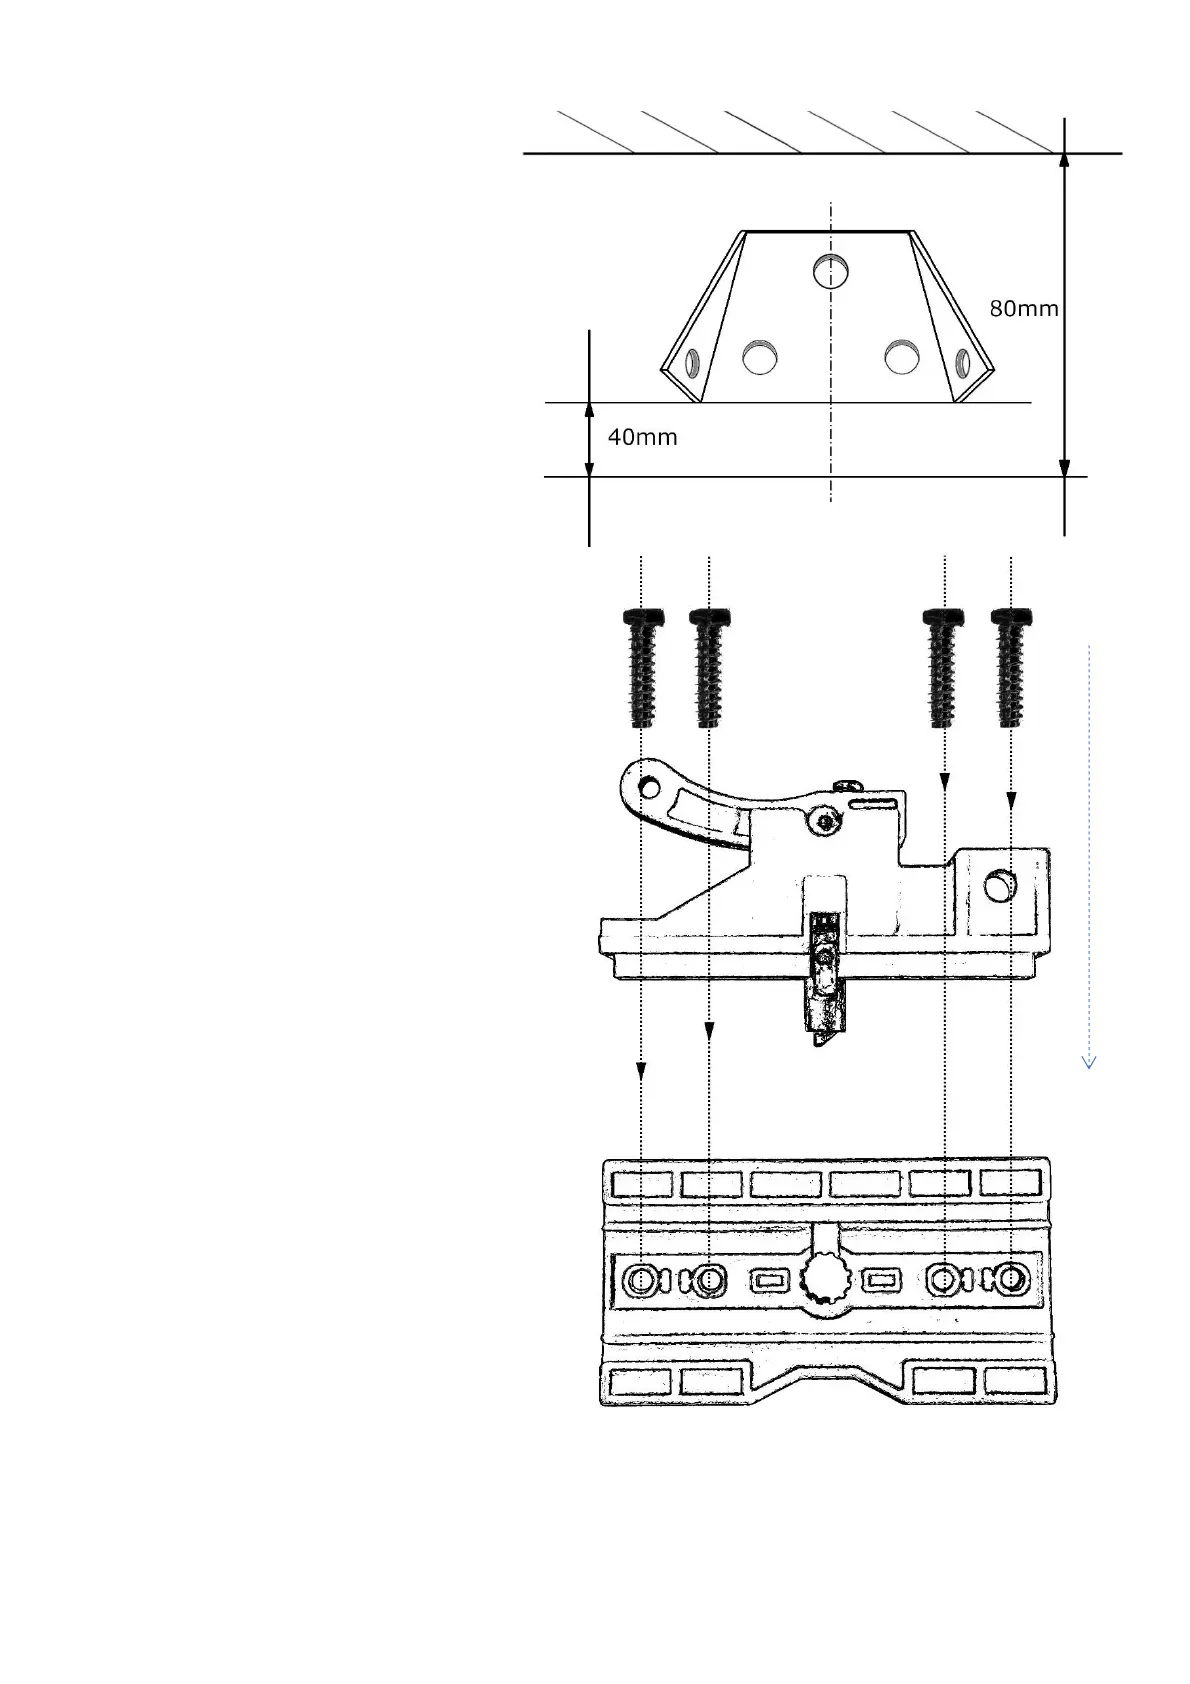
Step 2.
Place the shuttle in the groove of the drive
chain guide (make sure it points with the
manual arm towards the drive). Tighten the 4
screws (M6 x 22mm).
In the case of a split guide, first put it together.
To do this, put the attached connector on the
place of dividing, and finally with the screw
and spring we put on the end of the guide. We
regulate the chain tension. The chain should
sag slightly but should not rub against the
guide bar.
Step 3.
Place the motor head on the floor with
cardboard underneath it so as not to scratch
the head. Place the drive against the drive chain guide, making sure that the drive spindle fits into
the guide, then fasten the drive brackets.