Manual operation
If it is necessary to manually operate the door due to a power cut or failure of the automatic system,
pull the release cord and open / close the door. To reconnect the door to the automatic system, slide
the door until it engages again with the shuttle. If the entrance to the garage is possible only through
the gate, it is necessary to use an emergency lock with a rope (option available at an additional cost).
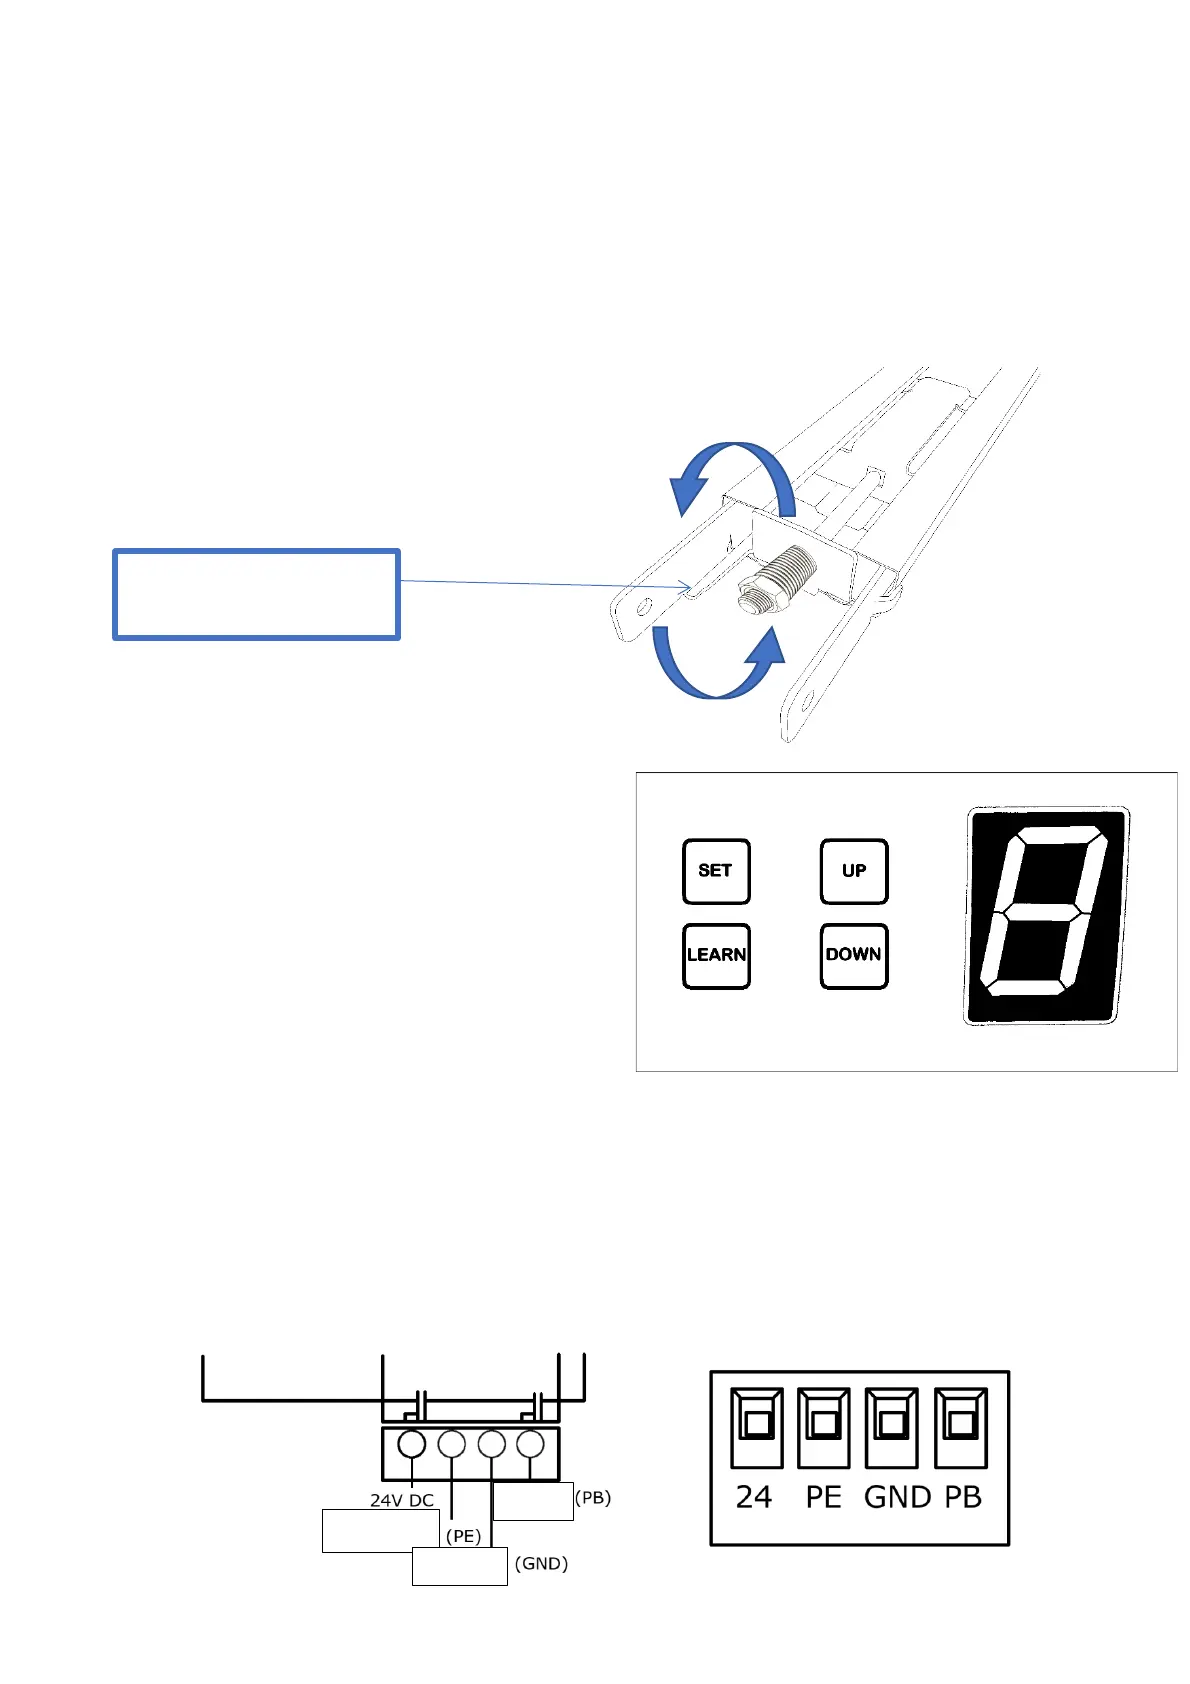
Chain tension
Attention! Check chain tension. The chain
should hang slightly. Chain tension that is too
tight can damage the drive.
3.2 Operation buttons
(1) Programming button (SET).
Confirm and enter
(2) Remote control programming button (LEARN).
Set a remote control code
(3) UP button.
Programming the settings
(4) DOWN button.
Programming the settings
3.3 External connector
(1) (1) GDN & PB: to connect a `` bell '' type wall button (one contact of the button is connected
to the GDN, the other to the PB)
(2) 24V & GND & PE: for connecting photocells (GND & 24V - power supply)
GDN & PE: output contacts of the photocell receiver in NC mode
Before making any connections on the board, disconnect the power supply