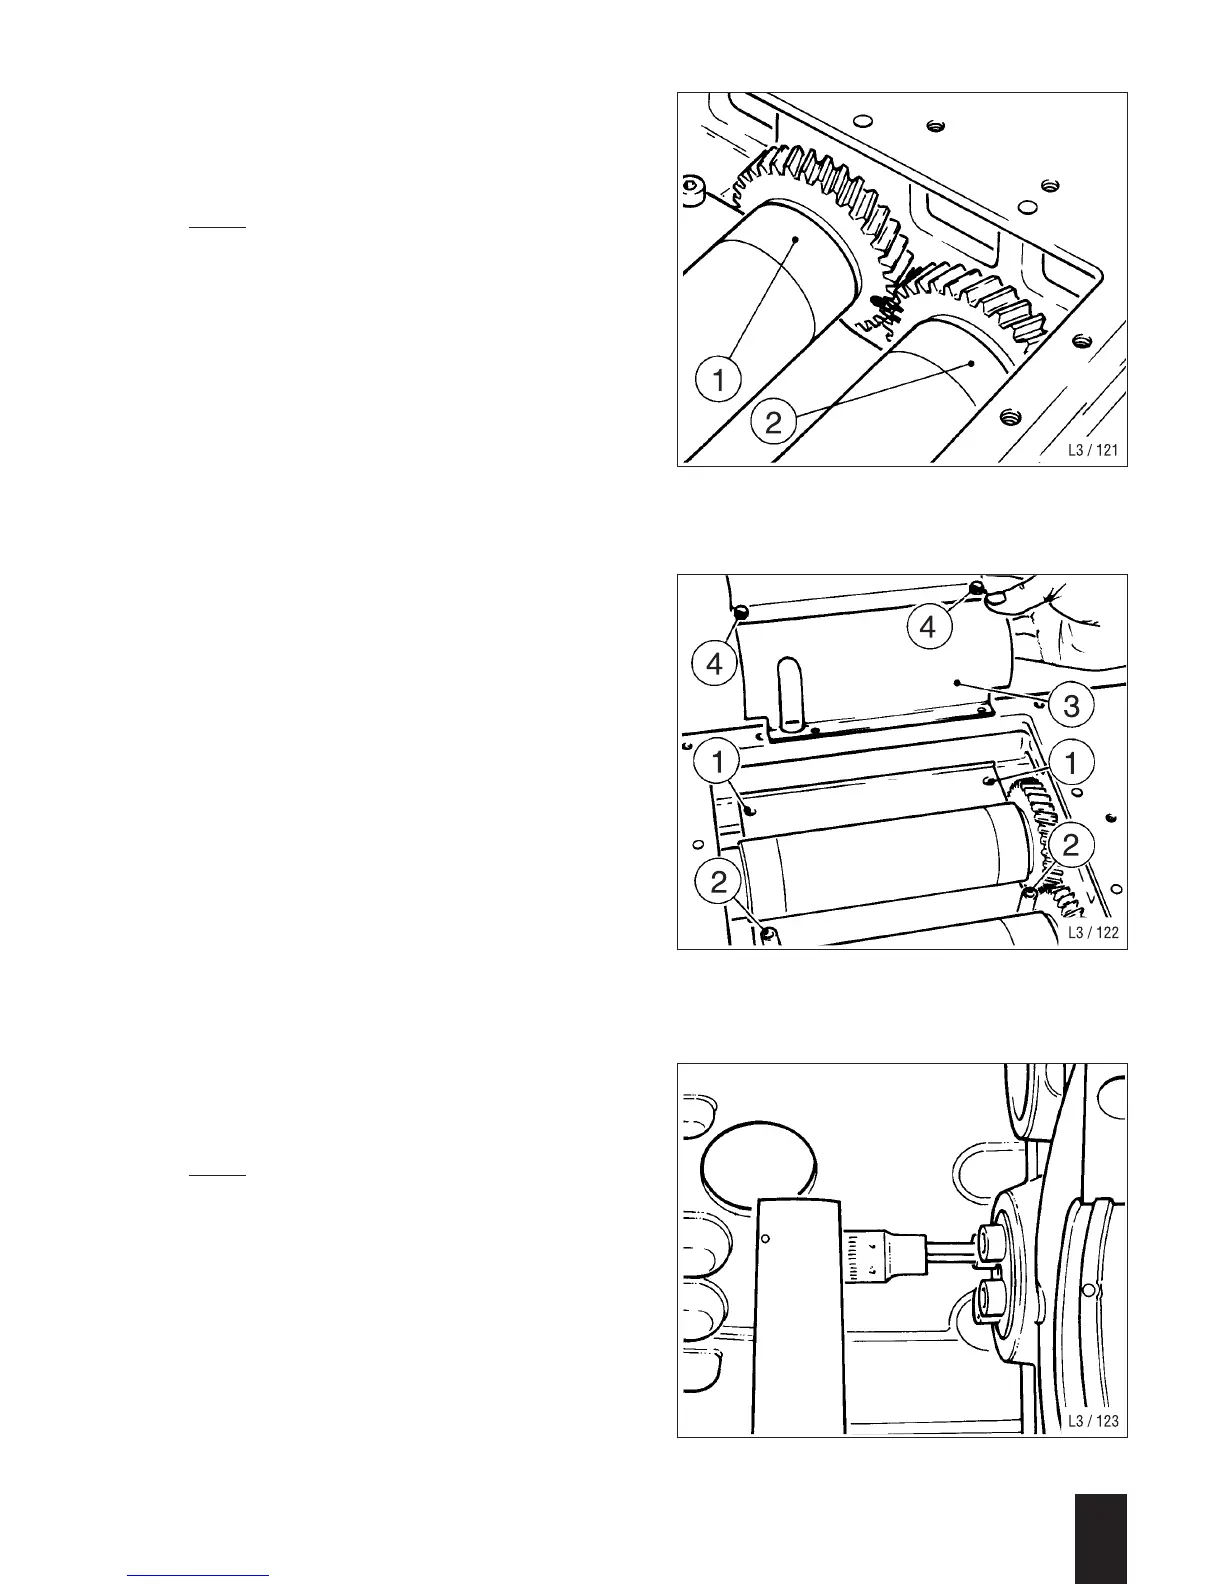
– Insert the balancing weight with circle
mark (16/1) and push in the bearing
journal.
Note:
When installing this balancing weight
(16/1), make sure that the circle mark on
it is between the two line marks on balan-
ce weight (16/2).
In this position, the circle mark on balan-
cing weight (16/2) must face the cranks-
haft.
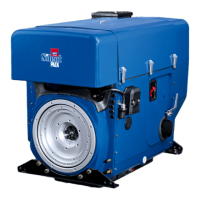
– Take out the two machine screws at
holes (17/1) again.
Place spacing rollers (17/2) on the
splash plate.
Insert splash plate (17/3) and screw in
hex bolts (17/4) hand-tight.
– Insert machine screws (17/1) and tigh-
ten; also tighten hex bolts (17/4).
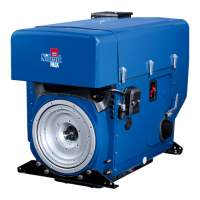
– Turn the lower part of the crankcase
back upright again (joint line at the top).
– Insert the machine screws at the bea-
ring journals and tighten them to the
specified torque with a torque wrench;
Fig. 18.
– Rotate the balancing weights and check
for free movement.
Note:
When attaching the oil sump, apply sea-
lant D to two M8 hex bolts in each case at
the timing and flywheel ends, since these
are inserted in through-holes.
Engines with an oil sump attached must
not have a ∅ 40 mm end cap in the lower
part of crankcase.
3
L / M . . 09.96
16
17
18