13
EN
Setup
Note: The battery pack is not fully charged when you purchase it. Before using the tool for the first time,
refer to Charging the Battery Pack.
The electric-start button has been placed in the battery compartment for safe delivery. Ensure that you
remove it from the compartment and store in a safe place prior to assembly. To prevent accidental starting,
do not insert the electric-start button into the electric-start ignition until you are ready to start the motor.
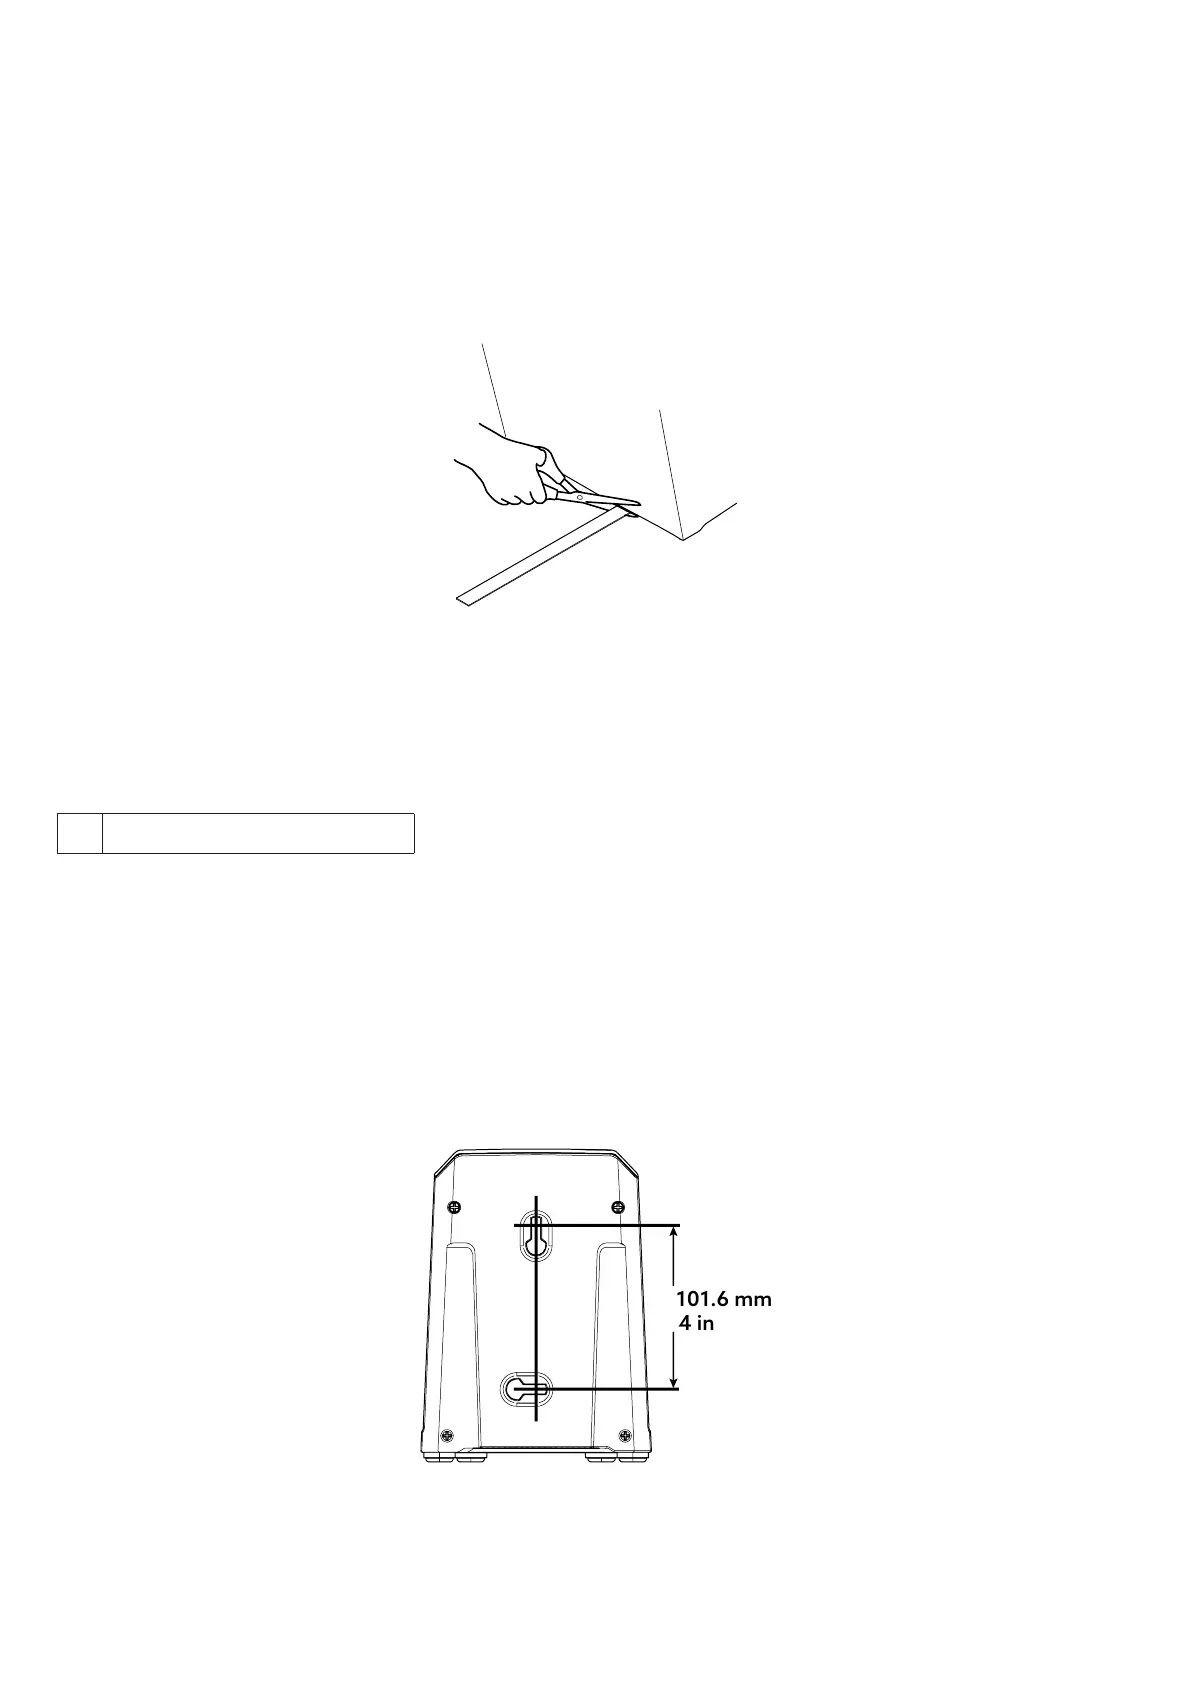
Important: To prevent accidents cut off the long ribbon attached to the grass bag and discard. Figure 3.
Figure 3
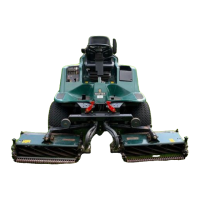
Mounting the Battery Charger (Optional)
Parts needed for this procedure:
2 Mounting hardware (not included)
If desired, mount the battery charger securely on a wall using the wall-mount key holes on the back of the
charger.
Mount it indoors (such as a garage or other dry place), near a power outlet, and out of the reach of children.
Refer to Figure 4 for assistance in mounting the charger.
Slide the charger over the appropriately positioned hardware to secure the charger in place (hardware not
included).
Figure 4