USE ONLY HAYWARD GENUINE REPLACEMENT PARTS
6
ANGLE
Water Stream
Deck MaterialDeck Material
Adjustable Deck
Collar for angle
correction
Adjustable Deck Lid
for up to 3/8” in
height adjustment
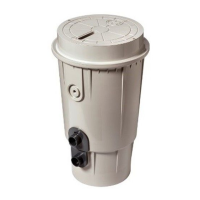
Mechanical Installation - Niche Body
Determine the location(s) for the ColorLogic Laminar(s). Rough-in plumbing pipe and electrical con-
duit by plumbing the water line to the desired pumping system and the electrical line to the 12VAC
transformer. CAUTION: DO NOT wire directly to 120V supply. ENSURE A SUFFICIENT GRAVEL PIT IS
AVAILABLE ON DRAIN PORT SIDE OF DECK NICHE.
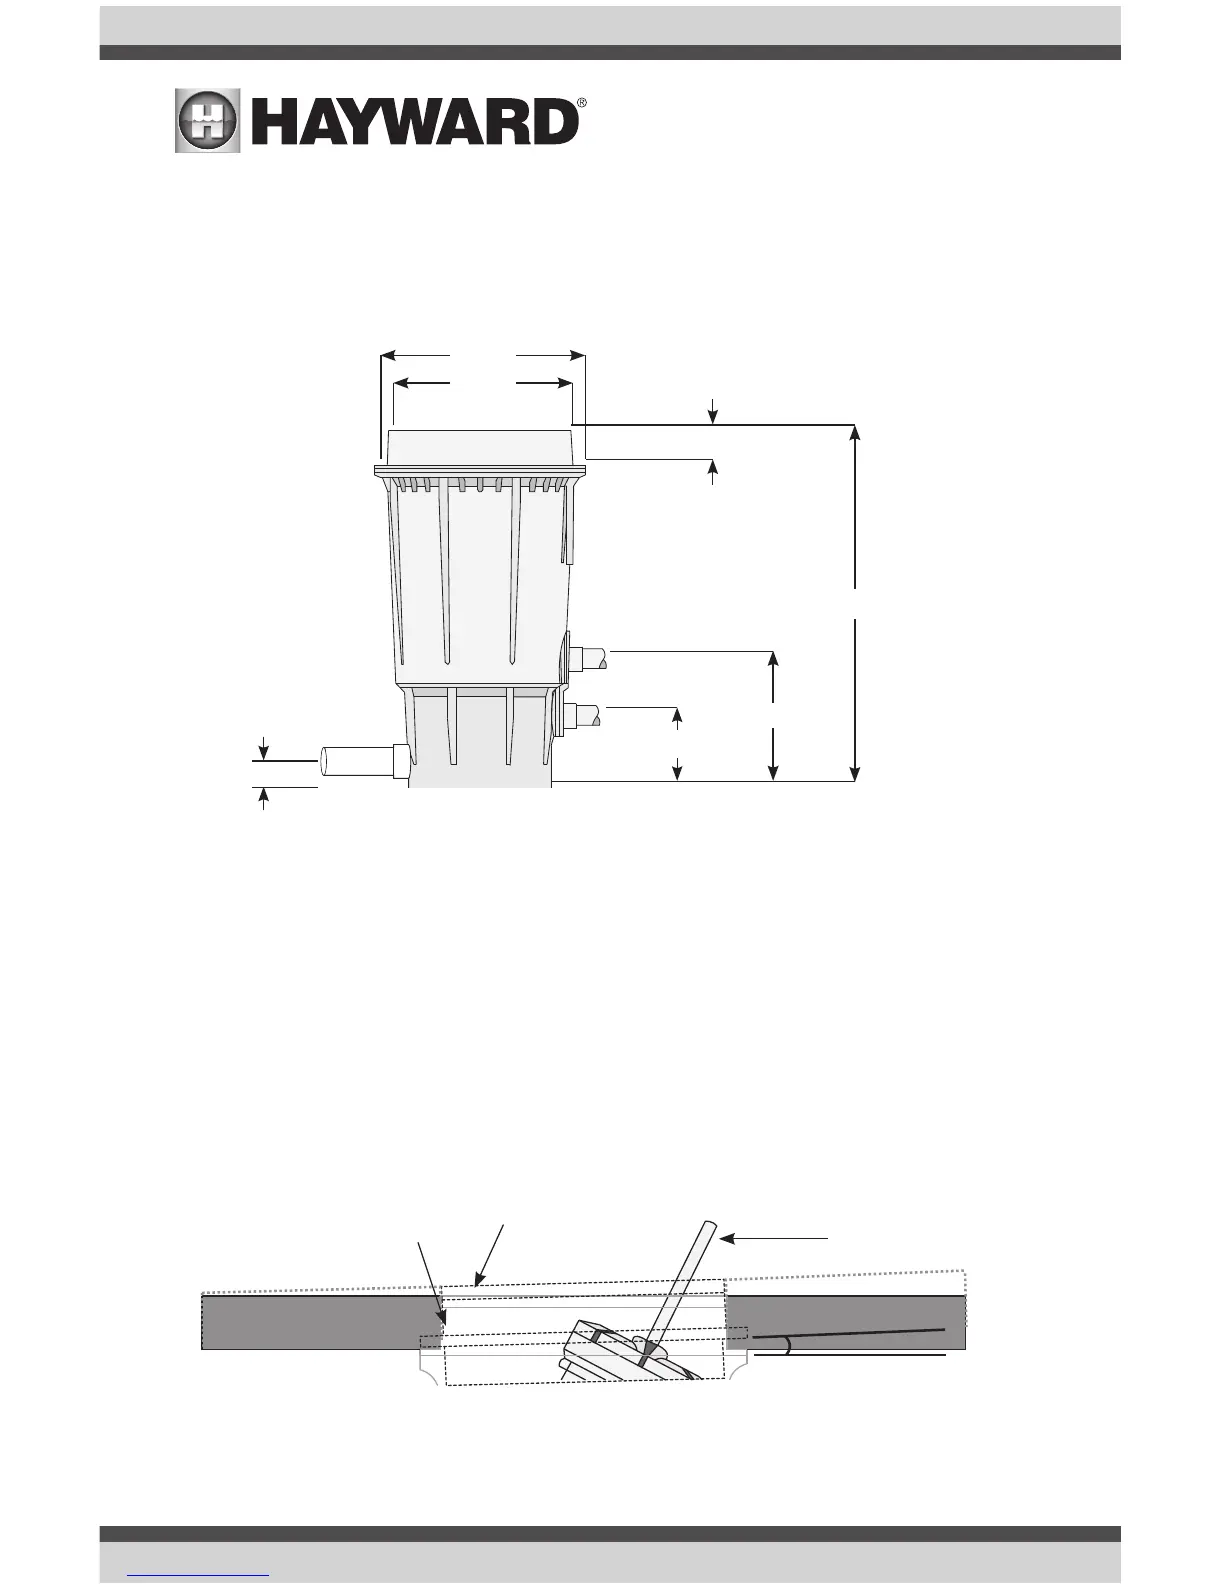
Step 1: Plumb Sch40 PVC according to dimensions above; 4.75” for water supply, 8.375” for
electrical supply and 1.875 for drain. See image above.
Step 2: Solvent bond deck niche to water and electrical supply pipes using PVC glue. Install 4”-
6” length of PVC drain pipe using a 1.5” threaded adapter.
Step 3: Back fill pit up to Collar.
Mechanical Installation - Niche Collar
See below for view of final installation. The angle of the Laminar Collar can be adjusted for finish
deck corrections.
NOTE: In the event the deck niche is not installed level, use the deck collar to achieve leveled finish
surface. Example Only: housing installed at a 2° angle. This step is similar to the installation of a
skimmer basket collar.
11.750
13.500
1.875
23.063
2.2 - 2.7
8.375
4.750
Electrical
Water
 Loading...