EasyManua.ls Logo

Heath Zenith 4150 User Manual

Heath Zenith 4150
28 pages
To Next Page IconTo Next Page
Page #1 background imageLoading...
Page #1 background image
© 2015 HeathCo LLC 204028-03A
INSTALLATION AND OPERATING
INSTRUCTIONS
SAFETY INFORMATION ......................................2
PREPARATION ...............................................2
HARDWARE CONTENTS ......................................2
LIGHT FIXTURE INSTALLATION ...............................3
WIRING THE LIGHT FIXTURE .................................4
OPTIONAL WIRING ..........................................5
MOUNTING THE LIGHT FIXTURE .............................6
TESTING AND ADJUSTMENTS ................................6
BULB REPLACEMENT ........................................8
TROUBLESHOOTING GUIDE ..................................8
SPECIFICATIONS .............................................8
CARE AND MAINTENANCE ...................................9
TECHNICAL SERVICE .........................................9
THREE YEAR LIMITED WARRANTY ............................9
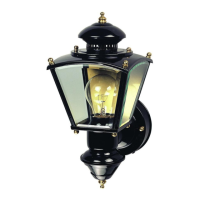
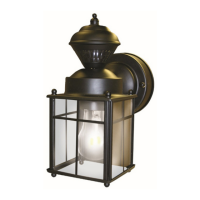
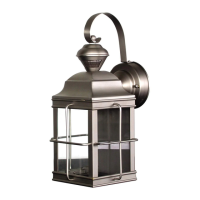
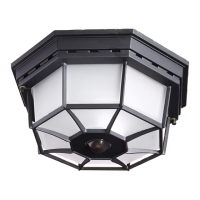
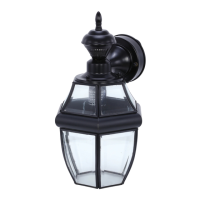
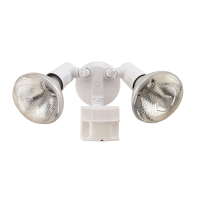
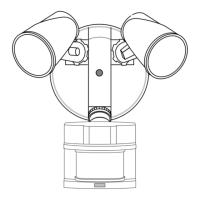
Motion Decorative Light
(Shown without optional tail assembly)
Questions?
Please refer to the troubleshooting guide in this manual
or call our technical service department (English speak-
ing only) at 1-800-858-8501, 8:00 a.m. - 5:00 p.m., CST,
Monday - Friday before returning to your retailer.
Keep this manual for future reference.
ATTACH YOUR RECEIPT HERE
Receipt is required for all warranty requests.
Purchase Date
Model
4150
Motion Sensing Decorative
Light

Questions and Answers:

Heath Zenith 4150 Specifications

General IconGeneral
BrandHeath Zenith
Model4150
CategoryOutdoor Light
LanguageEnglish

Summary

Safety Information

Preparation and Hardware

Preparation Steps

Check all parts are present before installation. Note required tools and installation best practices.

Hardware Contents

Lists the included mounting bracket, fixture mounting screws, decorative nuts, and wire connectors.

Light Fixture Installation

Mounting Plate Adjustment

Procedure for adjusting the mounting plate when junction box screw holes do not align.

Wiring the Light Fixture

Recommended Grounding Method

Guidance on connecting the ground wire using a pigtail for proper electrical grounding.

Optional Wiring Configurations

Wiring Diagram 1: Standard Light Control

Connects sensor to a standard light fixture for control. Total load must not exceed 500 Watts.

Wiring Diagram 2: Master/Slave Control

Connects master sensor to a slave fixture for coordinated control. Total load must not exceed 500 Watts.

Wiring Diagram 3: Master/Master Control

Connects two fixtures as masters for simultaneous operation. Requires additional house wiring.

Mounting and Testing

Mounting the Light Fixture

Instructions for physically attaching the light fixture to the junction box.

Initial Setup and Testing

Using TEST mode to verify sensor function and coverage area before final adjustments.

Final Setup and Calibration

Adjusting sensitivity and ON-TIME settings, and applying weather sealant.

Optional Tail Assembly

Maintenance and Support

Bulb Replacement

Steps to safely remove the fixture cap and replace the light bulb.

Troubleshooting Guide

Common symptoms, possible causes, and solutions for light fixture issues.

Specifications

Technical details including range, sensing angle, electrical load, and operating modes.

Care and Maintenance

Recommendations for cleaning and preserving the fixture's appearance and finish.

Technical Service

Contact information and guidance for obtaining technical assistance.

Warranty Information

Related product manuals