4 To see operational and troubleshooting information and videos,
go to www.hzsupport.com
208801-03
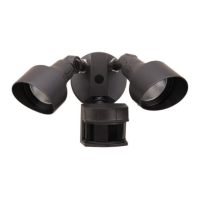
IMPORTANT:
• If wall mounted, make sure the xture is mounted with the
sensor below the lamp heads.
• If eave mounted, mount the xture with sensor facing away
from the house wall. Rotate the sensor so the controls face the
ground.
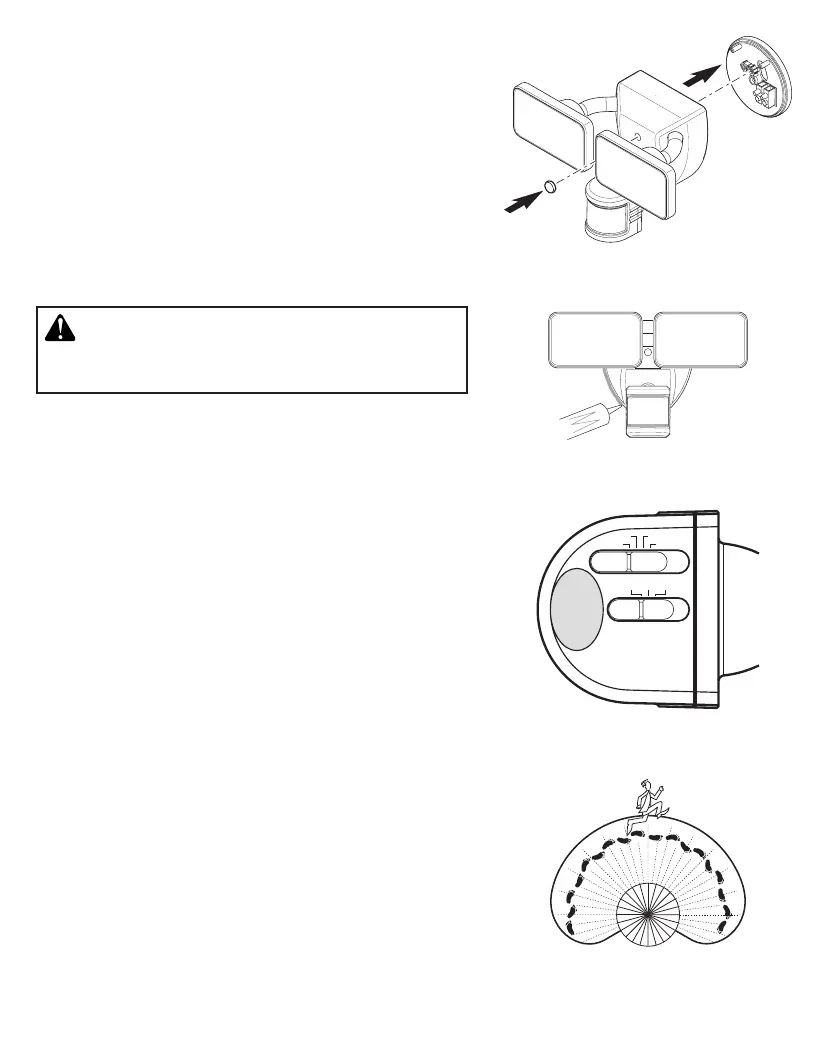
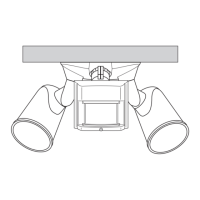
4. Push the plastic plug rmly into the mounting bolt hole on the
light xture (see Figure 5).
5. Caulk around mounting plate and mounting surface with silicone
weather sealant (see Figure 6).
TESTING AND ADJUSTMENTS
1. Turn on the circuit breaker and light switch.
Figure 6
Figure 7
Figure 8
Figure 5
CAUTION: To avoid water damage and risk of electrical
shock, motion sensor controls must be facing the ground
when installation is complete.
Note: e motion sensor has a 1 minute warm up period before
it will detect motion. When rst turned on wait 1 minute.
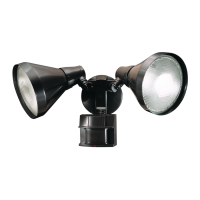
2. Slide the sensitivity (SENS) switch to the “LO” position and the
ON-TIME switch to the TEST position (see Figure 7).
3. Walk through the coverage area noting where you are when the
lights turn on. Also, the red LED behind the motion sensor lens
will ash several times when motion is detected (see Figure 8).
4. If needed, gently grasp the motion sensor and move it from side
to side or up and down to adjust the detection zone.
5. If needed, gently grasp the lamp heads and move them from side
to side or up and down to adjust the light coverage area.
6. Adjust the sensitivity (SENS) switch as needed (“LO”, “M”,
“HI”). Sensitivity set too high may increase false triggering.
FINAL SETUP
Set the amount of ON-TIME you want the lights to stay on after all
motion has stopped (1, 5, or 20 minutes).
240°
1 MIN 5 MIN
TEST 20 MIN
L M H
ON TIME
SENS.