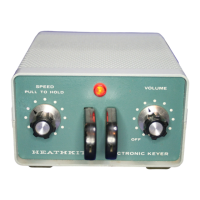
B
VE SWITCH
PICTORIAL
9
SWITCH
PLUNGER
KEY
LEVER
Refer to Pictorial 9C for the following step.
If
the preceding adjustments have been per-
formed properly, there should be approximately
( )
Loosen the screws of switch bracket
N.
Move
a
3/16!
or less gap between the ends of switch
the bracket toward the key lever until the
brackets
N
and P and still obtain proper switch
switch plunger just touches the key lever,
action. The entire adjustment procedure should
then retighten the bracket screws. Keep
be repeated
if
this gap
is
wider than
3/16".
the edge of the bracket even with the end
I,
of
the ballast plate.
SWITCH
PLUNGER
VE
BRACKET
KEY
LEVER
(
)
Referring to PictorialSD, loosenthescrews The led springs should move away from the
of switch bracket P and move it toward the shoulder on spacer M when the key lever is
key lever until the switch plunger just moved in one direction or the other.
If
the leaf
touches the key lever. Tighten the screws
springs do not move away, the spacer should
of
the bracket, keeping its front edge even
be readjusted to maintain proper centering of
with the end of the ballast plate.
the key lever.