Contents
1.Installation
1. The thermostat is flush mount, a back box of
35mm should have been sunk in the wall prior to
installation.
2. The thermostat should be mounted at around
6ft or eye level.
3. Do not install near a direct heat source.
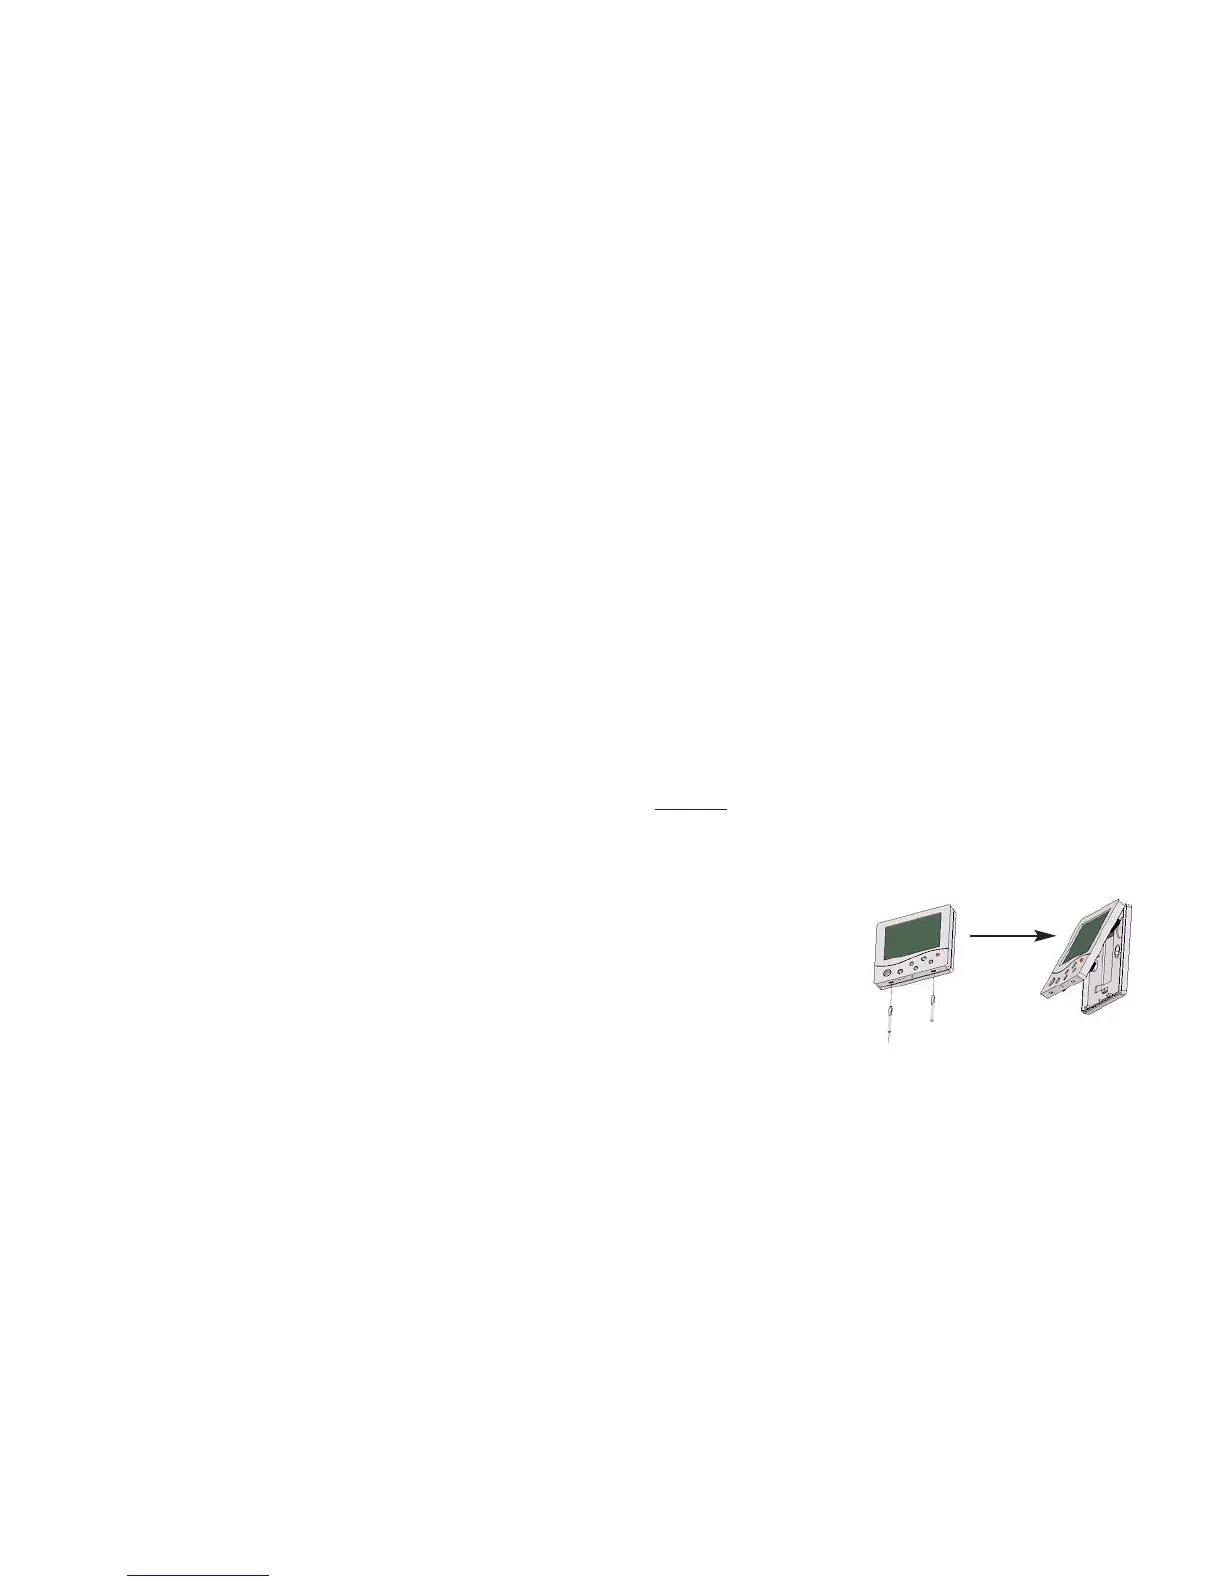
Step 1
Carefully separate the front half of the thermostat
from the back plate by placing a small flat head
terminal driver in to the slots on the bottom face
of the thermostat.
Contents 1
Installation 2-4
Terminology 5-7
Frost protection (Stat off) 8
Temperature calibration 8
Setting the clock 9
Manual heating override 10
Floor limit setting 10
Programming comfort levels 11-12
Programming hot water levels 12
Hot water override 13
Wiring
DT Wiring Diagrams 14-16
PRT Wiring Diagrams 15-20
PRT/HW Wiring Diagrams 21-22
PRT-R Wiring Diagrams 23
PRT-R2 Wiring Diagrams 24
1
2