3/ ASSEMBLY
- 5 -
Step 1:
Puttheproductontheoorandremovethetopboxcovertorevealthe
Helix as show above. Where the box corners are printed “OPEN”, cut or tear
theboxandseparatethesecorners.Laythesidesattotheoor
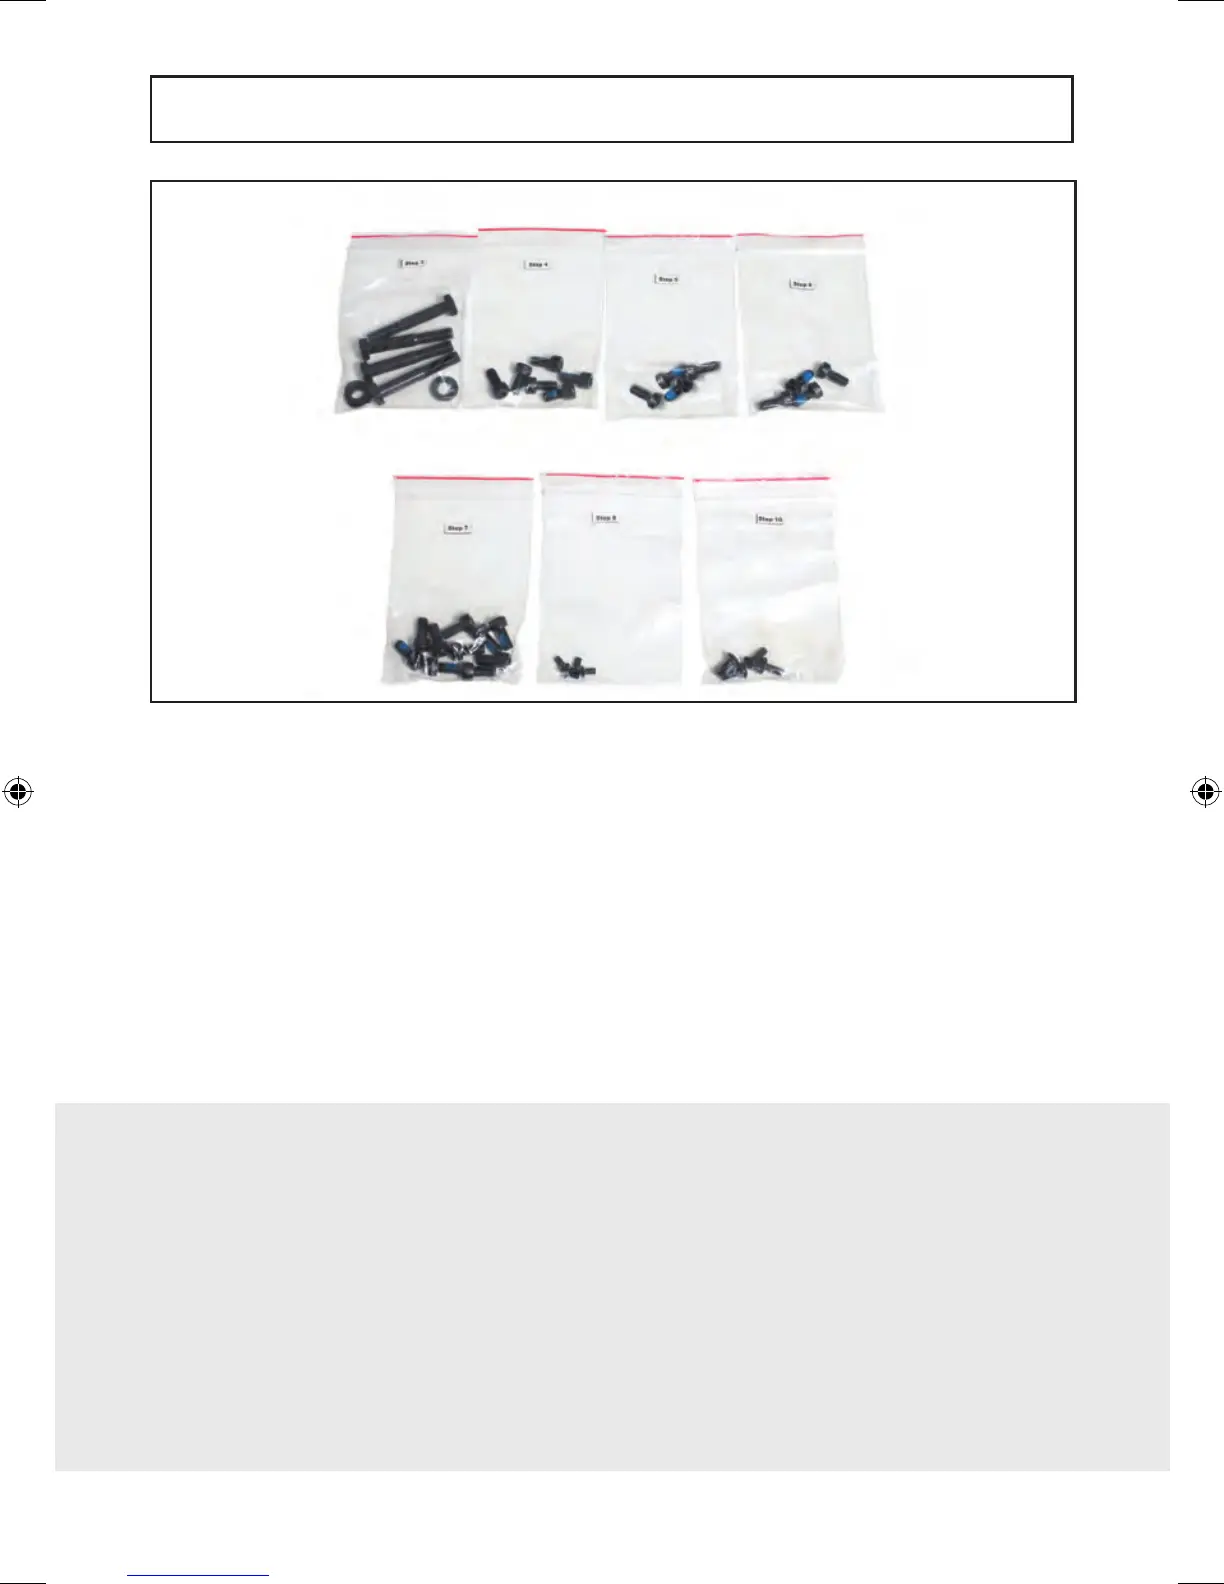
Remove all parts from the box leaving just the main body of the
machine on the bottom of the box. remove all parts from their
plastic bags and organize on the oor beside the Helix.
Step 2:
Attach the End Caps (2) to the Left and Right Frame Legs. These caps are
notspecictoeitherside.Theytonleftorright.IftheHelixisnotstable
ontheoor,turntheadjustmentdialonthefrontendcaptoraiseorlower
the height.
IMPORTANT:
Do not remove the
Helix from the box
bottom until further
instructed later in
this assembly
manual.
A5-HLT3000 v3 proofed.indd 5 01/02/2011 10:21