3/ ASSEMBLY
- 6 -
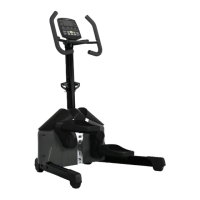
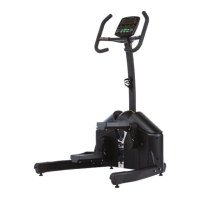
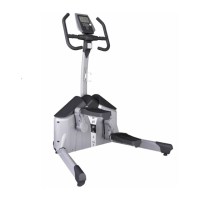
Step 3:
Each Left and Right Frame Leg is marked ‘L’ and ‘R’ with a sticker. While fac-
ing the Helix, place the left leg on the left side of the machine and the right
leg on the right side of the machine.
Insert the Frame Leg assembly bolts into the legs and secure as shown.
Tightentheseboltsrmly.
IT IS VERY IMPORTANT TO MAKE SURE THAT THE LEFT AND RIGHT
FRAME LEGS ARE ON THE CORRECT SIDE OR THE HELIX WILL NOT
ROLL PROPERLY FOR MOVING.
A5-HLT3000 v3 proofed.indd 6 01/02/2011 10:21
 Loading...