Page 10
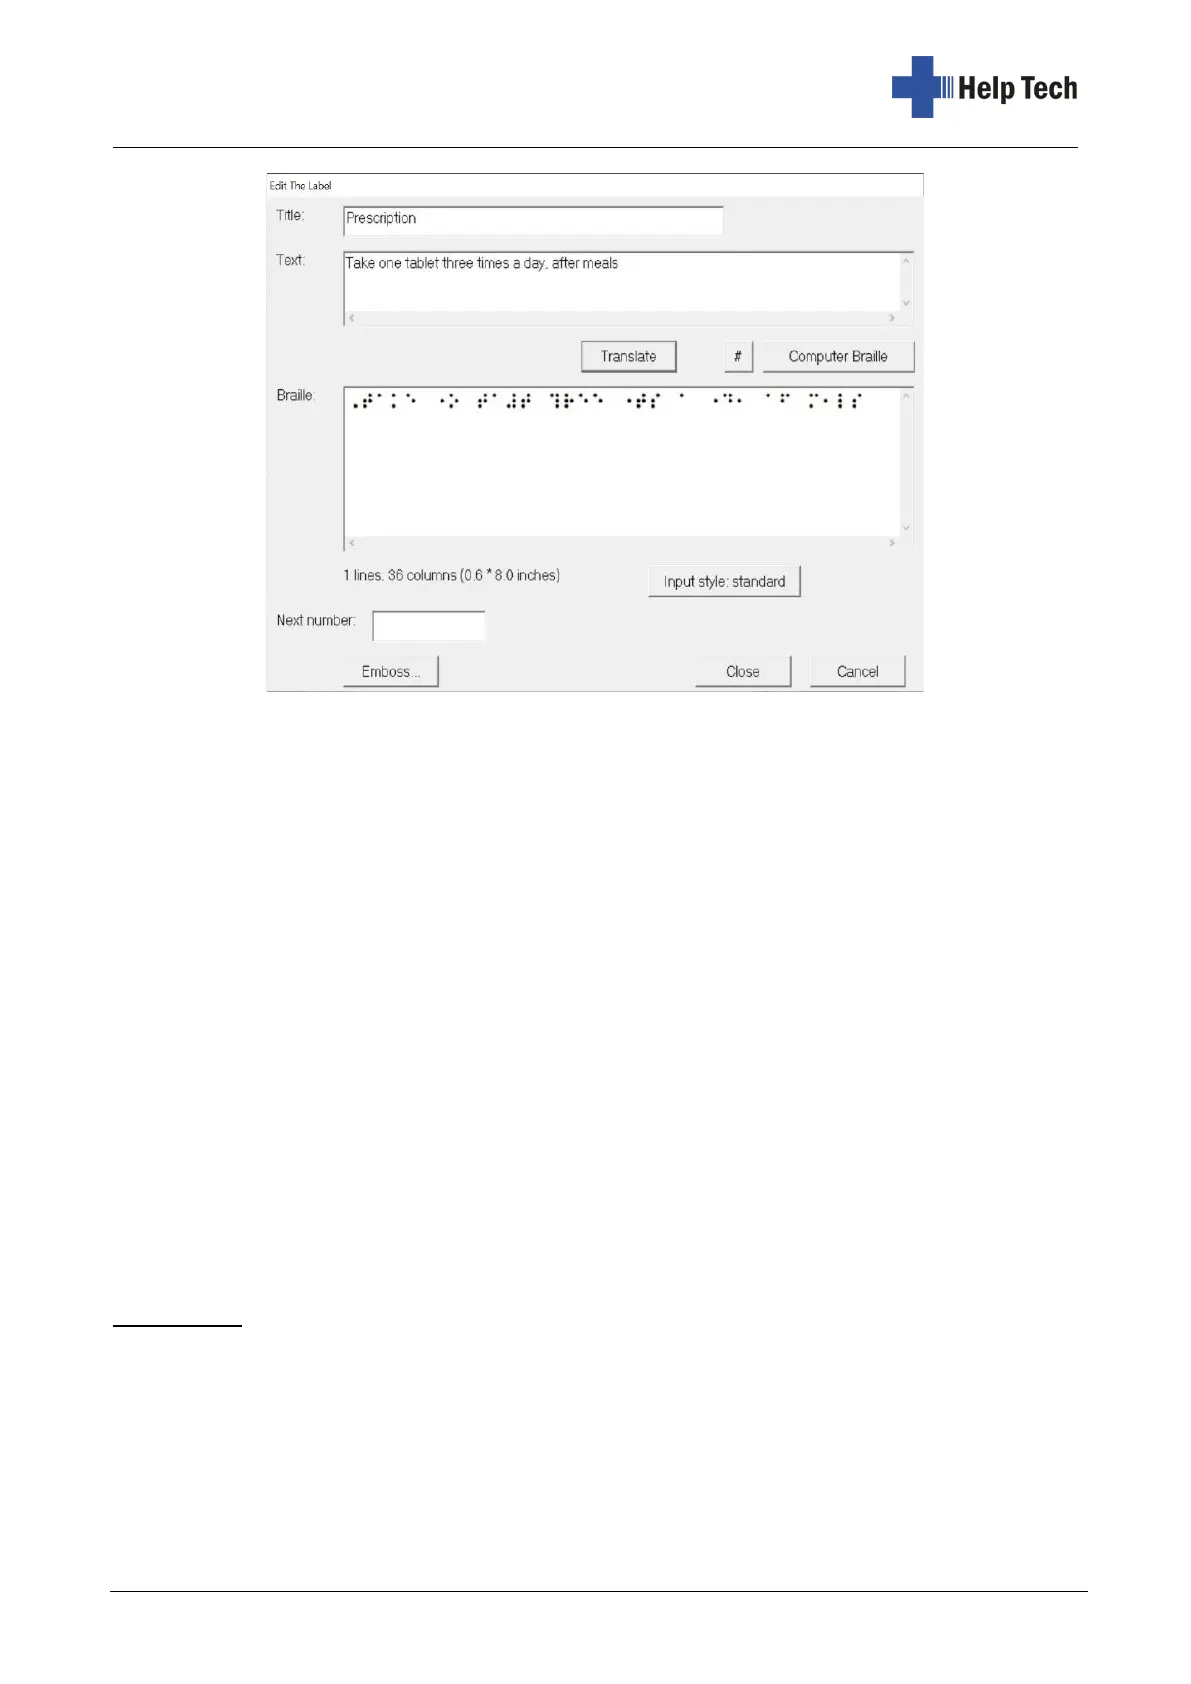
In the first input field "Title" you can give the text a name or heading. This will be displayed
later in the data area of the main window. If you have not assigned a title, the title will be
listed as "Untitled".
Enter the actual text to be printed in the "Text" field. Then press the "Translate" button. The
entered text will now be displayed in Braille in the "Braille" field exactly as it will be printed
out. You can also change the text in the "Braille" field or enter it directly in braille. Please
refer to chapter 4.3.1 Braille input.
4.1.1.1 Computer Braille
When you enter Internet or e-mail addresses, it is important to distinguish them from
conventional text. To do this, they must be enclosed in curly brackets. When you press the
"Computer Braille" button, a pair of braces is inserted in the text field. The text between the
braces is excluded from the braille translation.
4.1.1.2 Enter numbered texts
If, for example, you want to number different boxes from 1 to 100, you can do this simply
and easily with the number function. You then do not have to enter the individual numbers
from 1 to 100, but use the "#" button. In the text field, enter "Box ###", for example. The
program automatically recognizes during the printout that the hash marks are to be replaced
by numbers here.
Important: Enter as many hash marks as the highest number consists of digits, in our
example three. When you then print the text, you must enter the number of copies (100 in
our example), as well as the start number (1 in our example). (see chapter 4.1.2)
4.1.1.3 Braille input style
With the button "Input style" you can choose between standard and 6-dot Braille.
Furthermore, you also have the possibility here to change the Braille settings - as in the
"Settings" menu. Please read chapter 4.3 Settings .