Page 3
1 General
Thank you for purchasing the BL-1000 LINK Braille Labeler. Please take the time to study
these operating instructions. We have tried to make the operation of the Braille Labeler as
simple and intuitive as possible. Nevertheless, this manual will help you to use your Braille
Labeler even better.
1.1 Foreword
Please read the safety instructions for the proper use of the Braille Labeler before operating
the device. You will find them in chapter 7of this manual.
Please note that you must first install the included software on your PC before you can
connect the BL-1000 LINK to it. Otherwise, complications may arise when installing the USB
driver. Be sure to read chapter 2 before connecting the BL-1000 LINK to your PC.
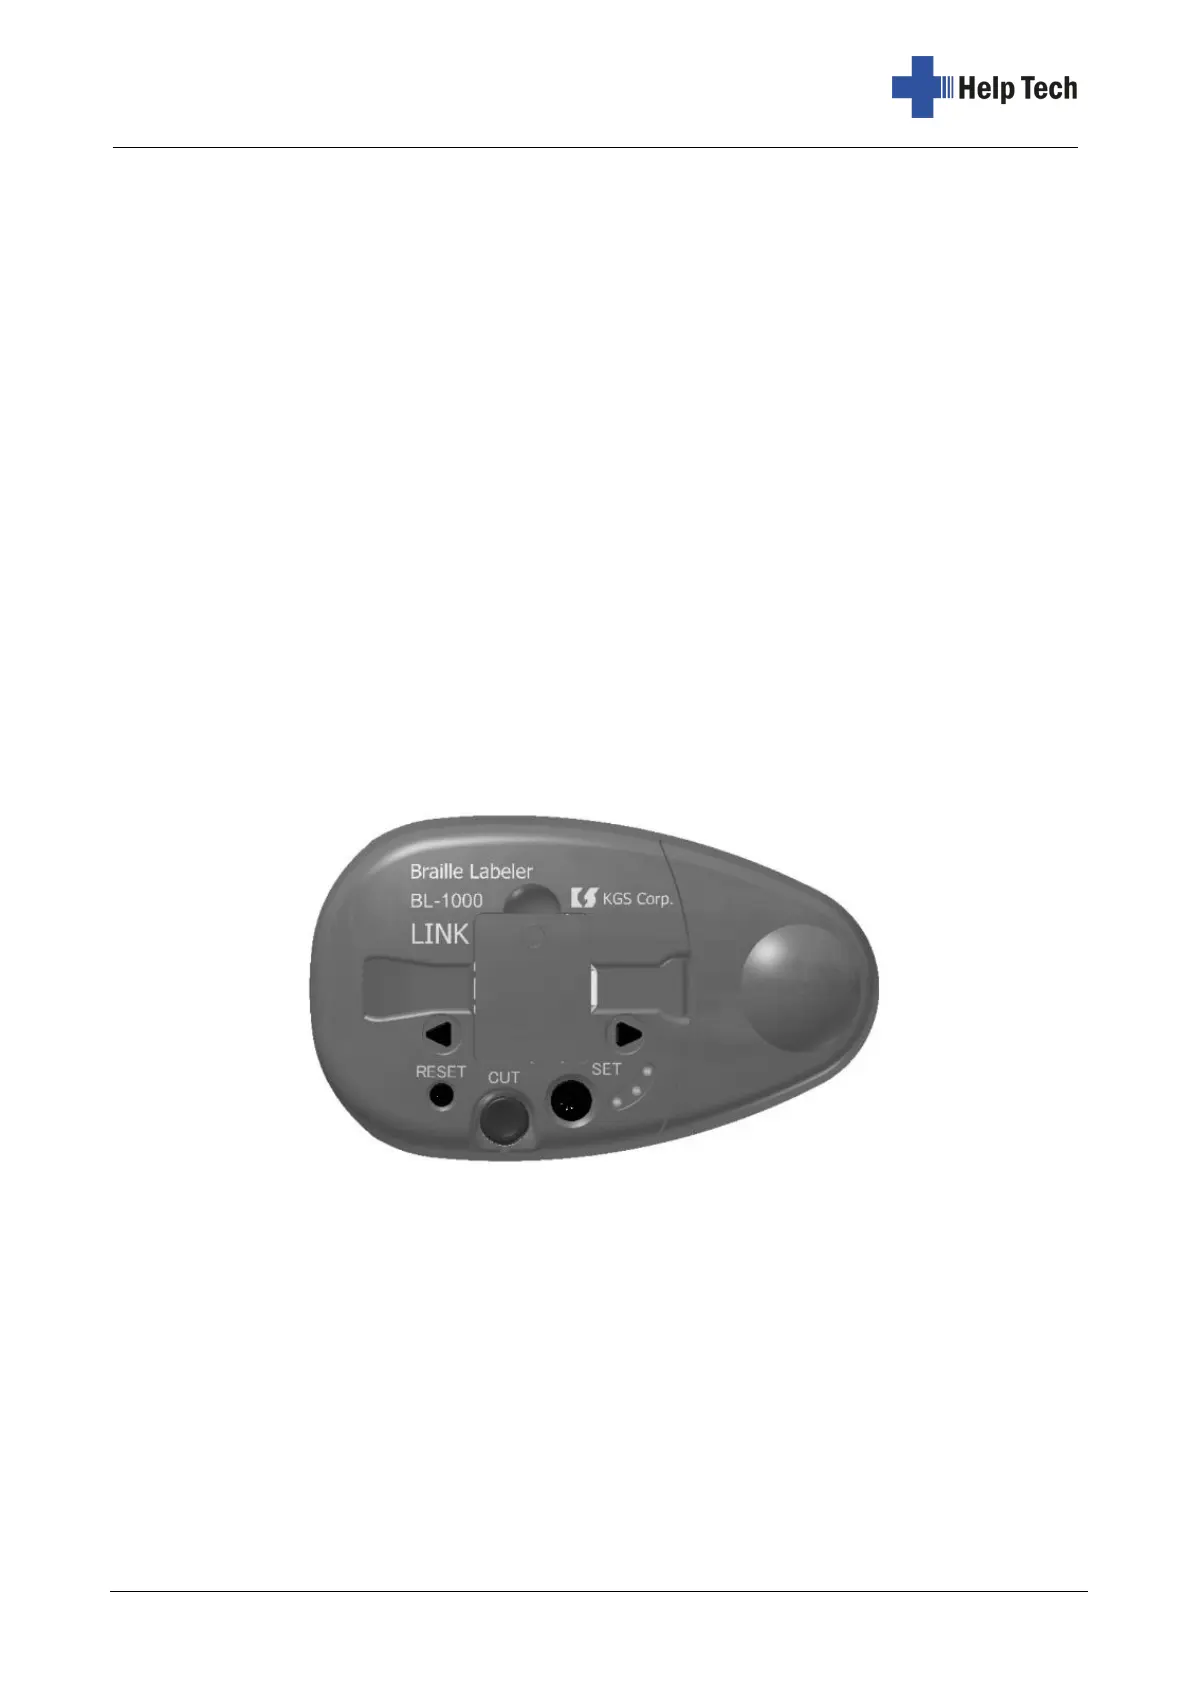
1.2 The BL-1000 LINK at a glance
This section is intended to familiarize you with the BL-1000 LINK and its controls. It is
recommended that you have the unit at hand so that you can immediately understand what
you have read here.
Place the BL-1000 LINK in front of you so that the round bulge on the surface is on the right
and the control buttons are at the bottom. Under the round bulge is the compartment for the
Braille Tape. You can remove the cover with the bulge to insert the Braille Tape. In the
middle, there is the cover of the print mechanism and a slot through which the Braille Tape
is fed.
On the surface of the BL-1000 LINK below the slot for the Braille tape are five buttons and
three LED lights, which glow red, green and yellow. The triangular button in the upper left
corner is the forward button. Use this button to move the Braille Tape to the left. Use this
button if the Braille Tape gets stuck.
Directly below is the small round reset button. With the reset button you can delete the data
in the internal memory, which are waiting in the memory buffer for the printout.